It’s hard to believe, but in many states, muscle cars of the 1980s and 1990 can be classified as antiques!
Despite having modern touches like power windows, EFI, and overdrive transmissions, many of our beloved Camaros, Corvettes, Buicks, Oldsmobiles, Mopars, and Mustangs have turned many miles and accumulated many road scars.
But that’s okay, as this makes them ripe for modification and restoration.
Since new, owners have improved suspension, brakes and horsepower—now we’re looking to restore the interior, as they will need TLC as well.
Any car with decades of wear and tear probably needs a facelift. No worries, you’ve come to the right place. Summit Racing is a great source for Ford Mustang parts—from the smallest restoration parts, to throttle bodies, blowers, wheels and tires, cold-air kits, headers, flash tuners and so much more.
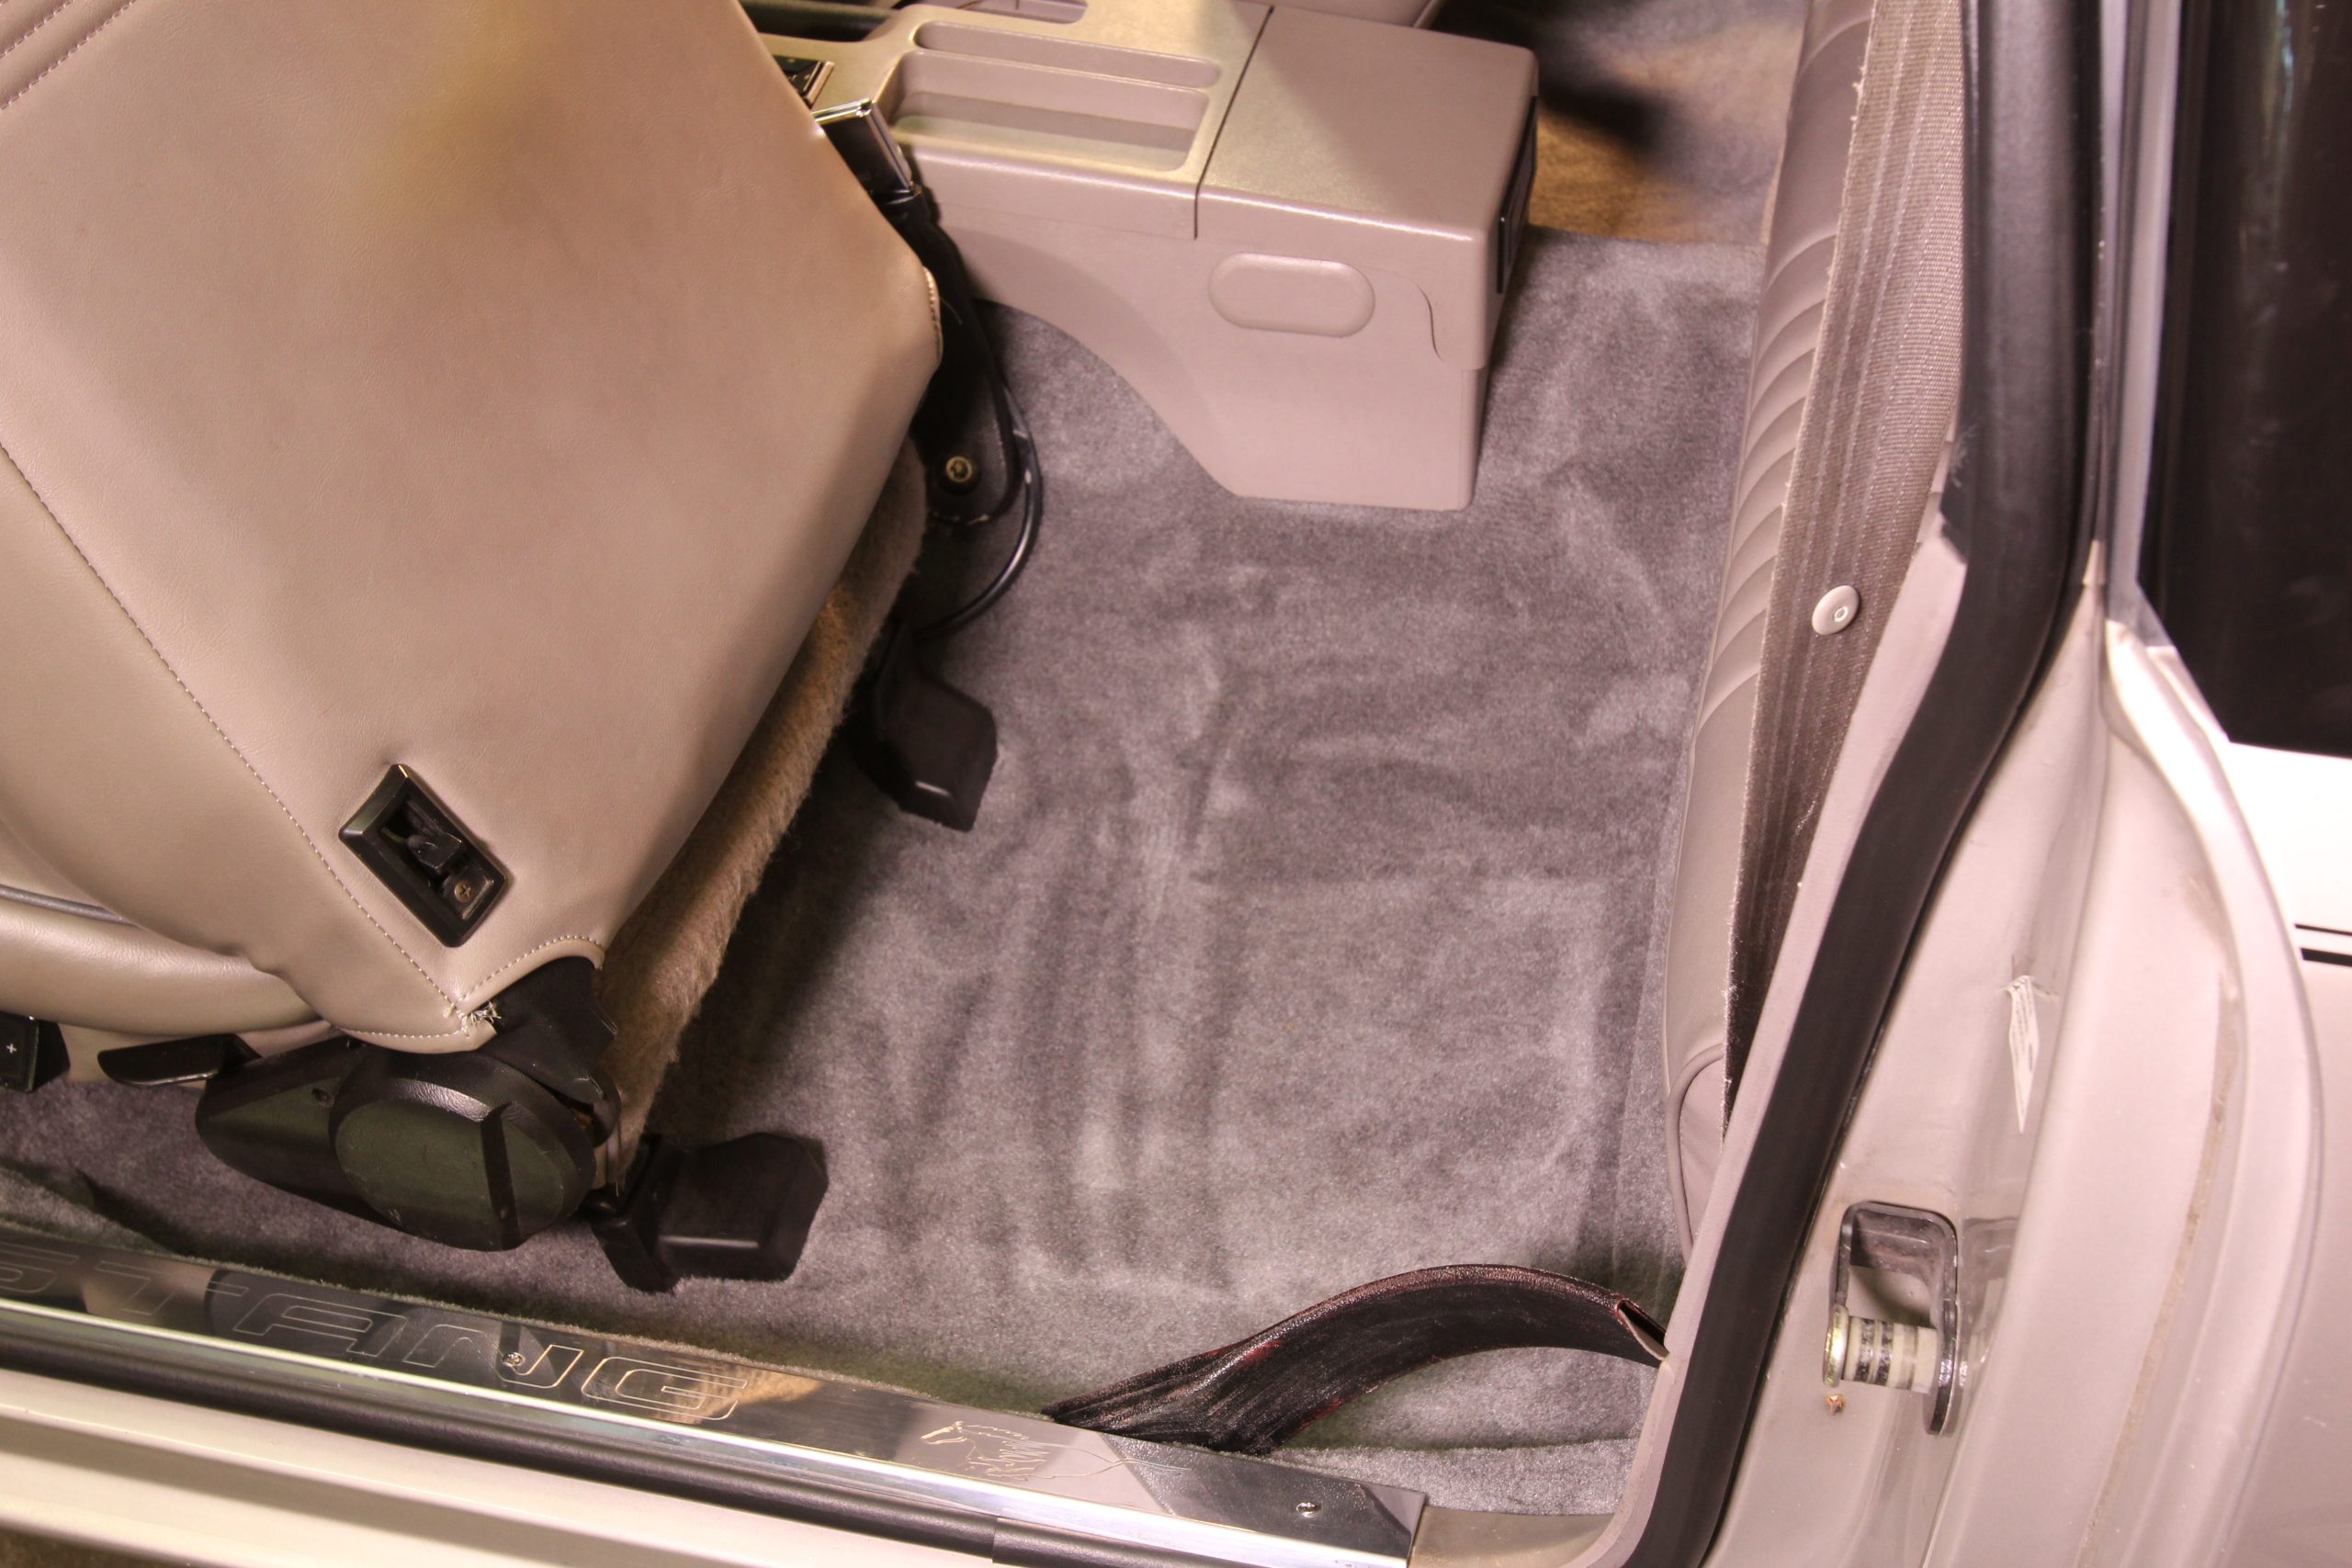
If you own a Foxbody Mustang, one of the easiest and most cost-effective ways to brighten your Ford is with new carpet.
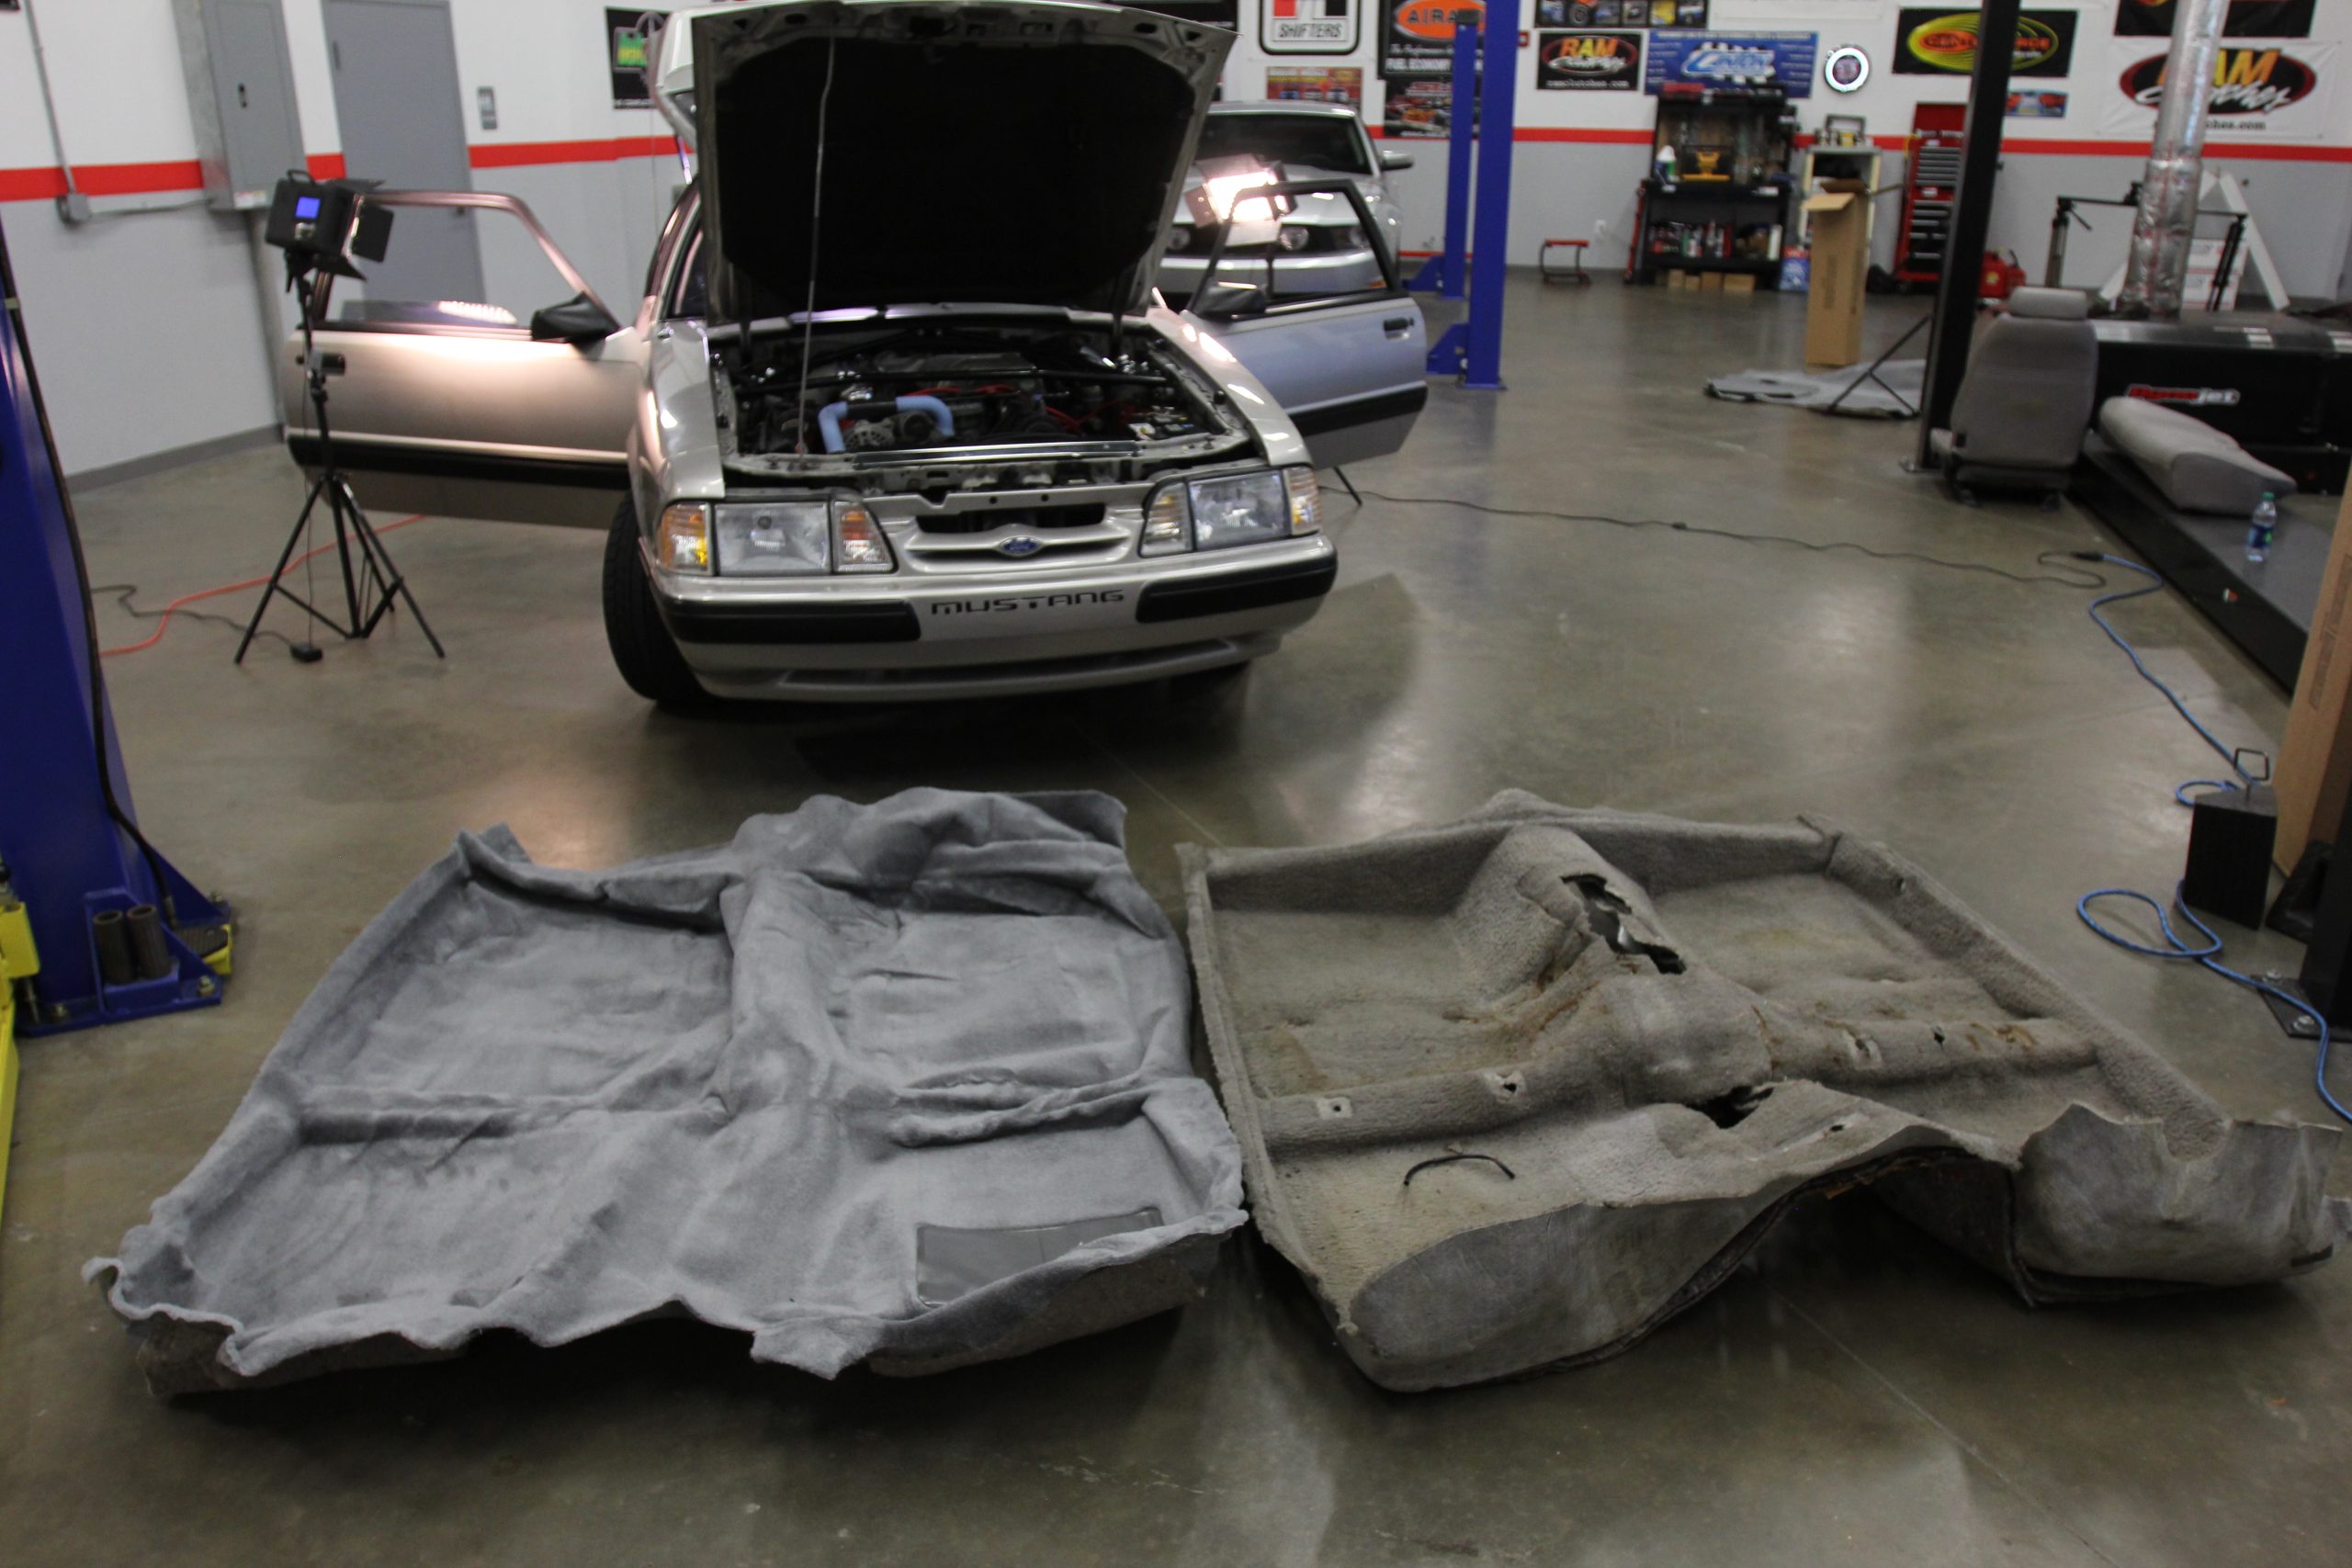
Automotive carpets take a beating—over time they become dirty, cruddy, and sometimes downright nasty. Throw in the effects of UV rays from the sun, the occasional spill, and you can see why a carpet replacement is a must in older Mustangs.
Summit Racing offers brand-new, ACC (Auto Custom Carpet) custom-fit carpets that are a really affordable way to rejuvenate your interior. Installation can be done with basic hand tools, and the results will amaze you. With a few hours invested, you’ll transform your interior from ratty to rockin’.
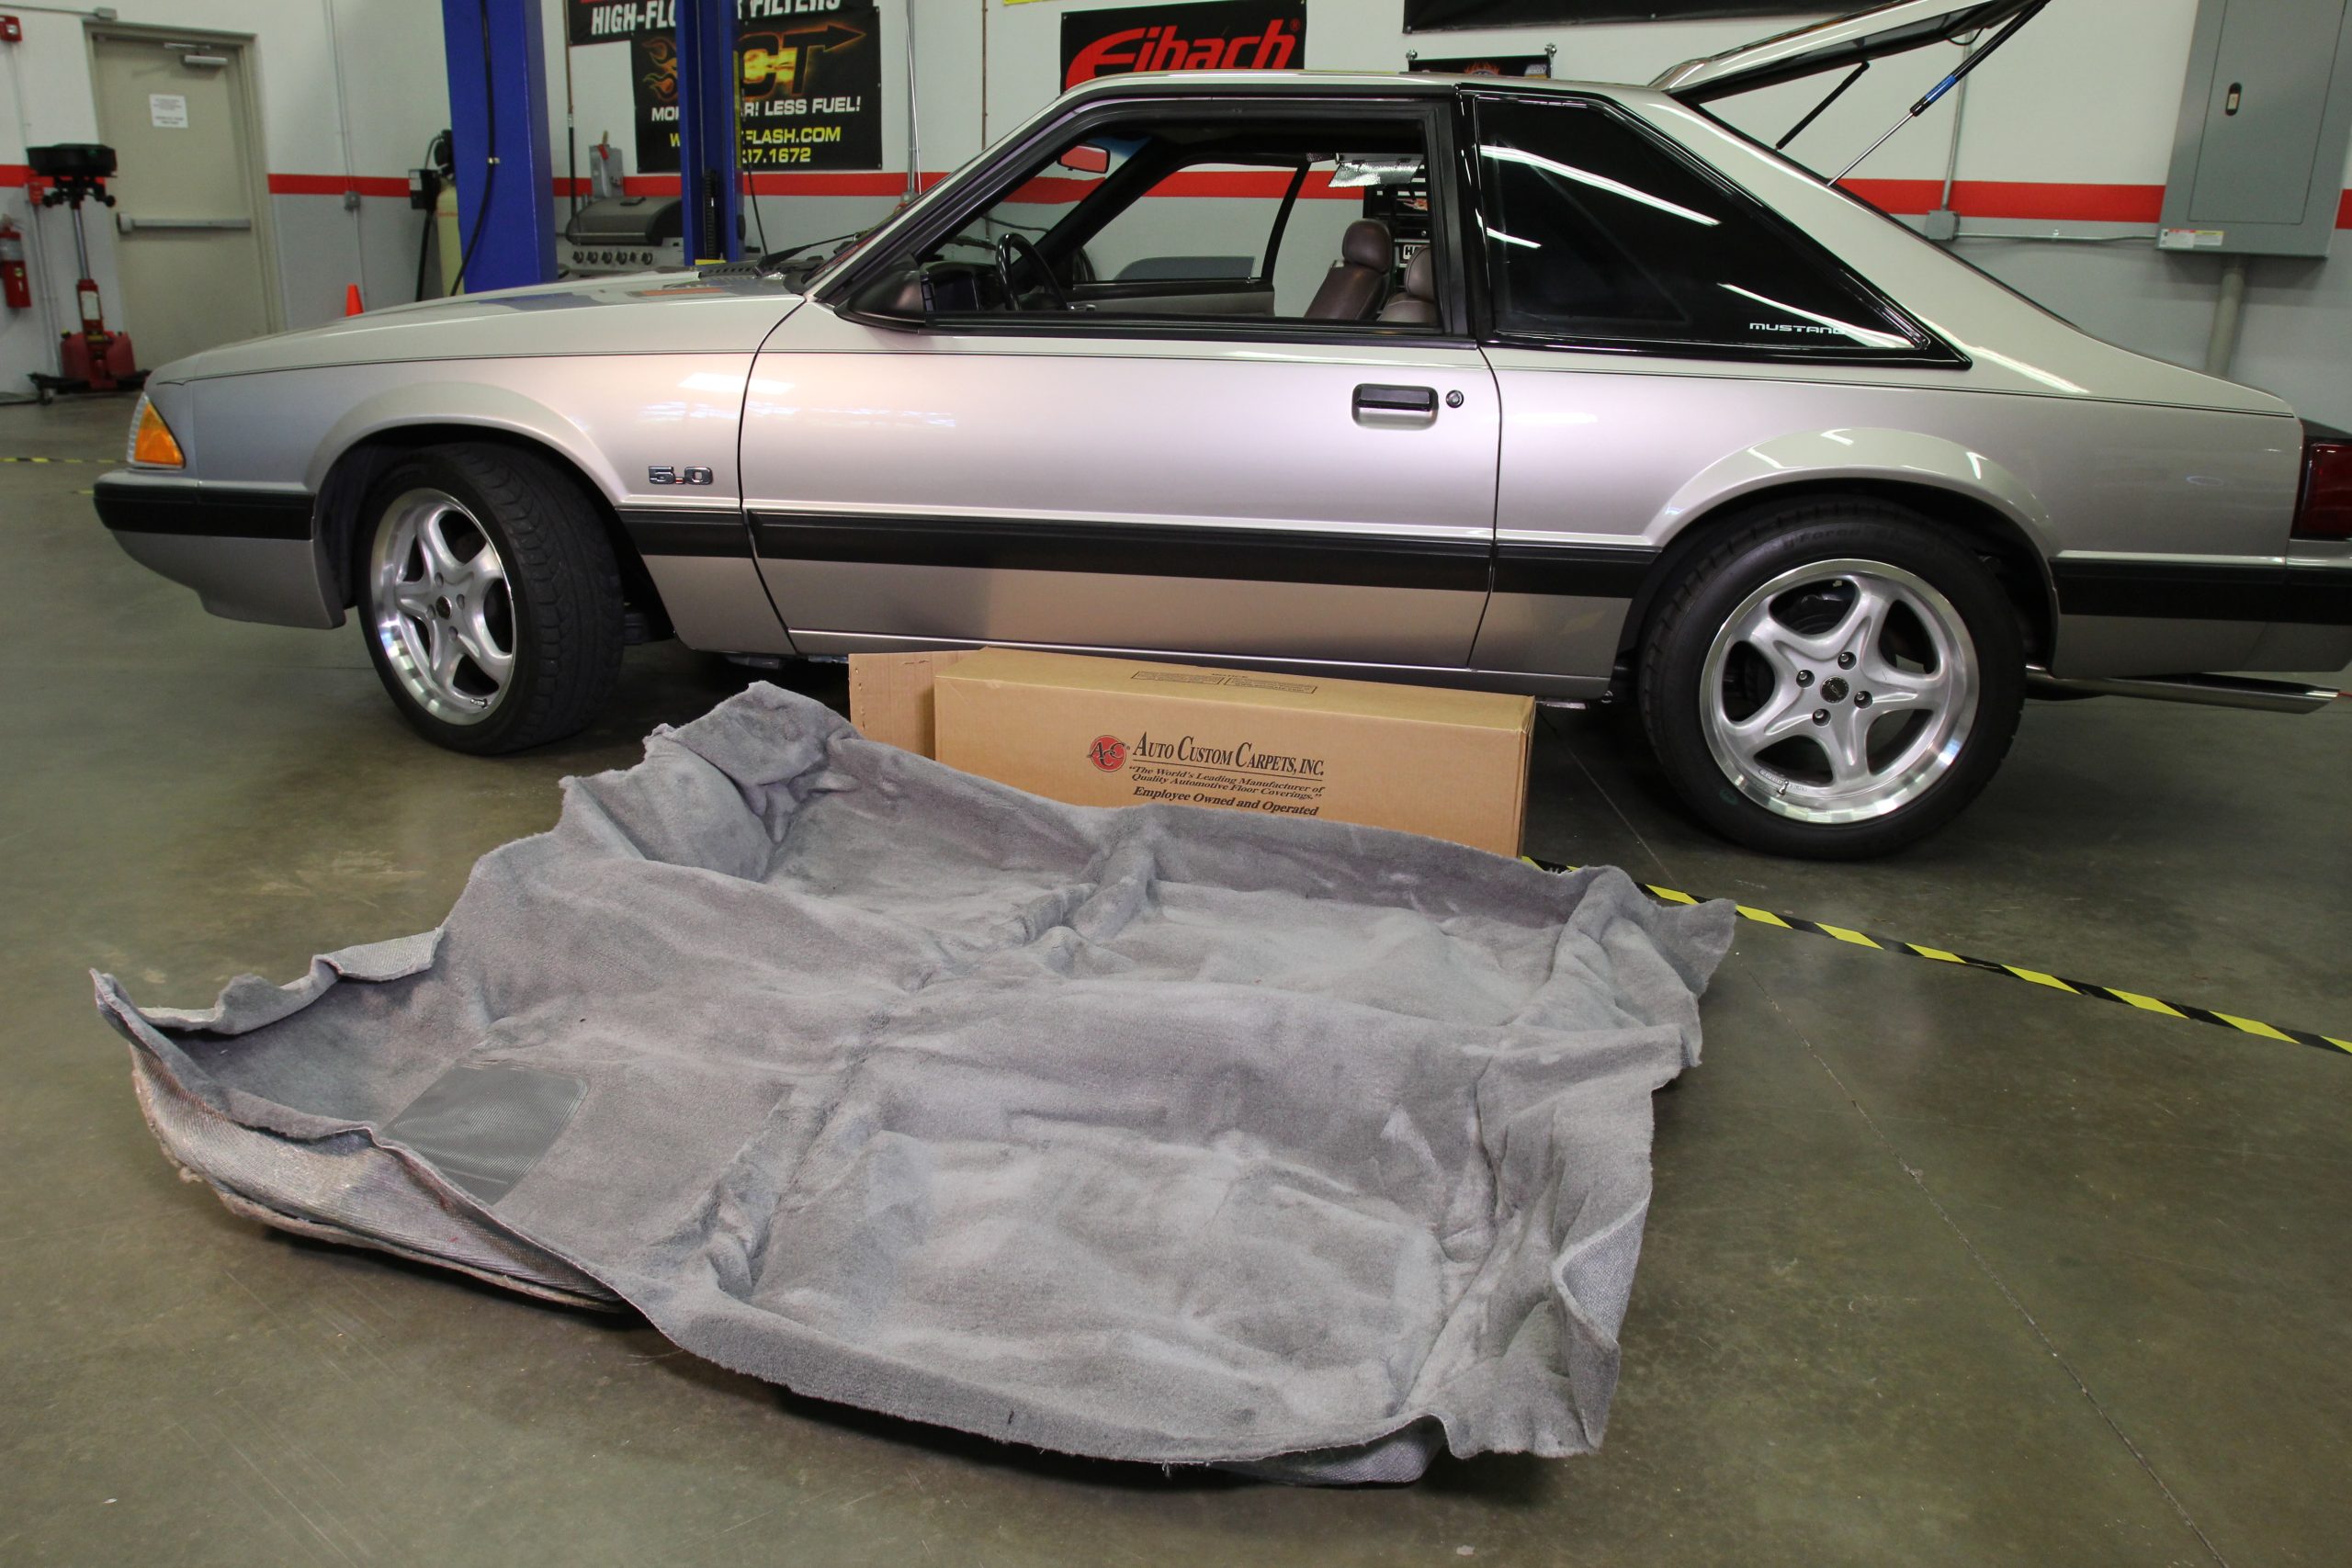
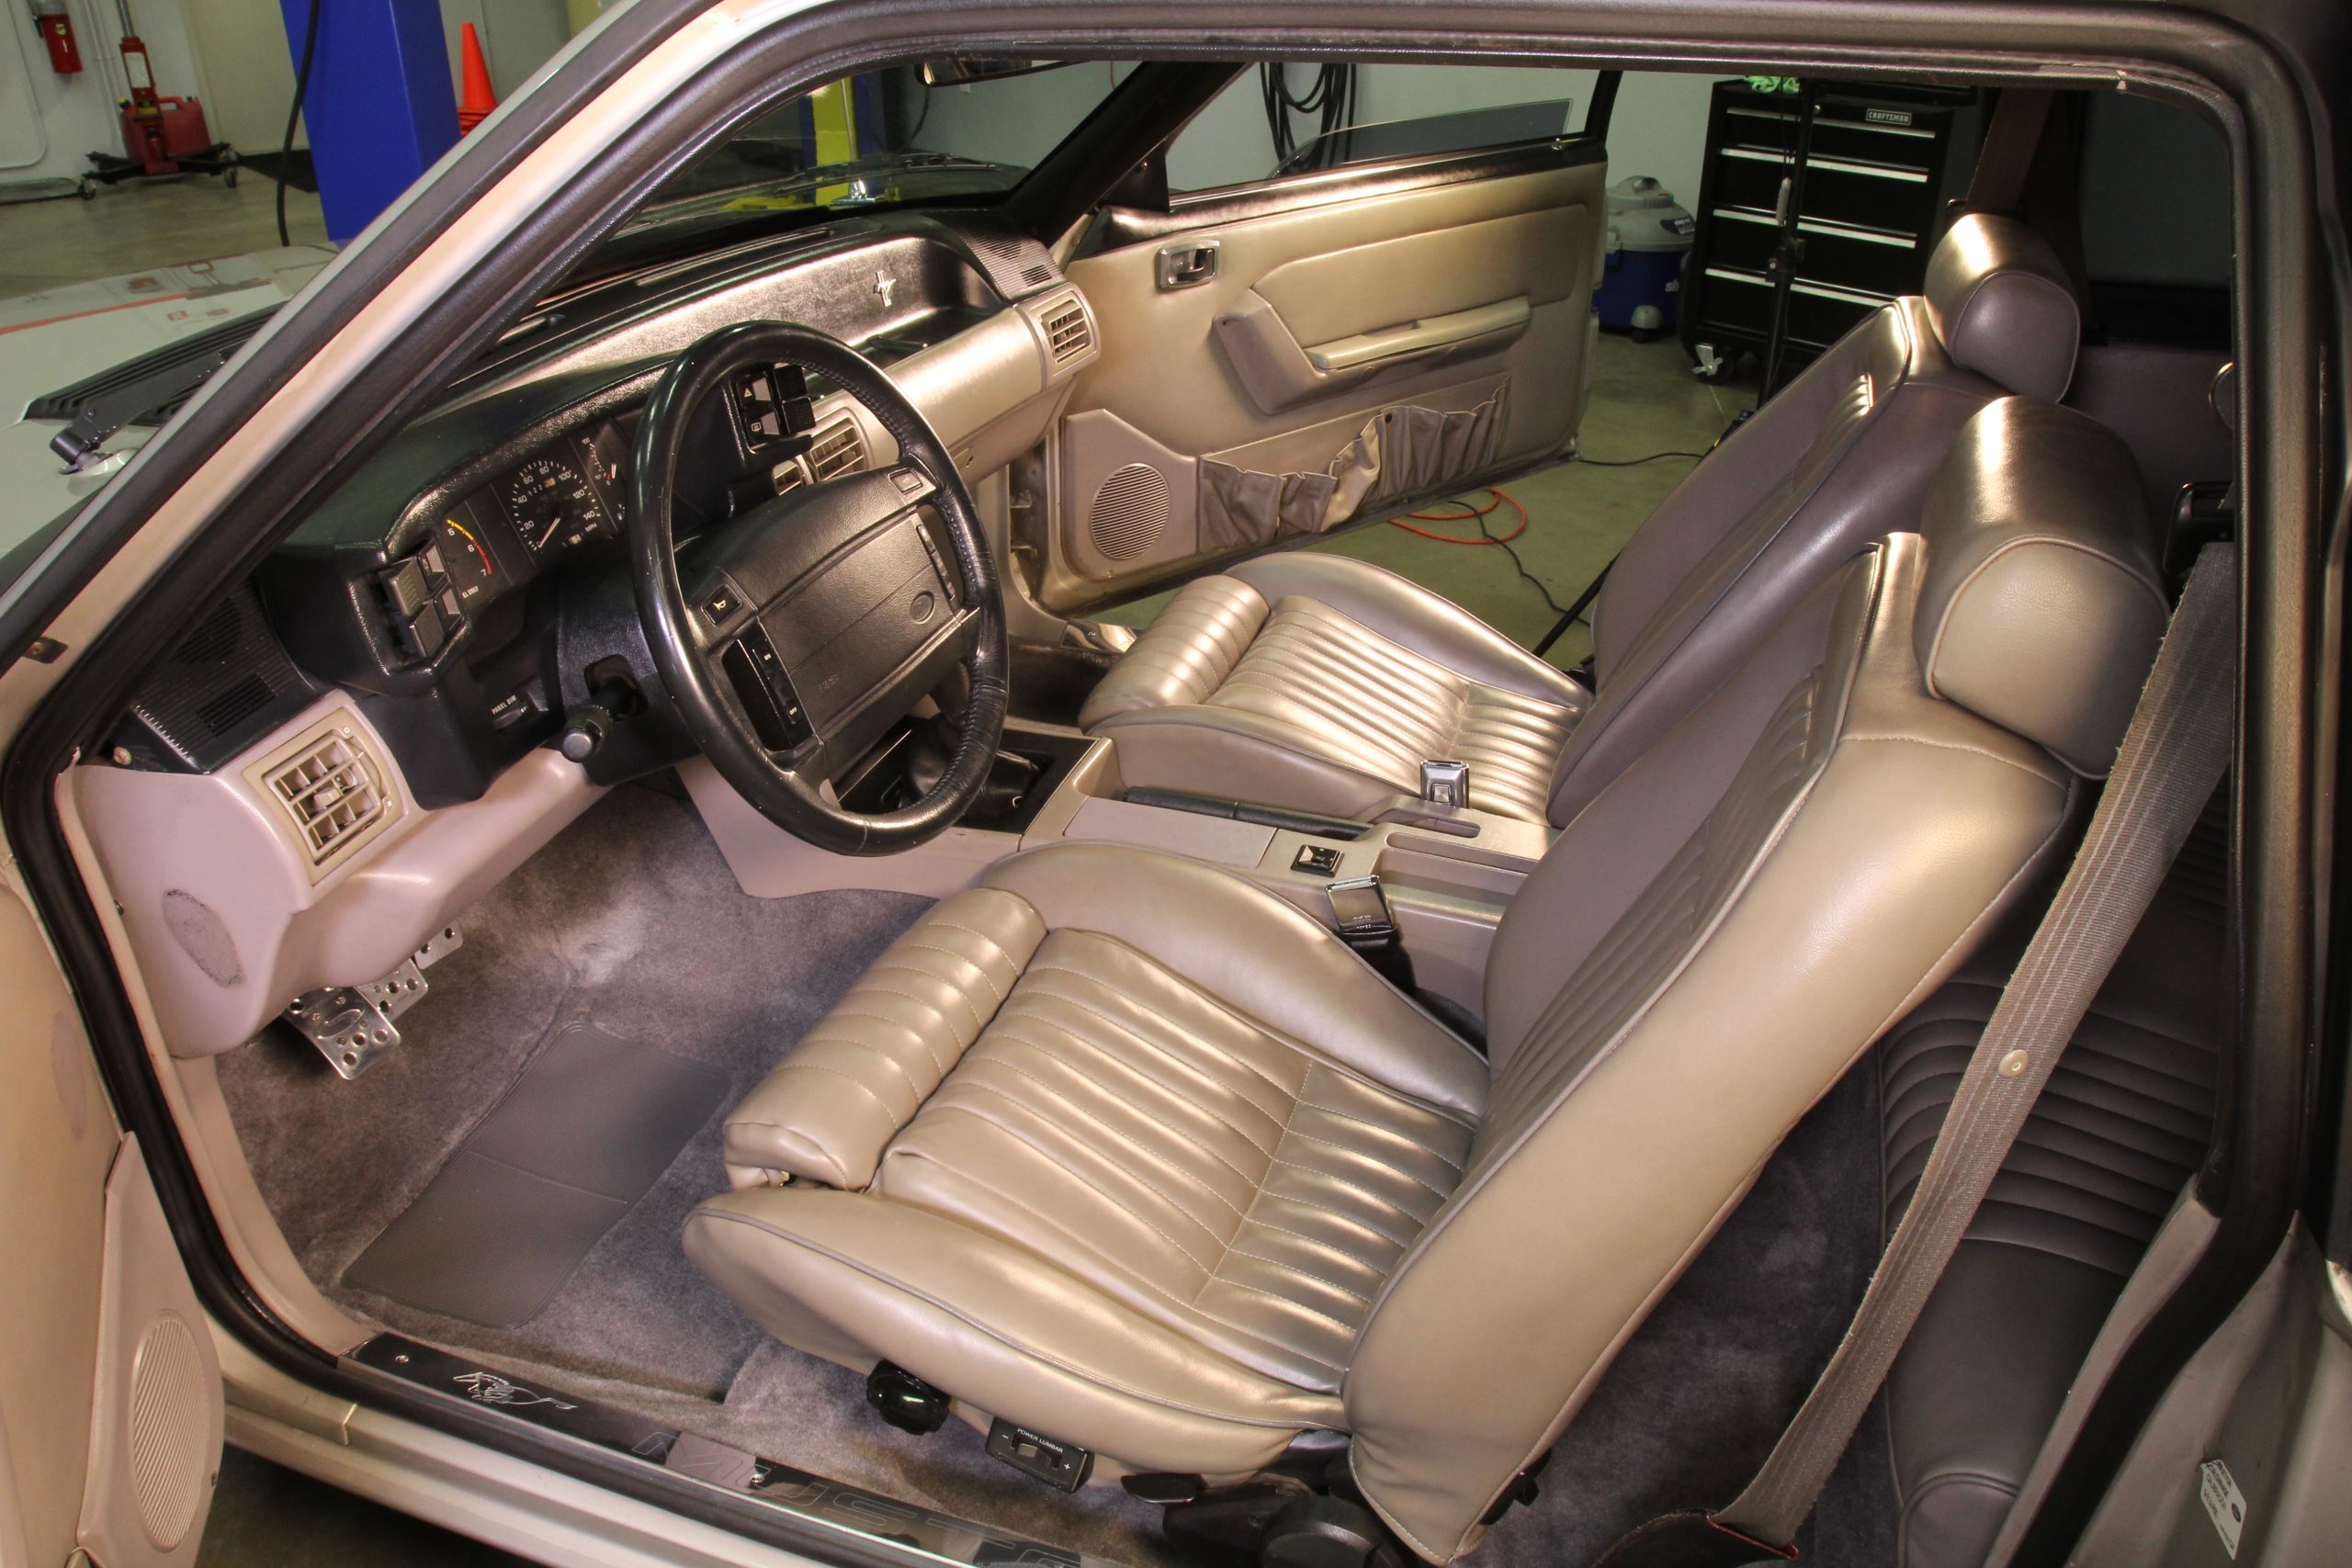
To illustrate the simplicity of this install, we completed the job on a 1992 5.0 Mustang LX hatchback. All Foxbody hatchbacks (1979 to 1993) have front carpet and separate rear carpet in the cargo area. In our case, the rear hatch carpet was recently replaced, so we focused on the front passenger compartment. It takes a few hours to do the job right, so follow along as we swap carpets in this Foxbody Mustang.
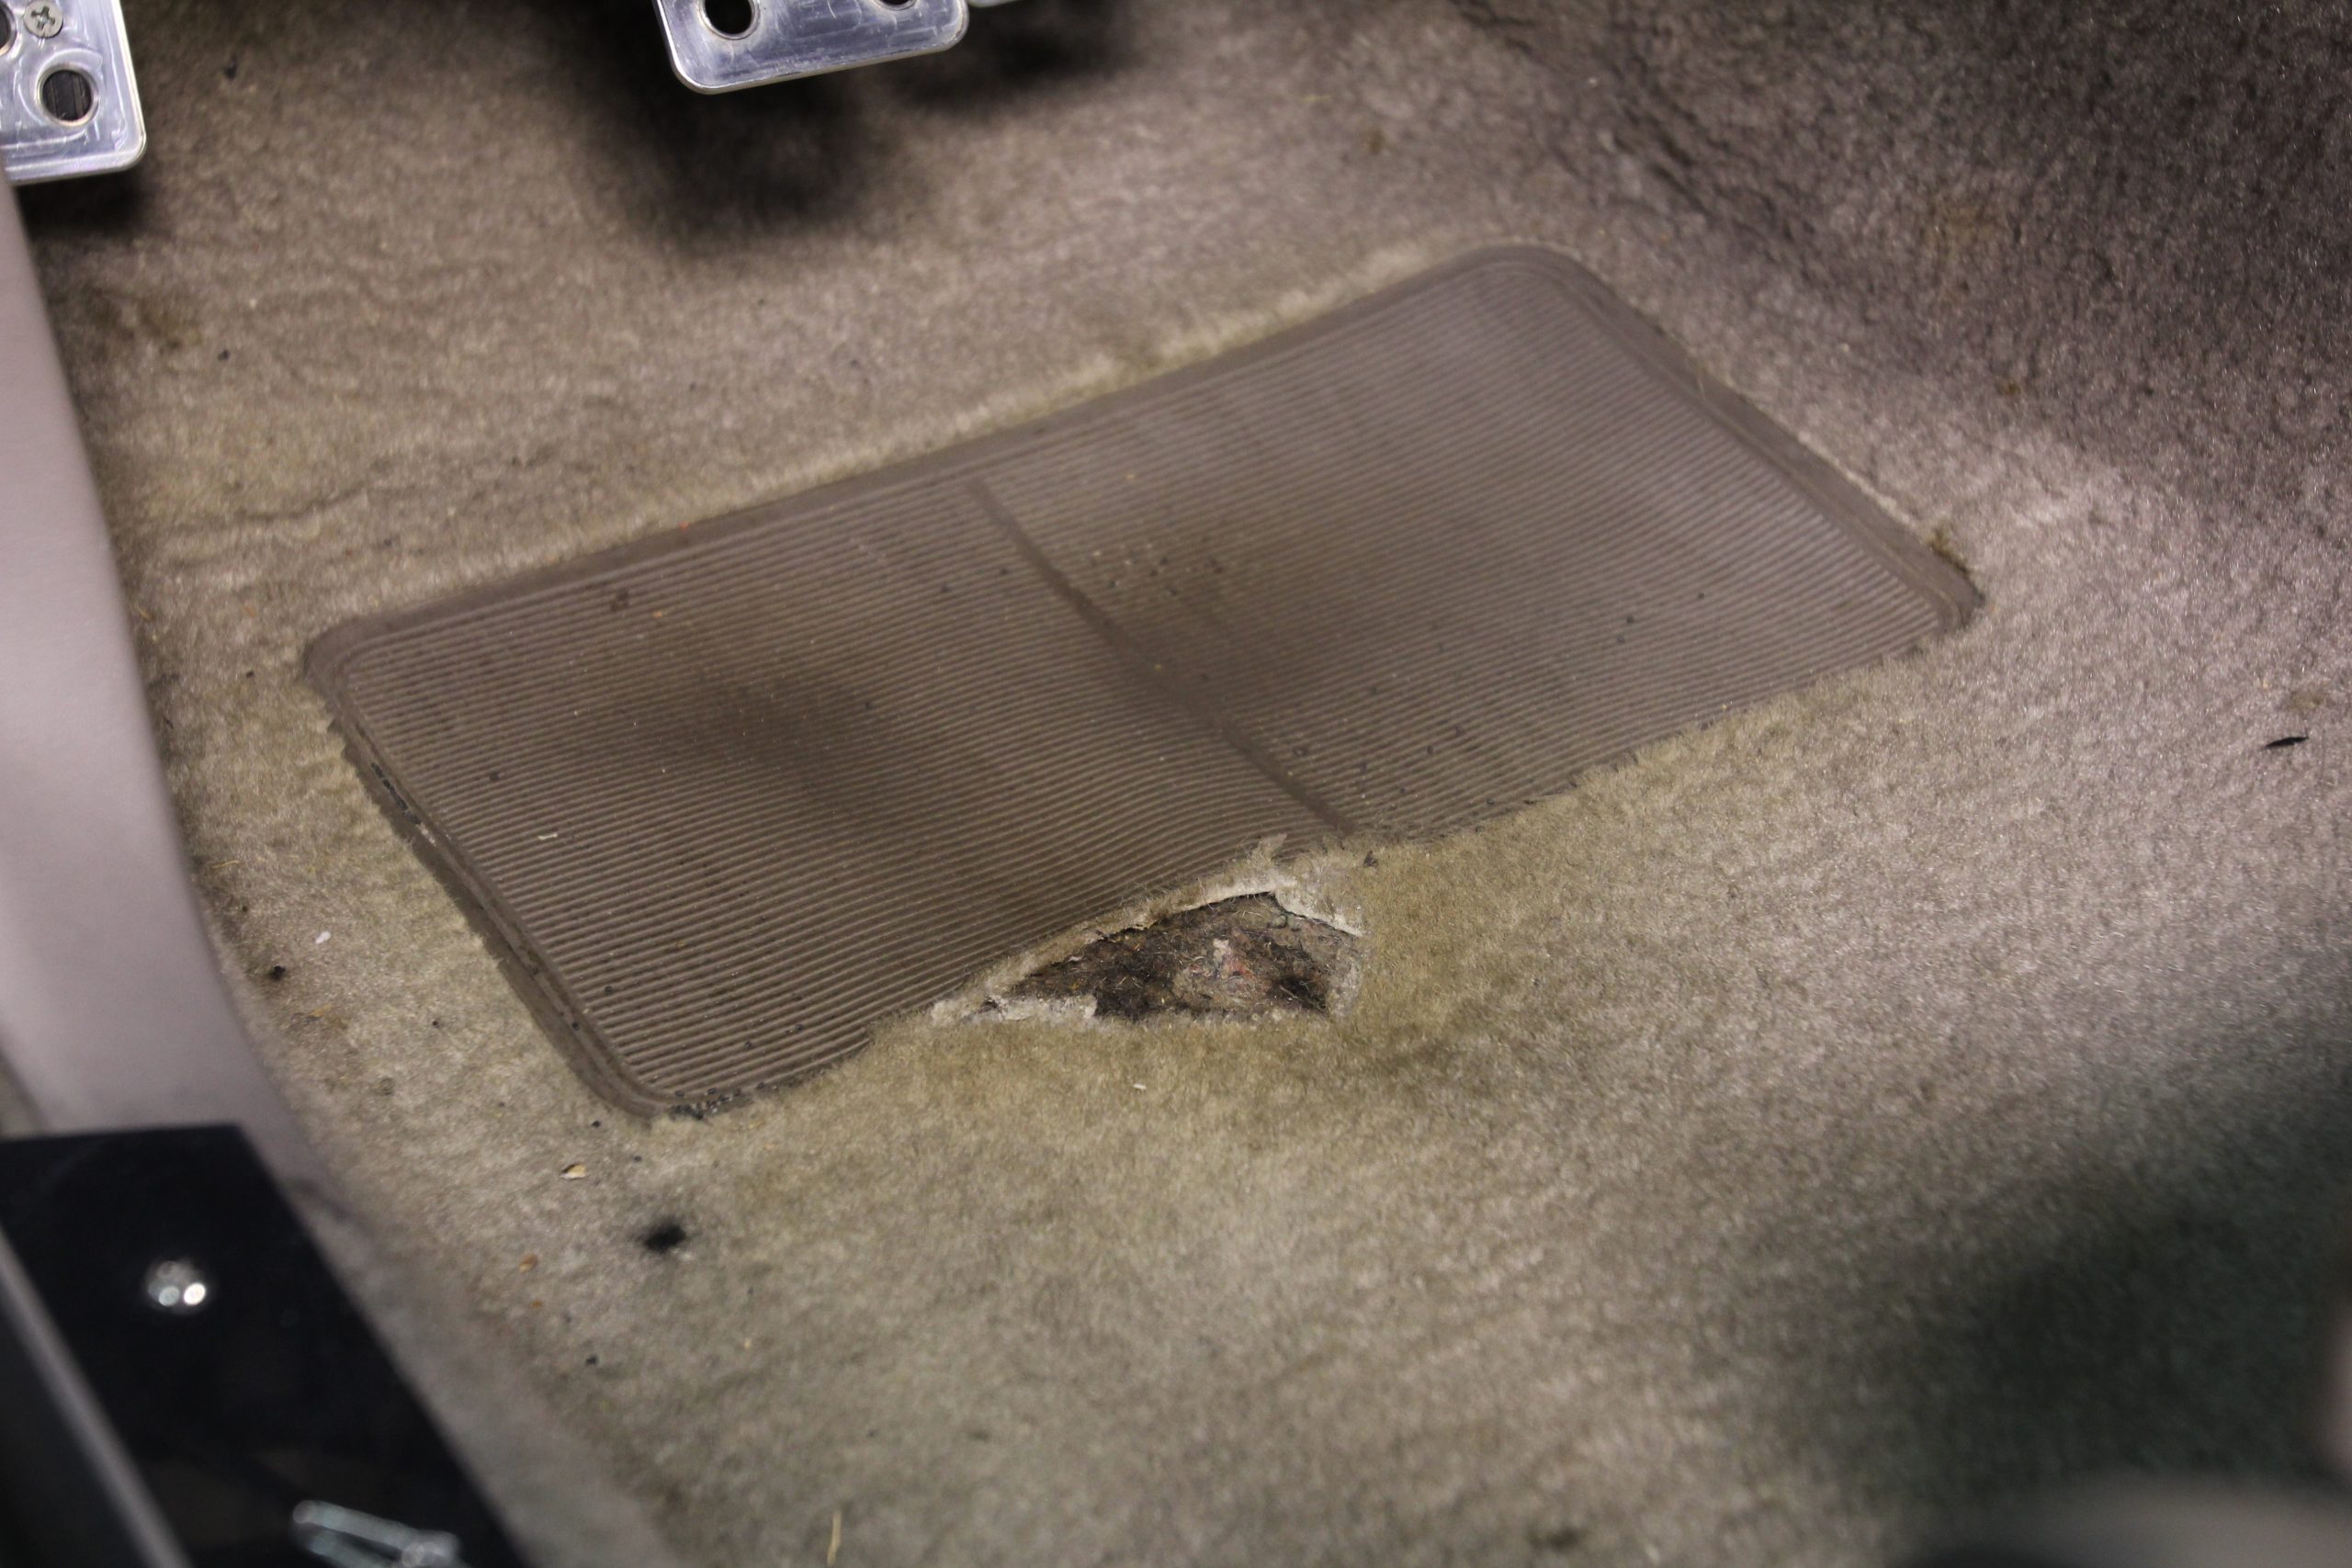
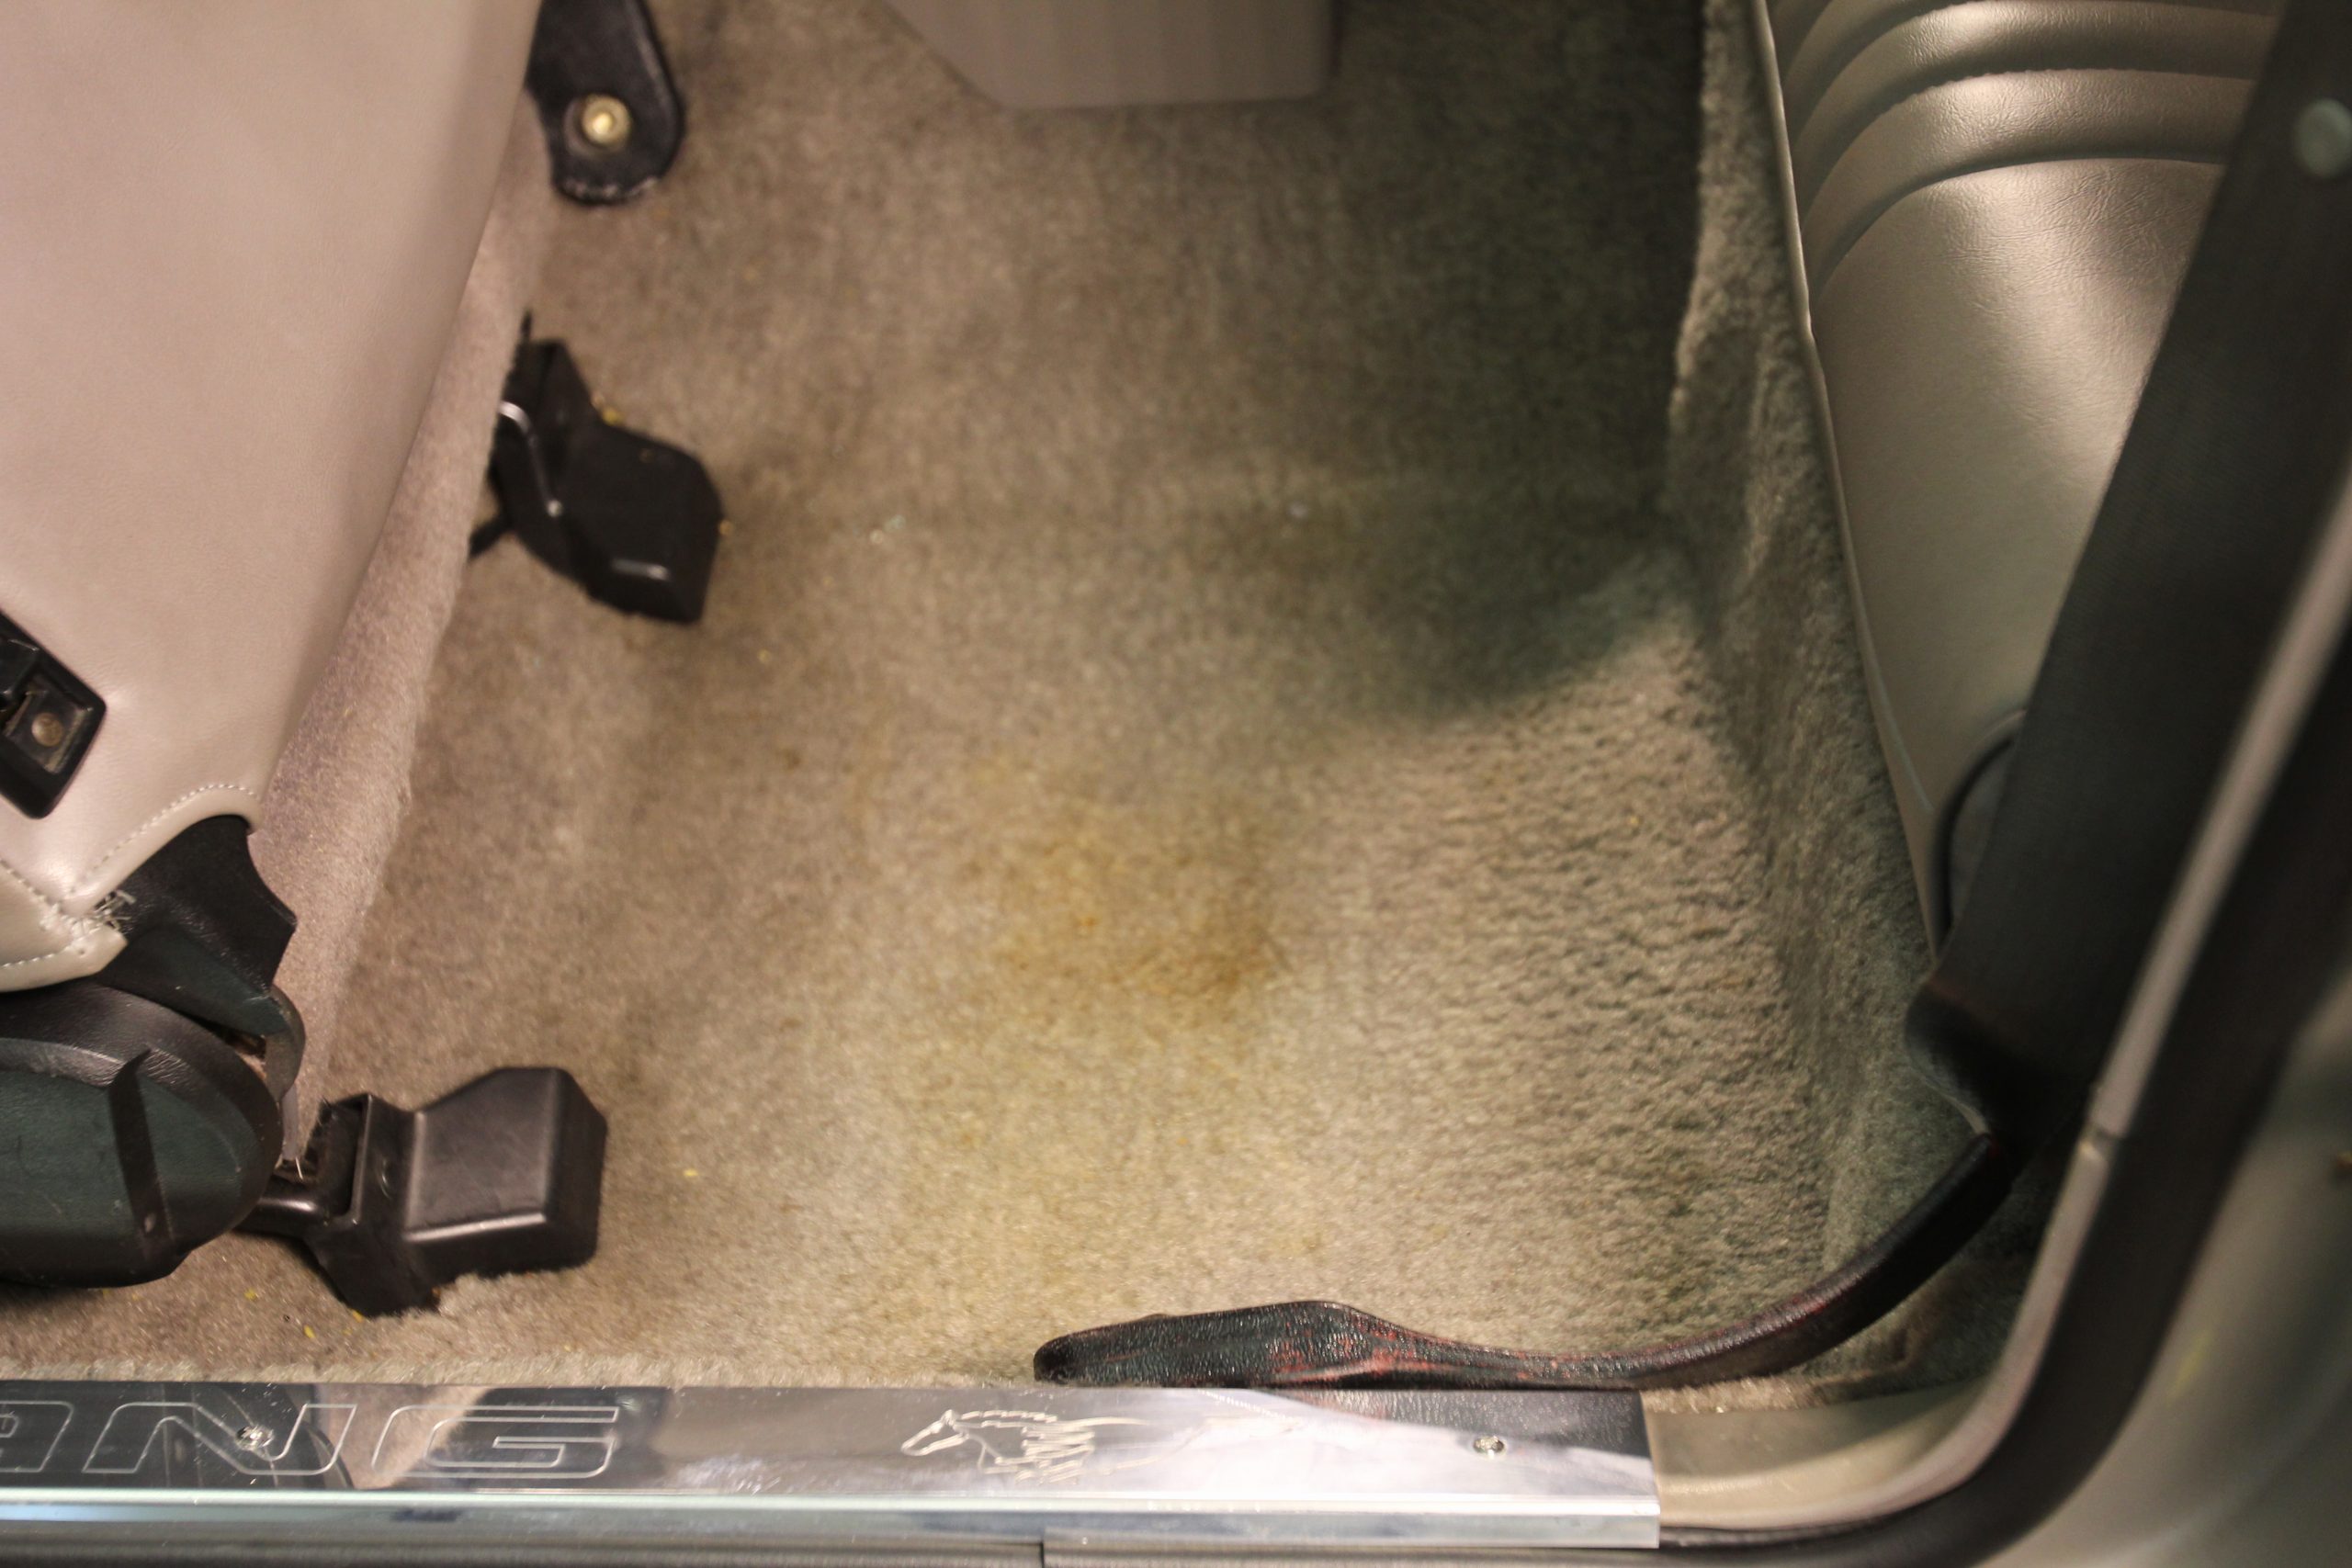
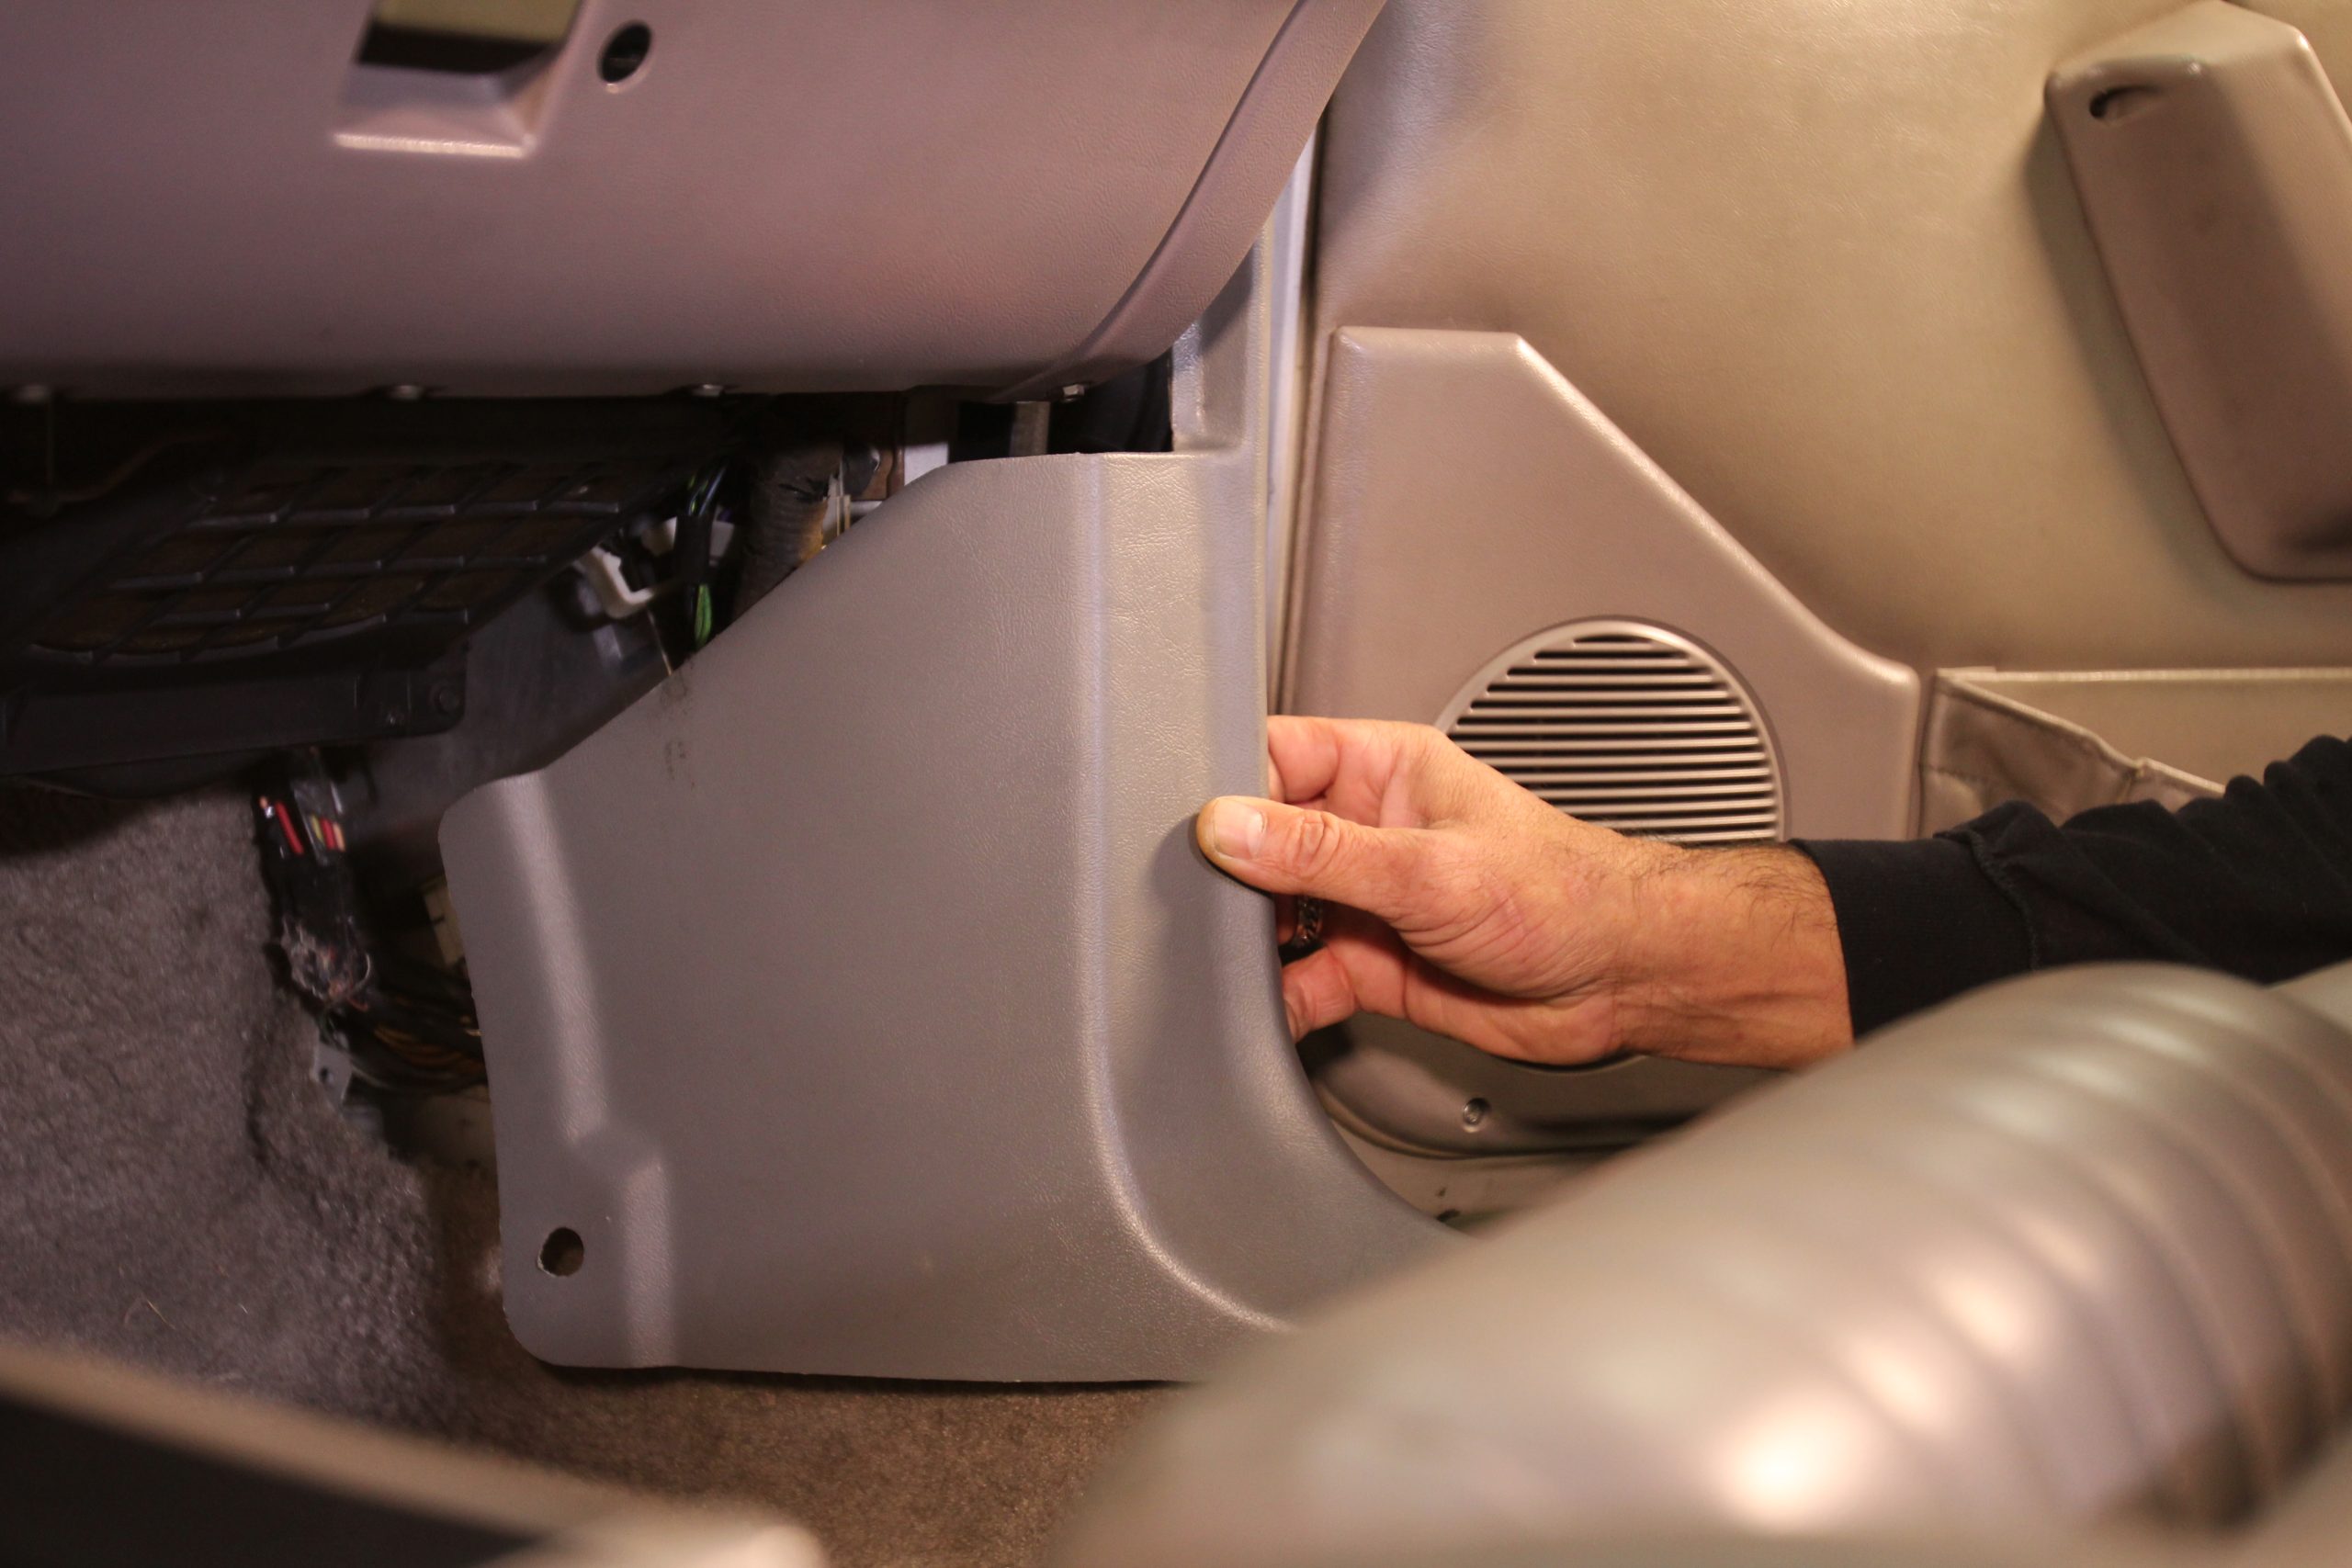
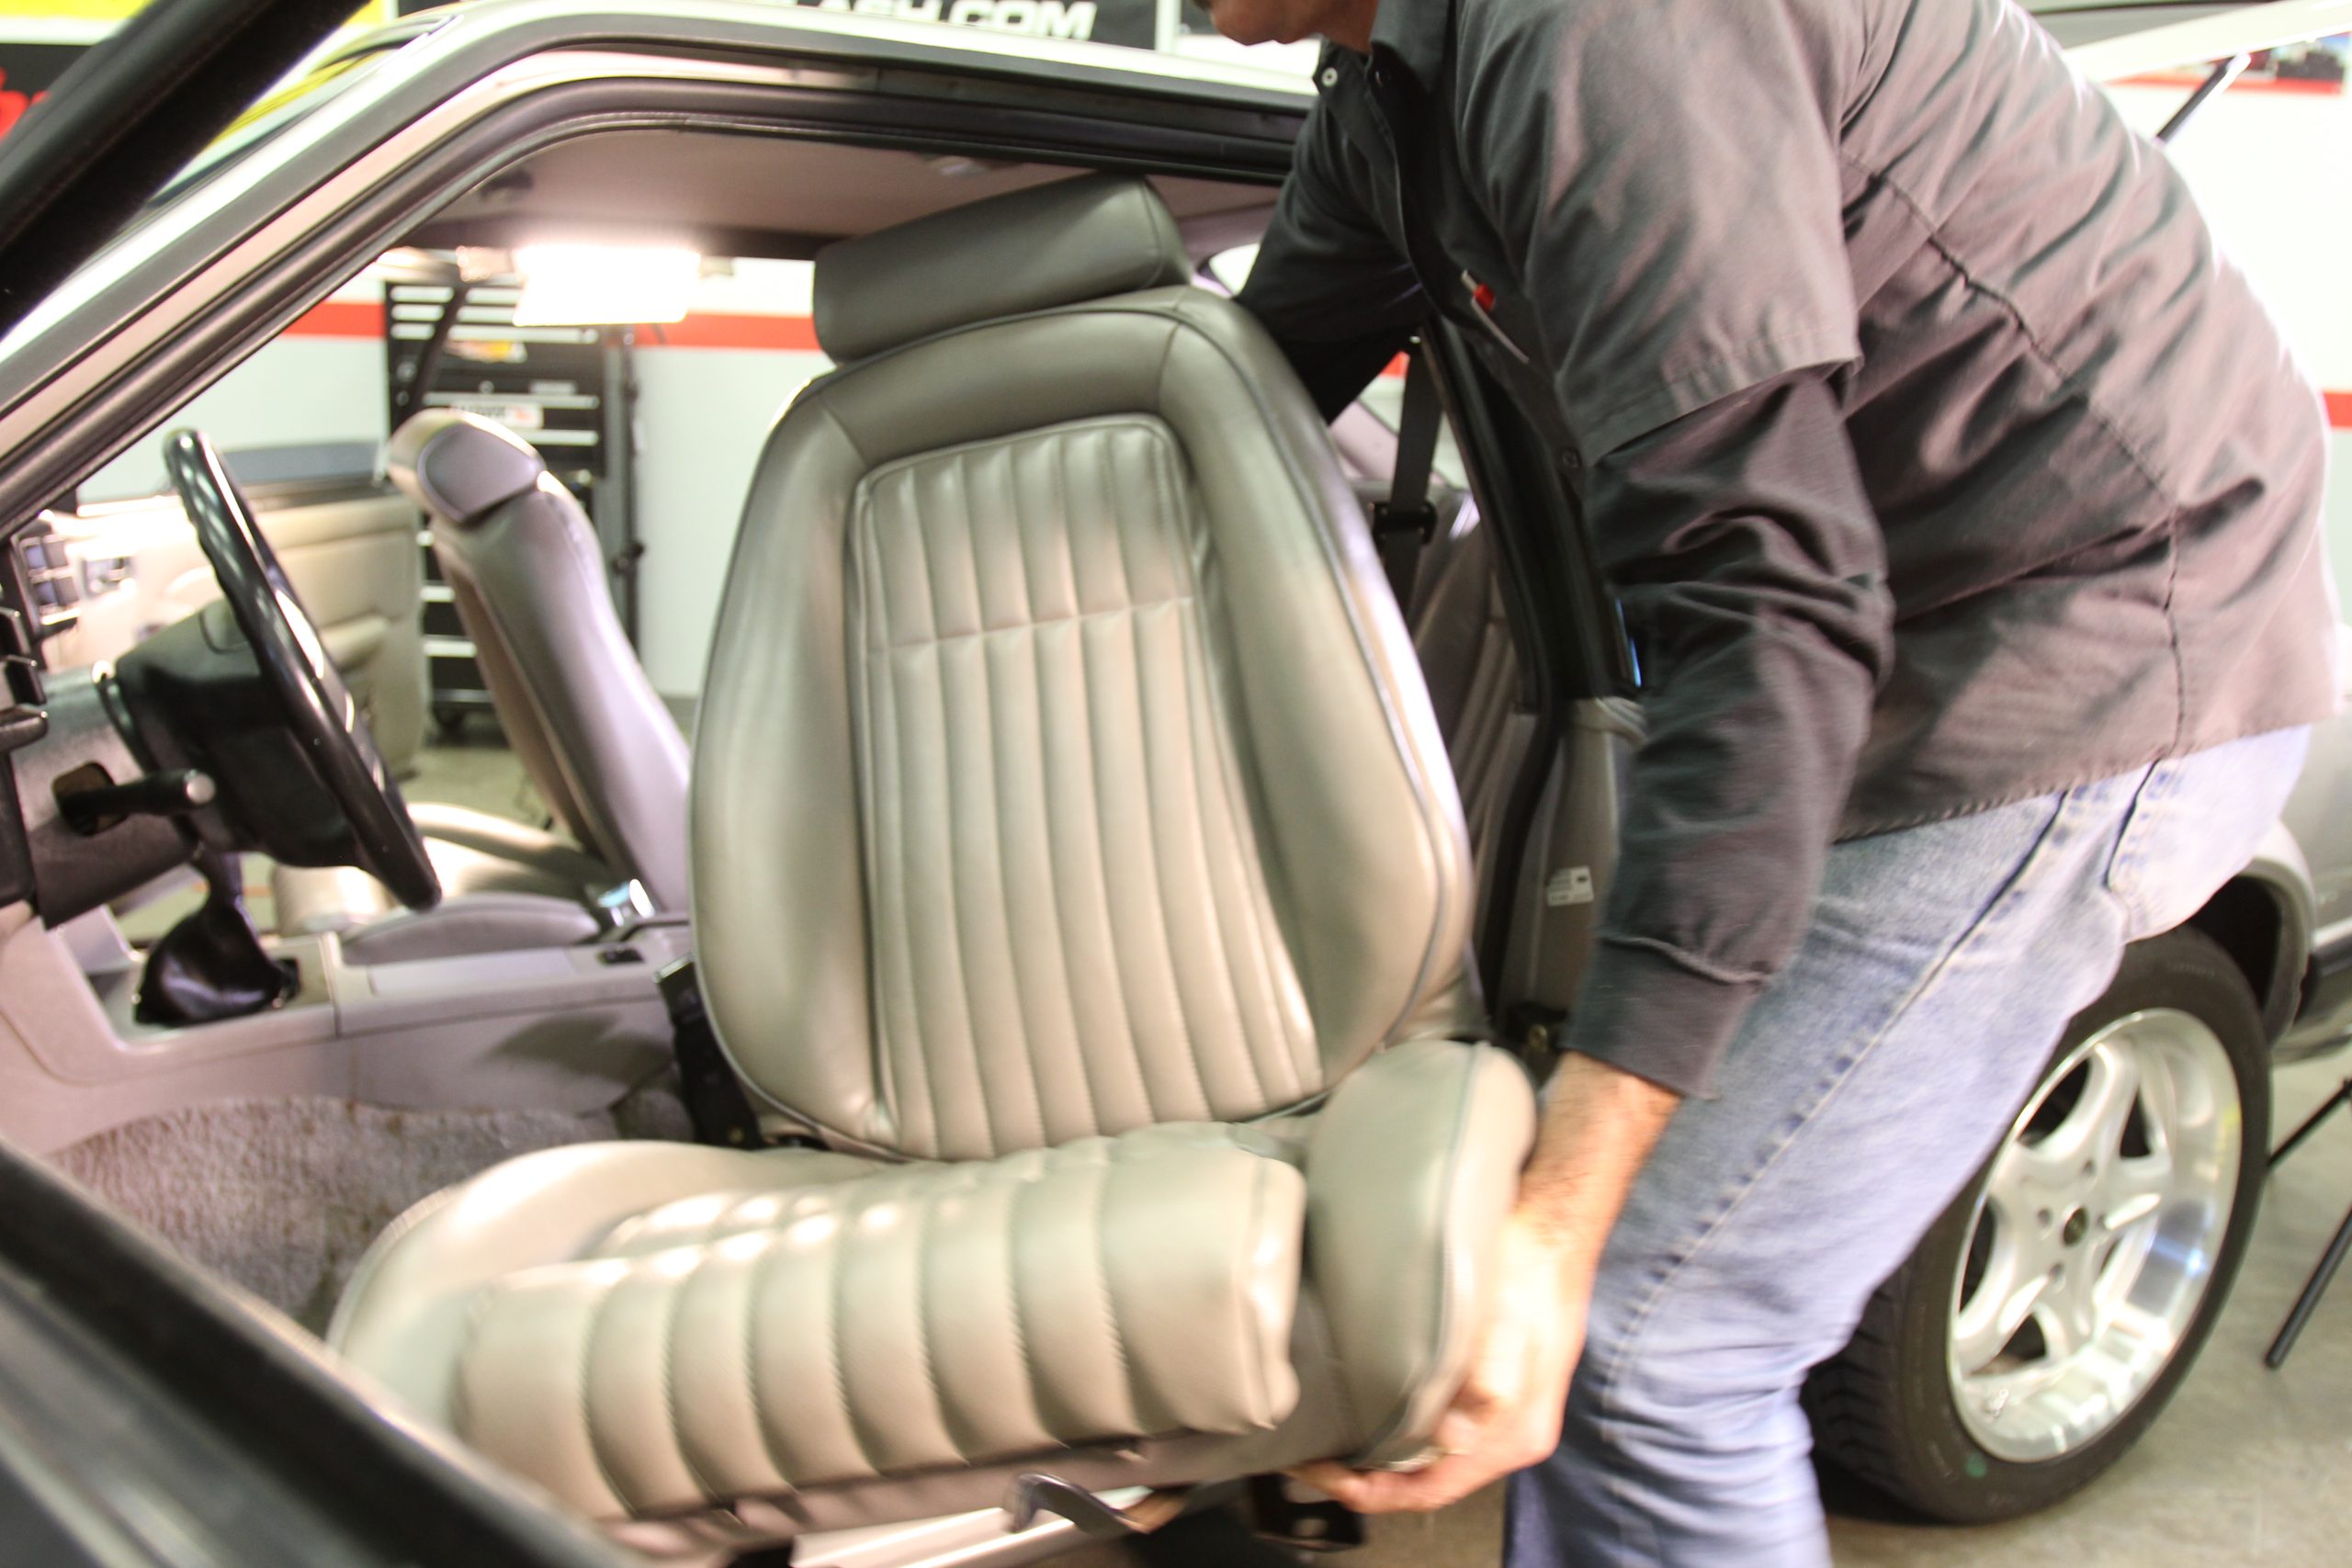
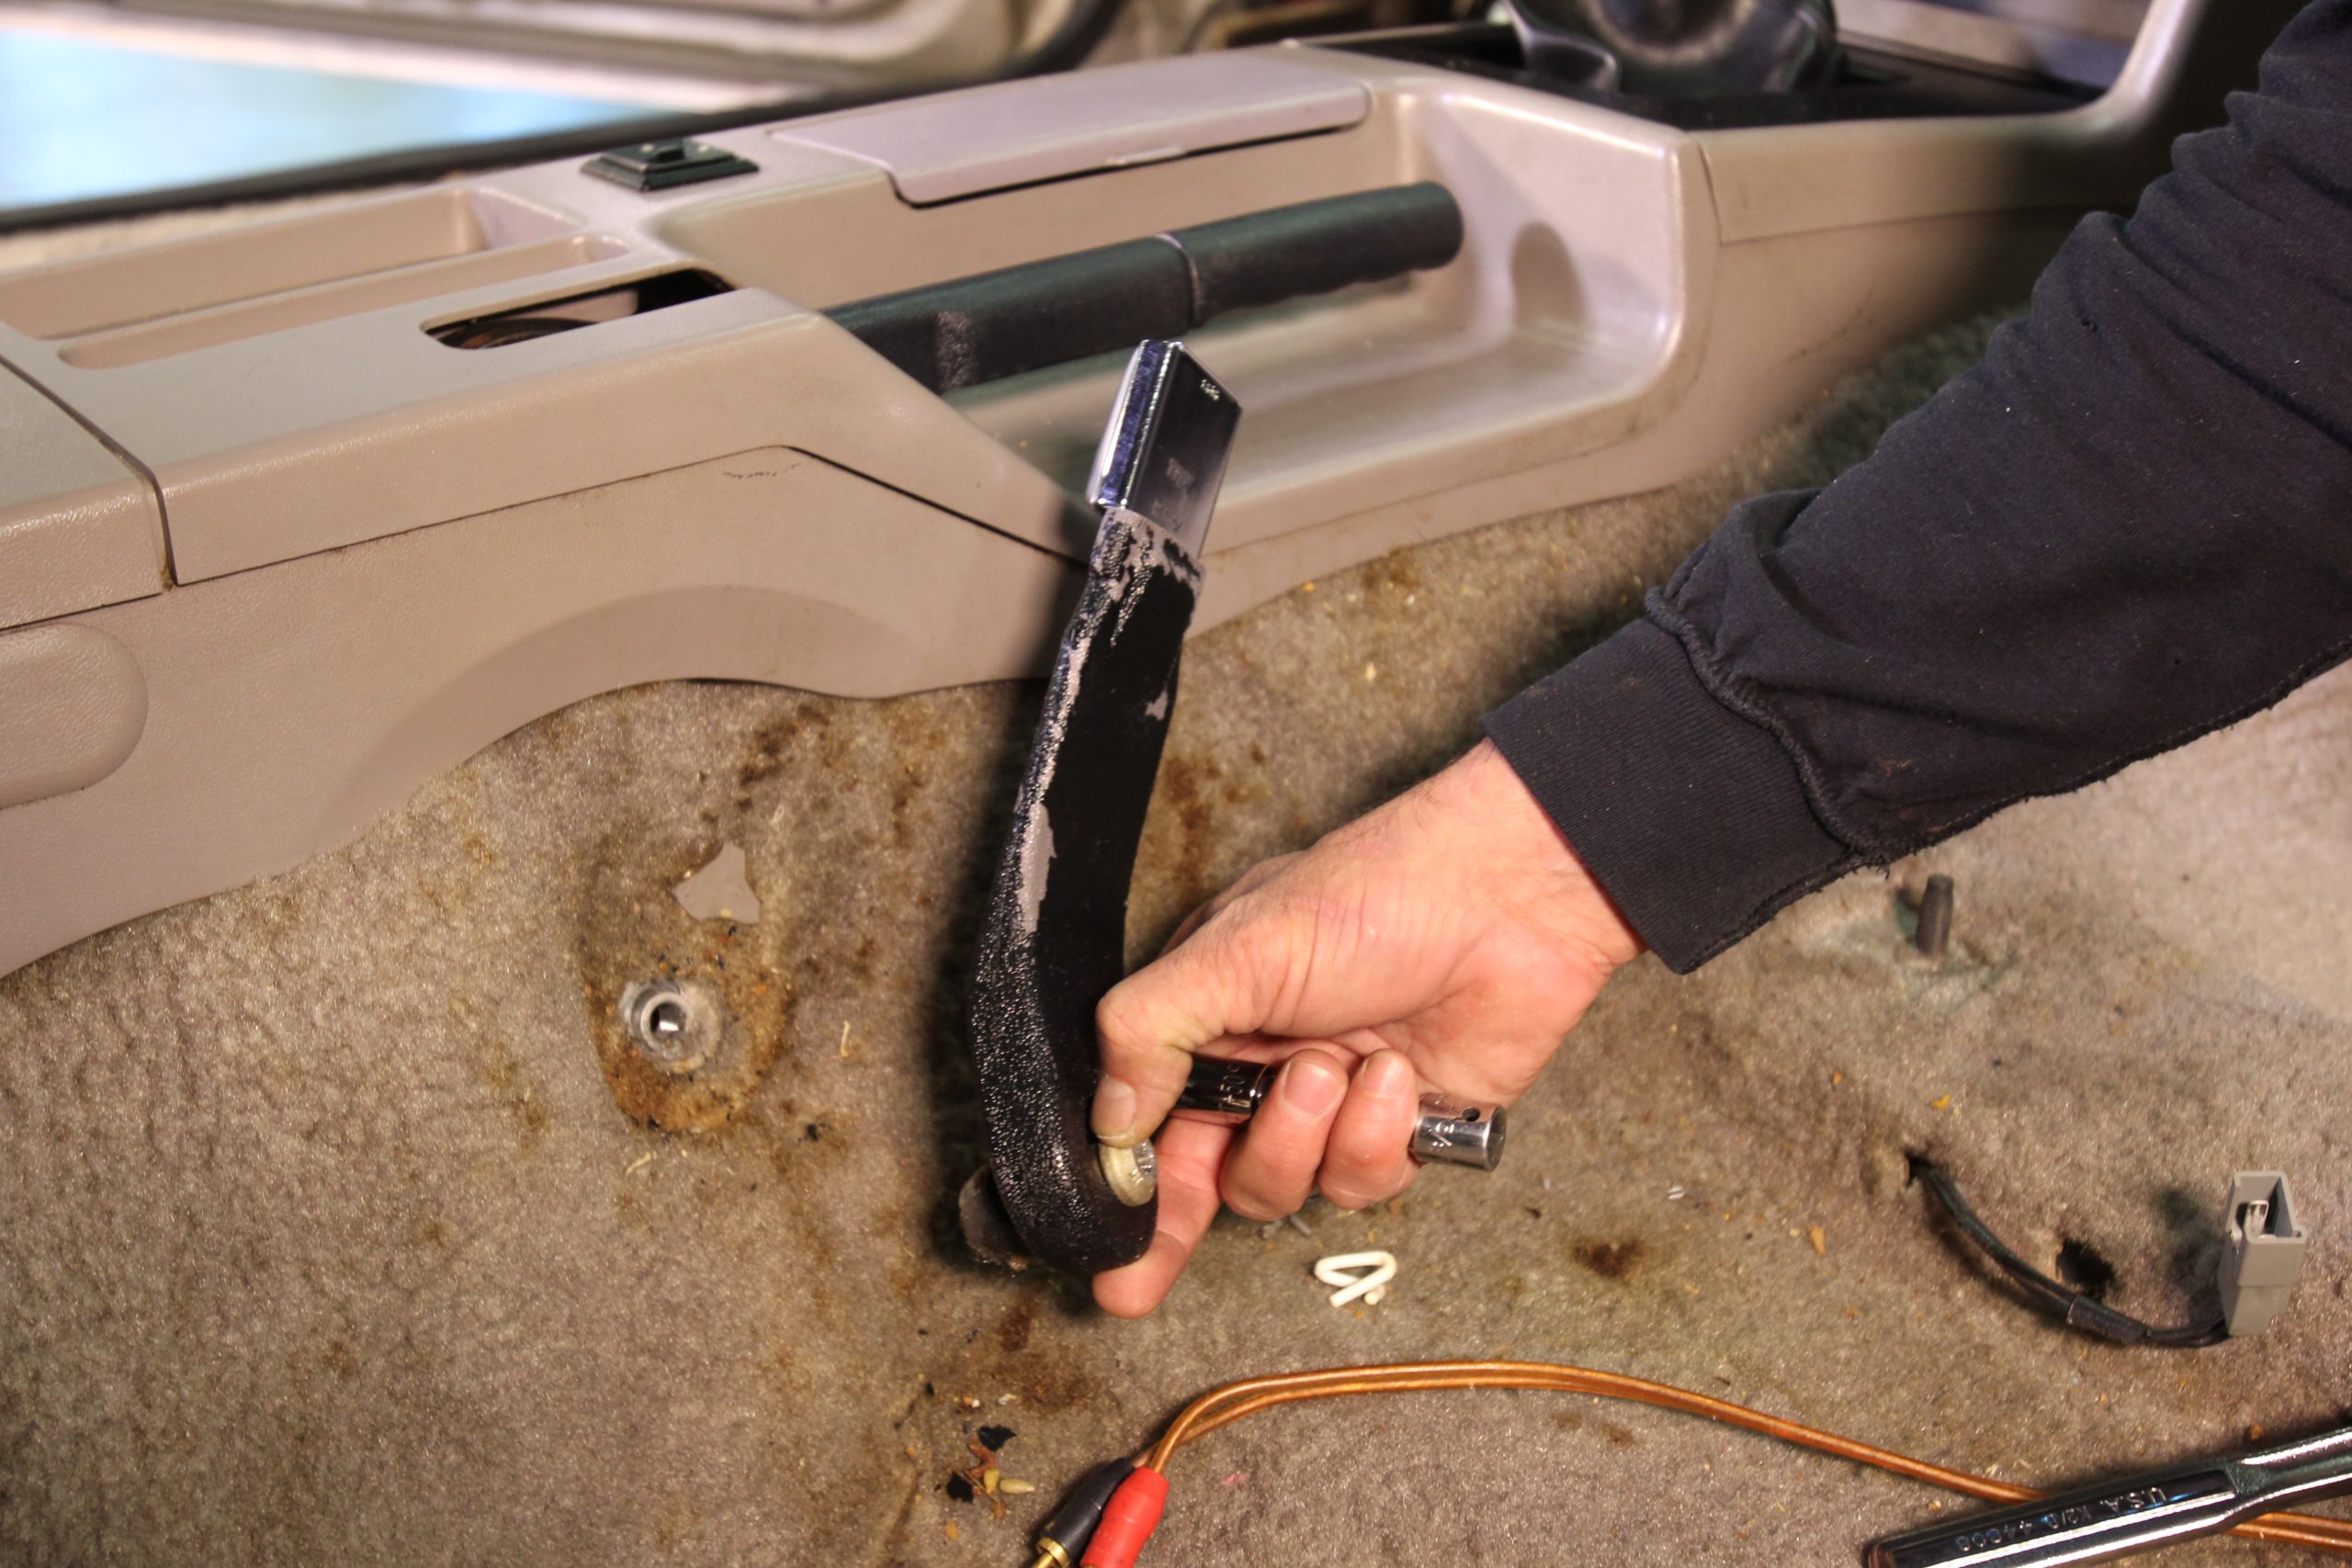
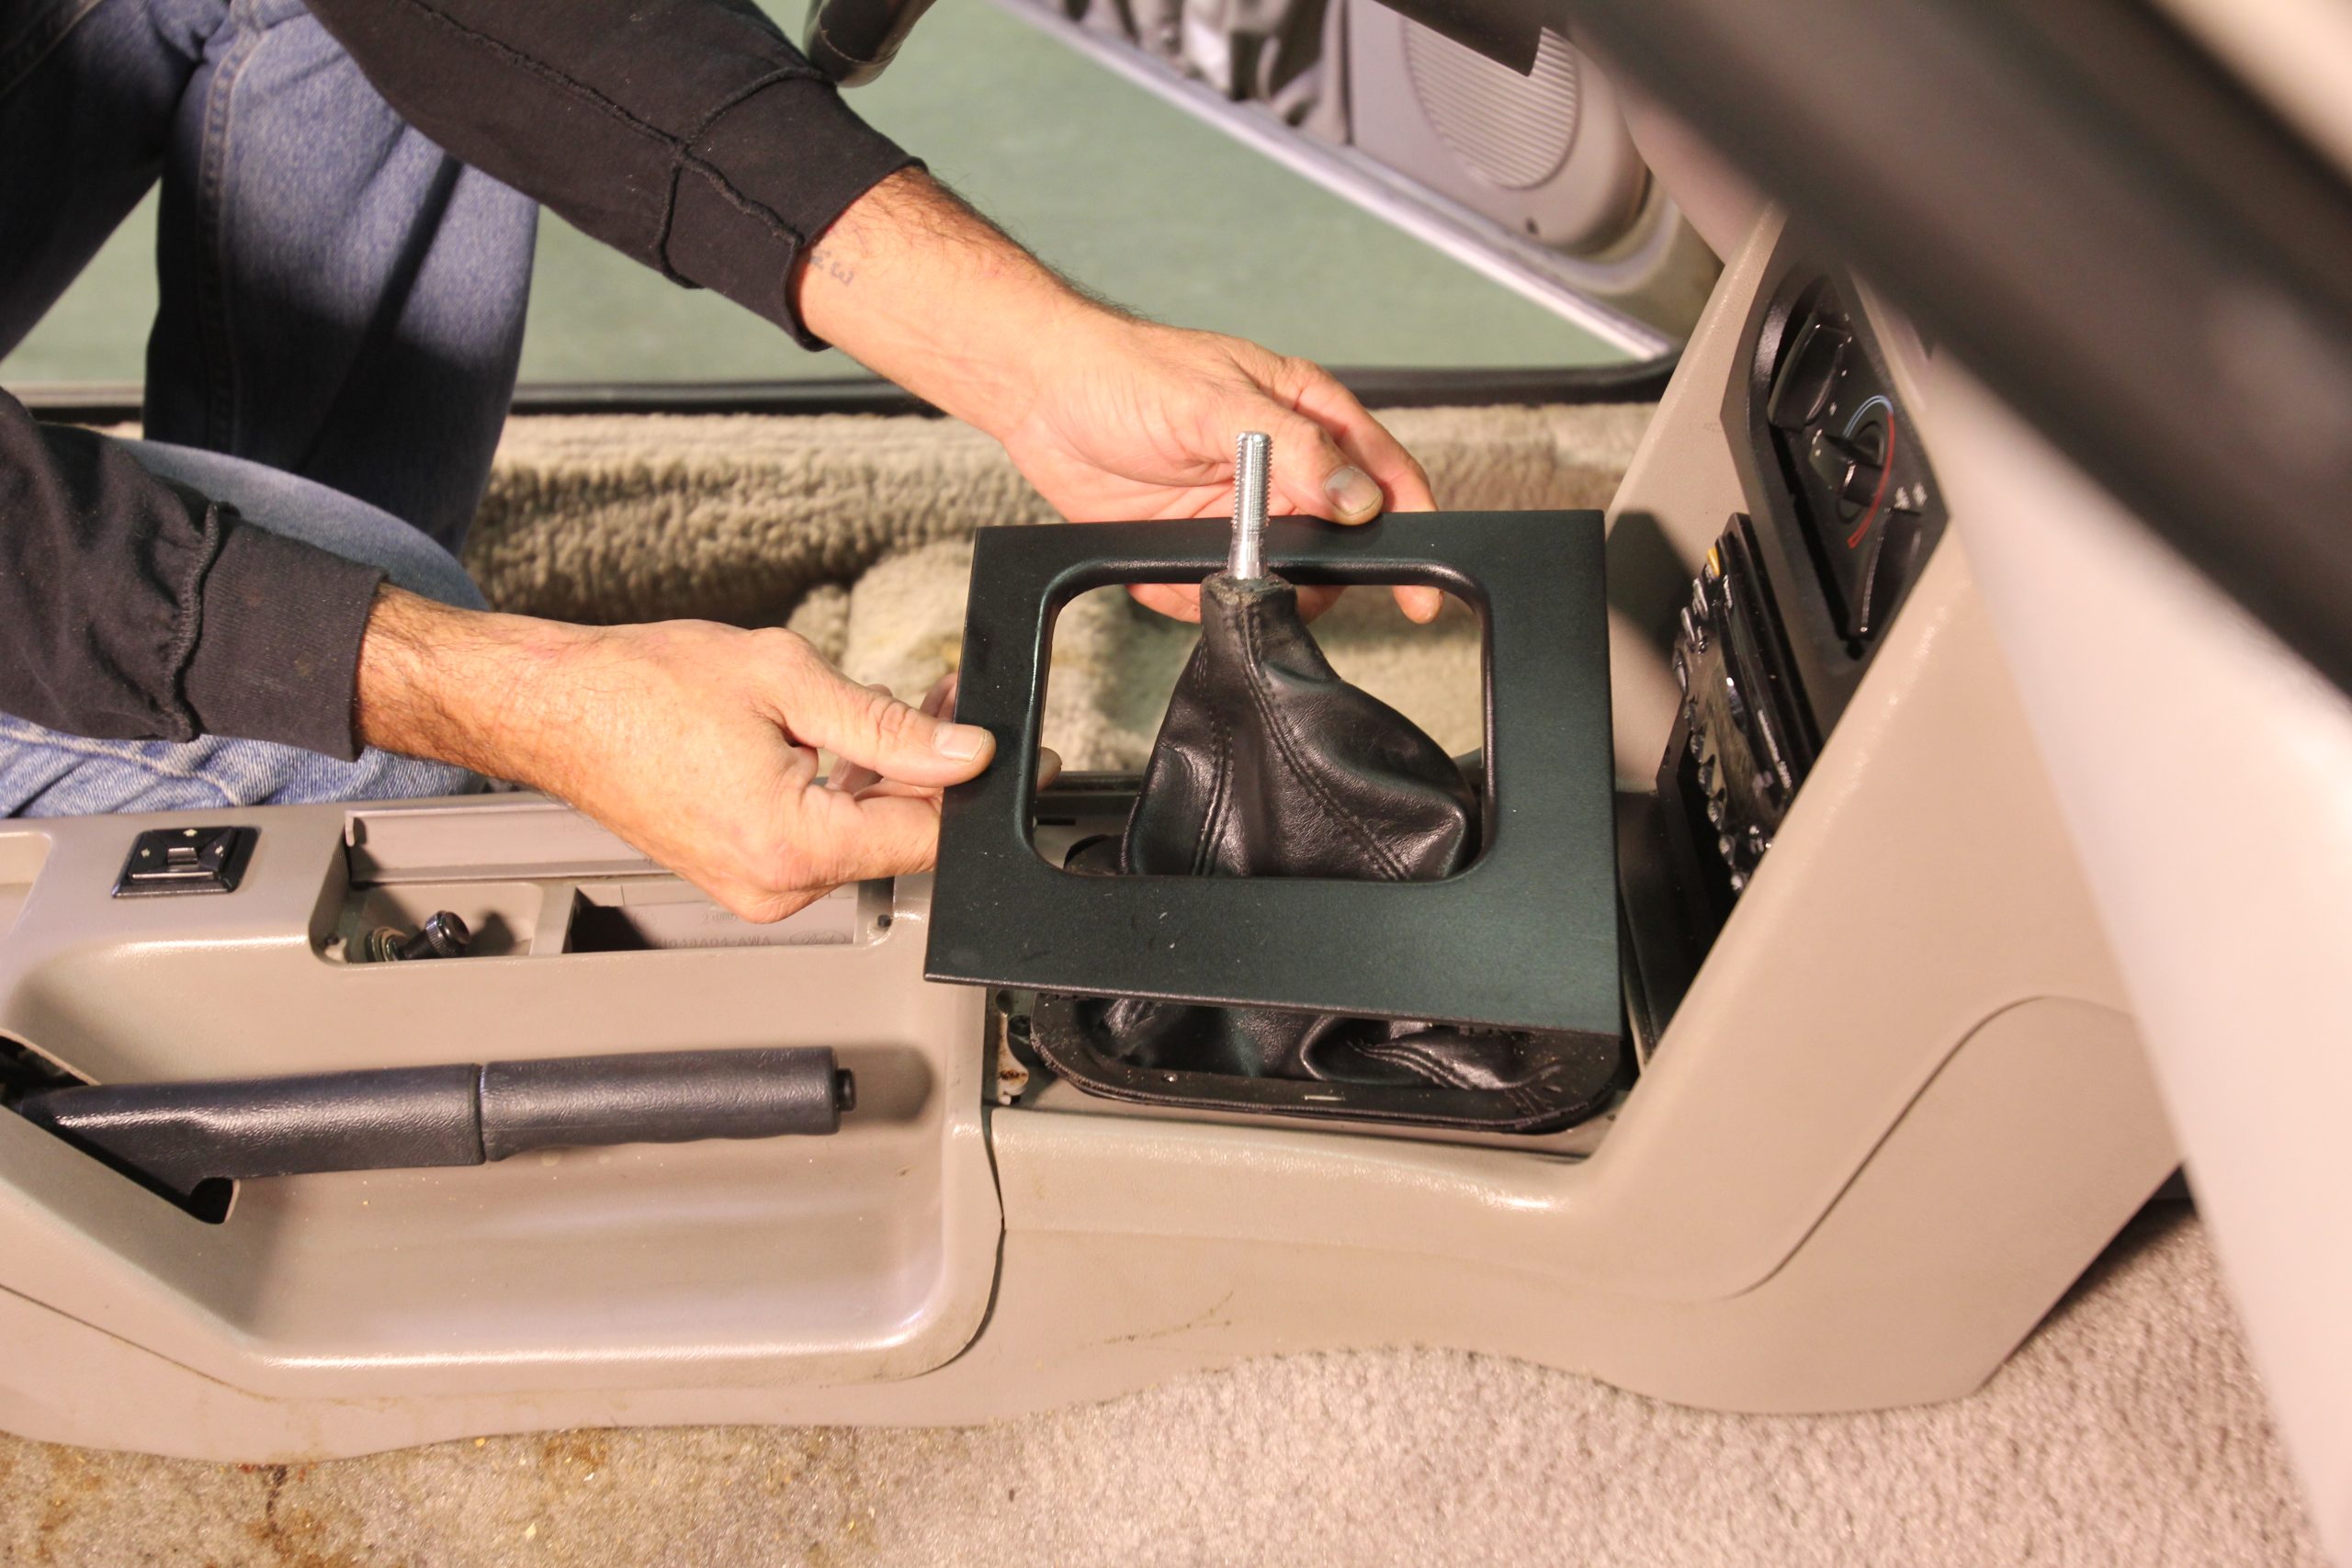
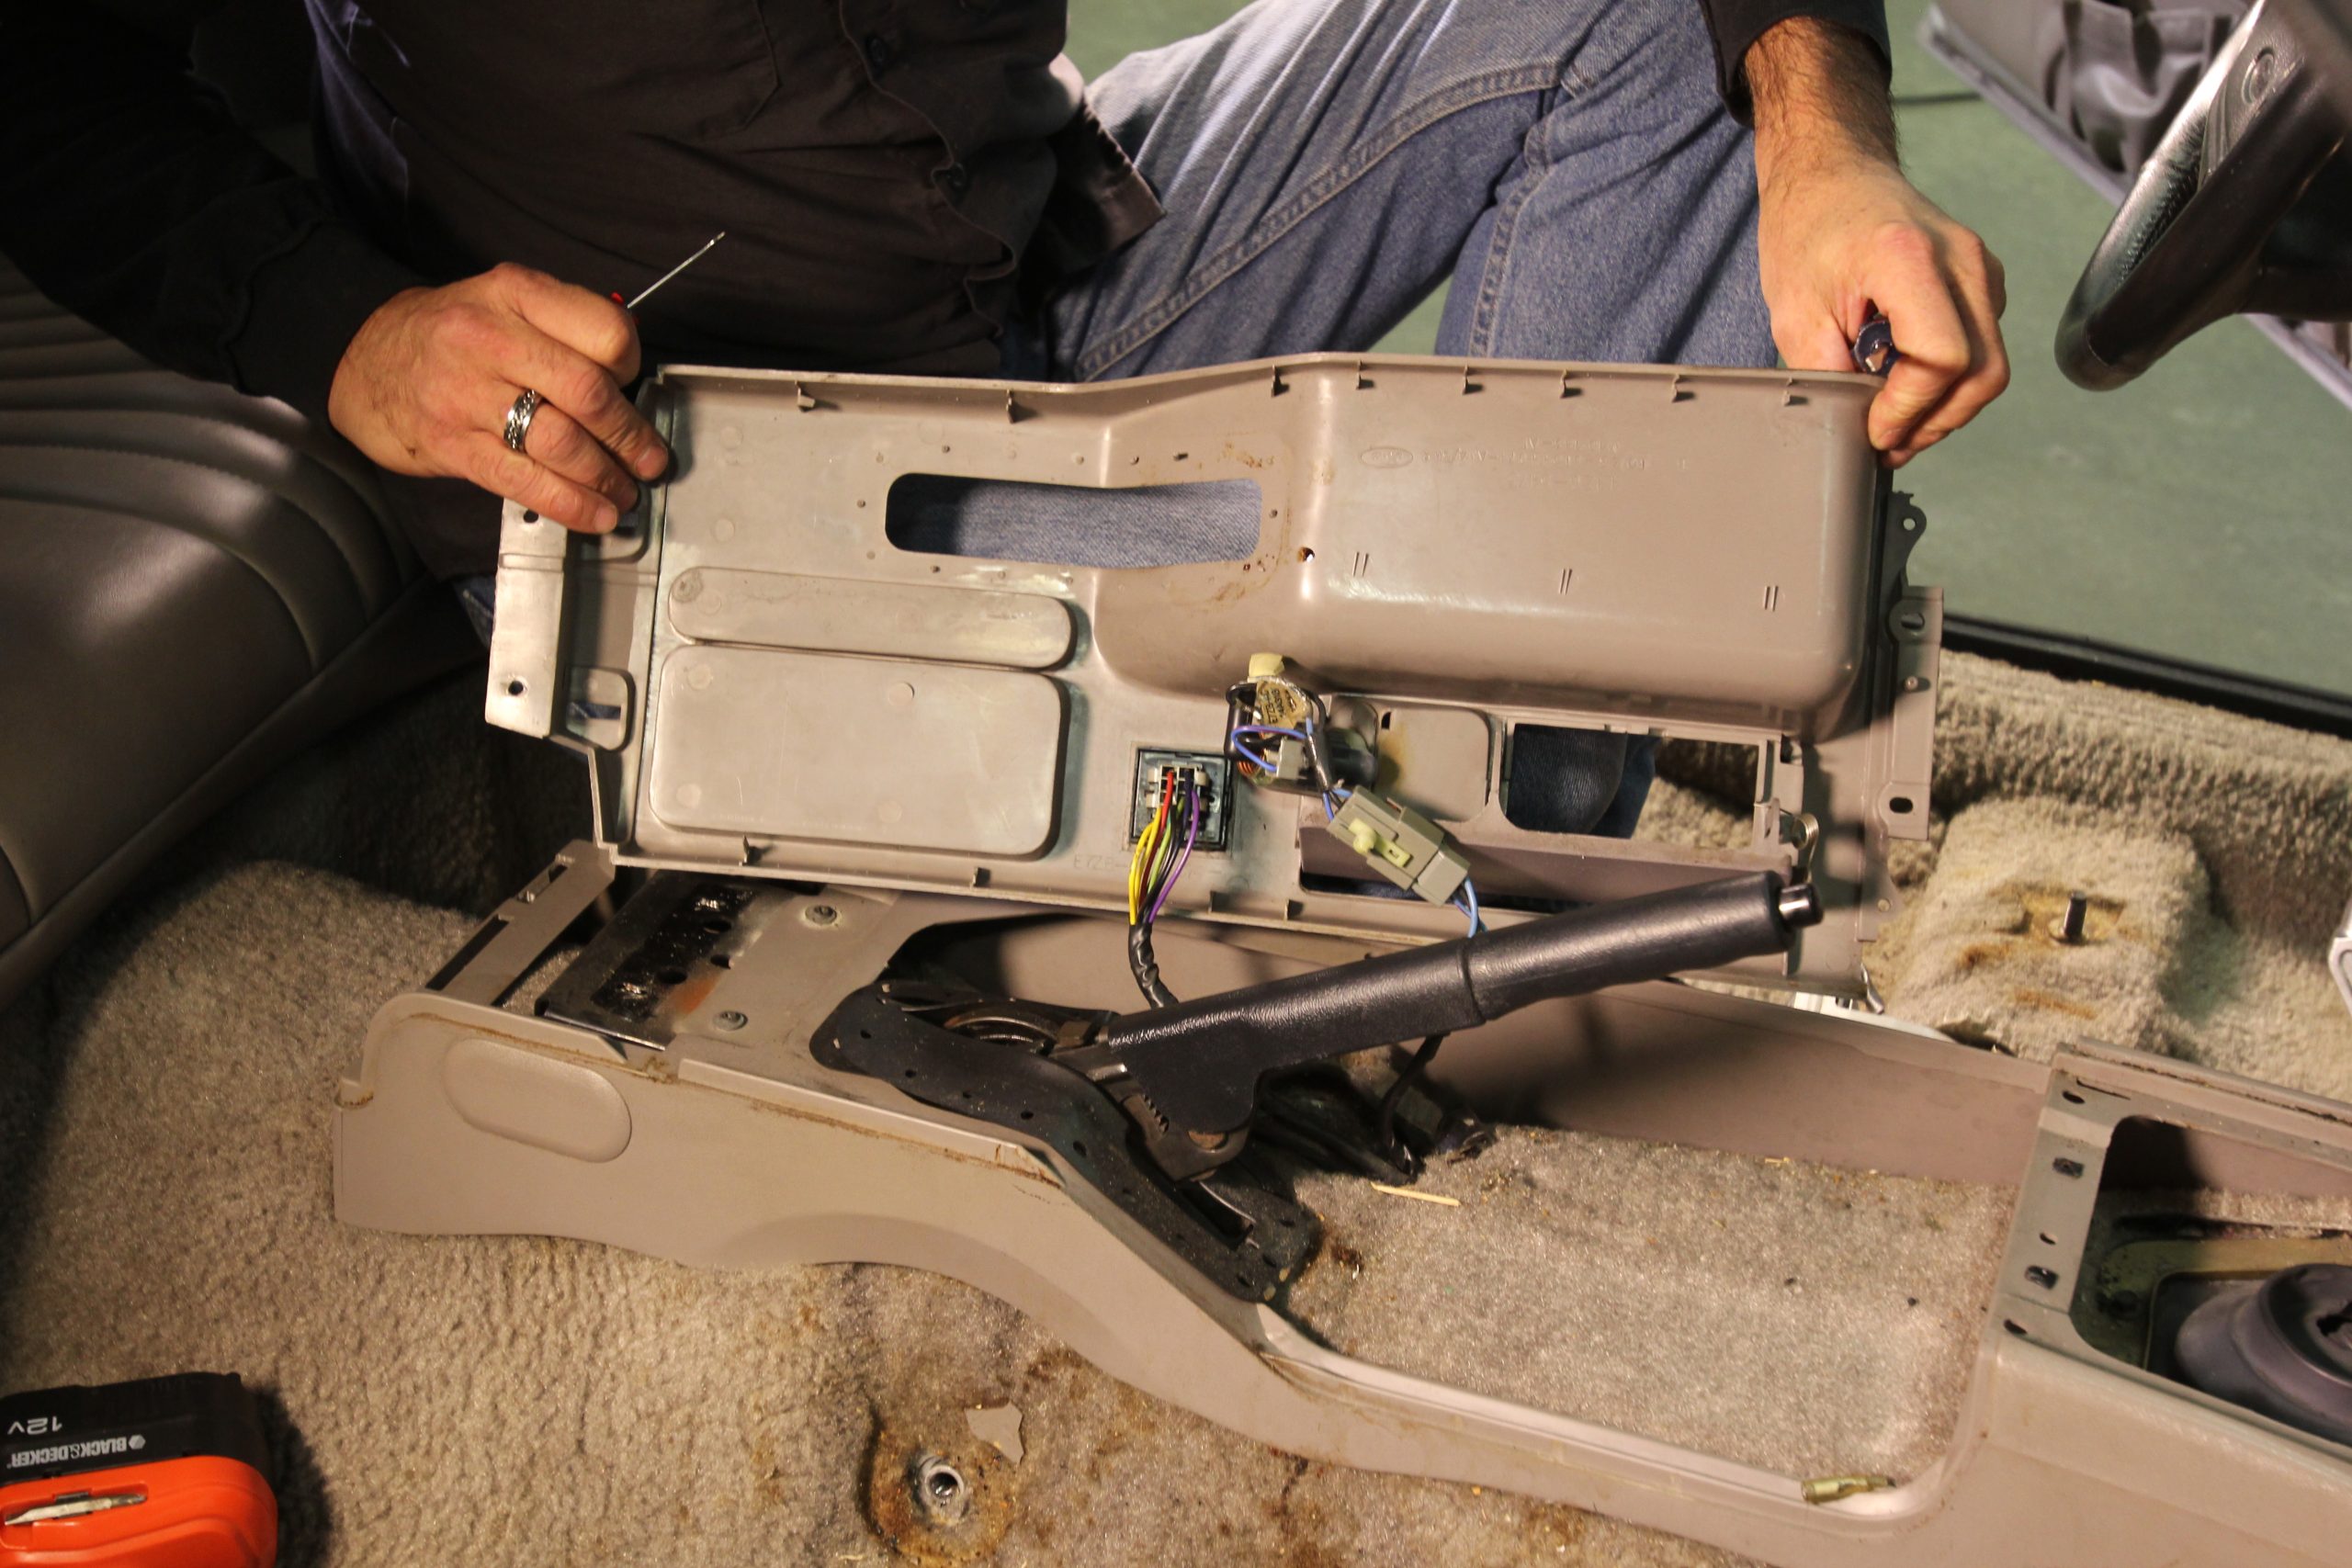
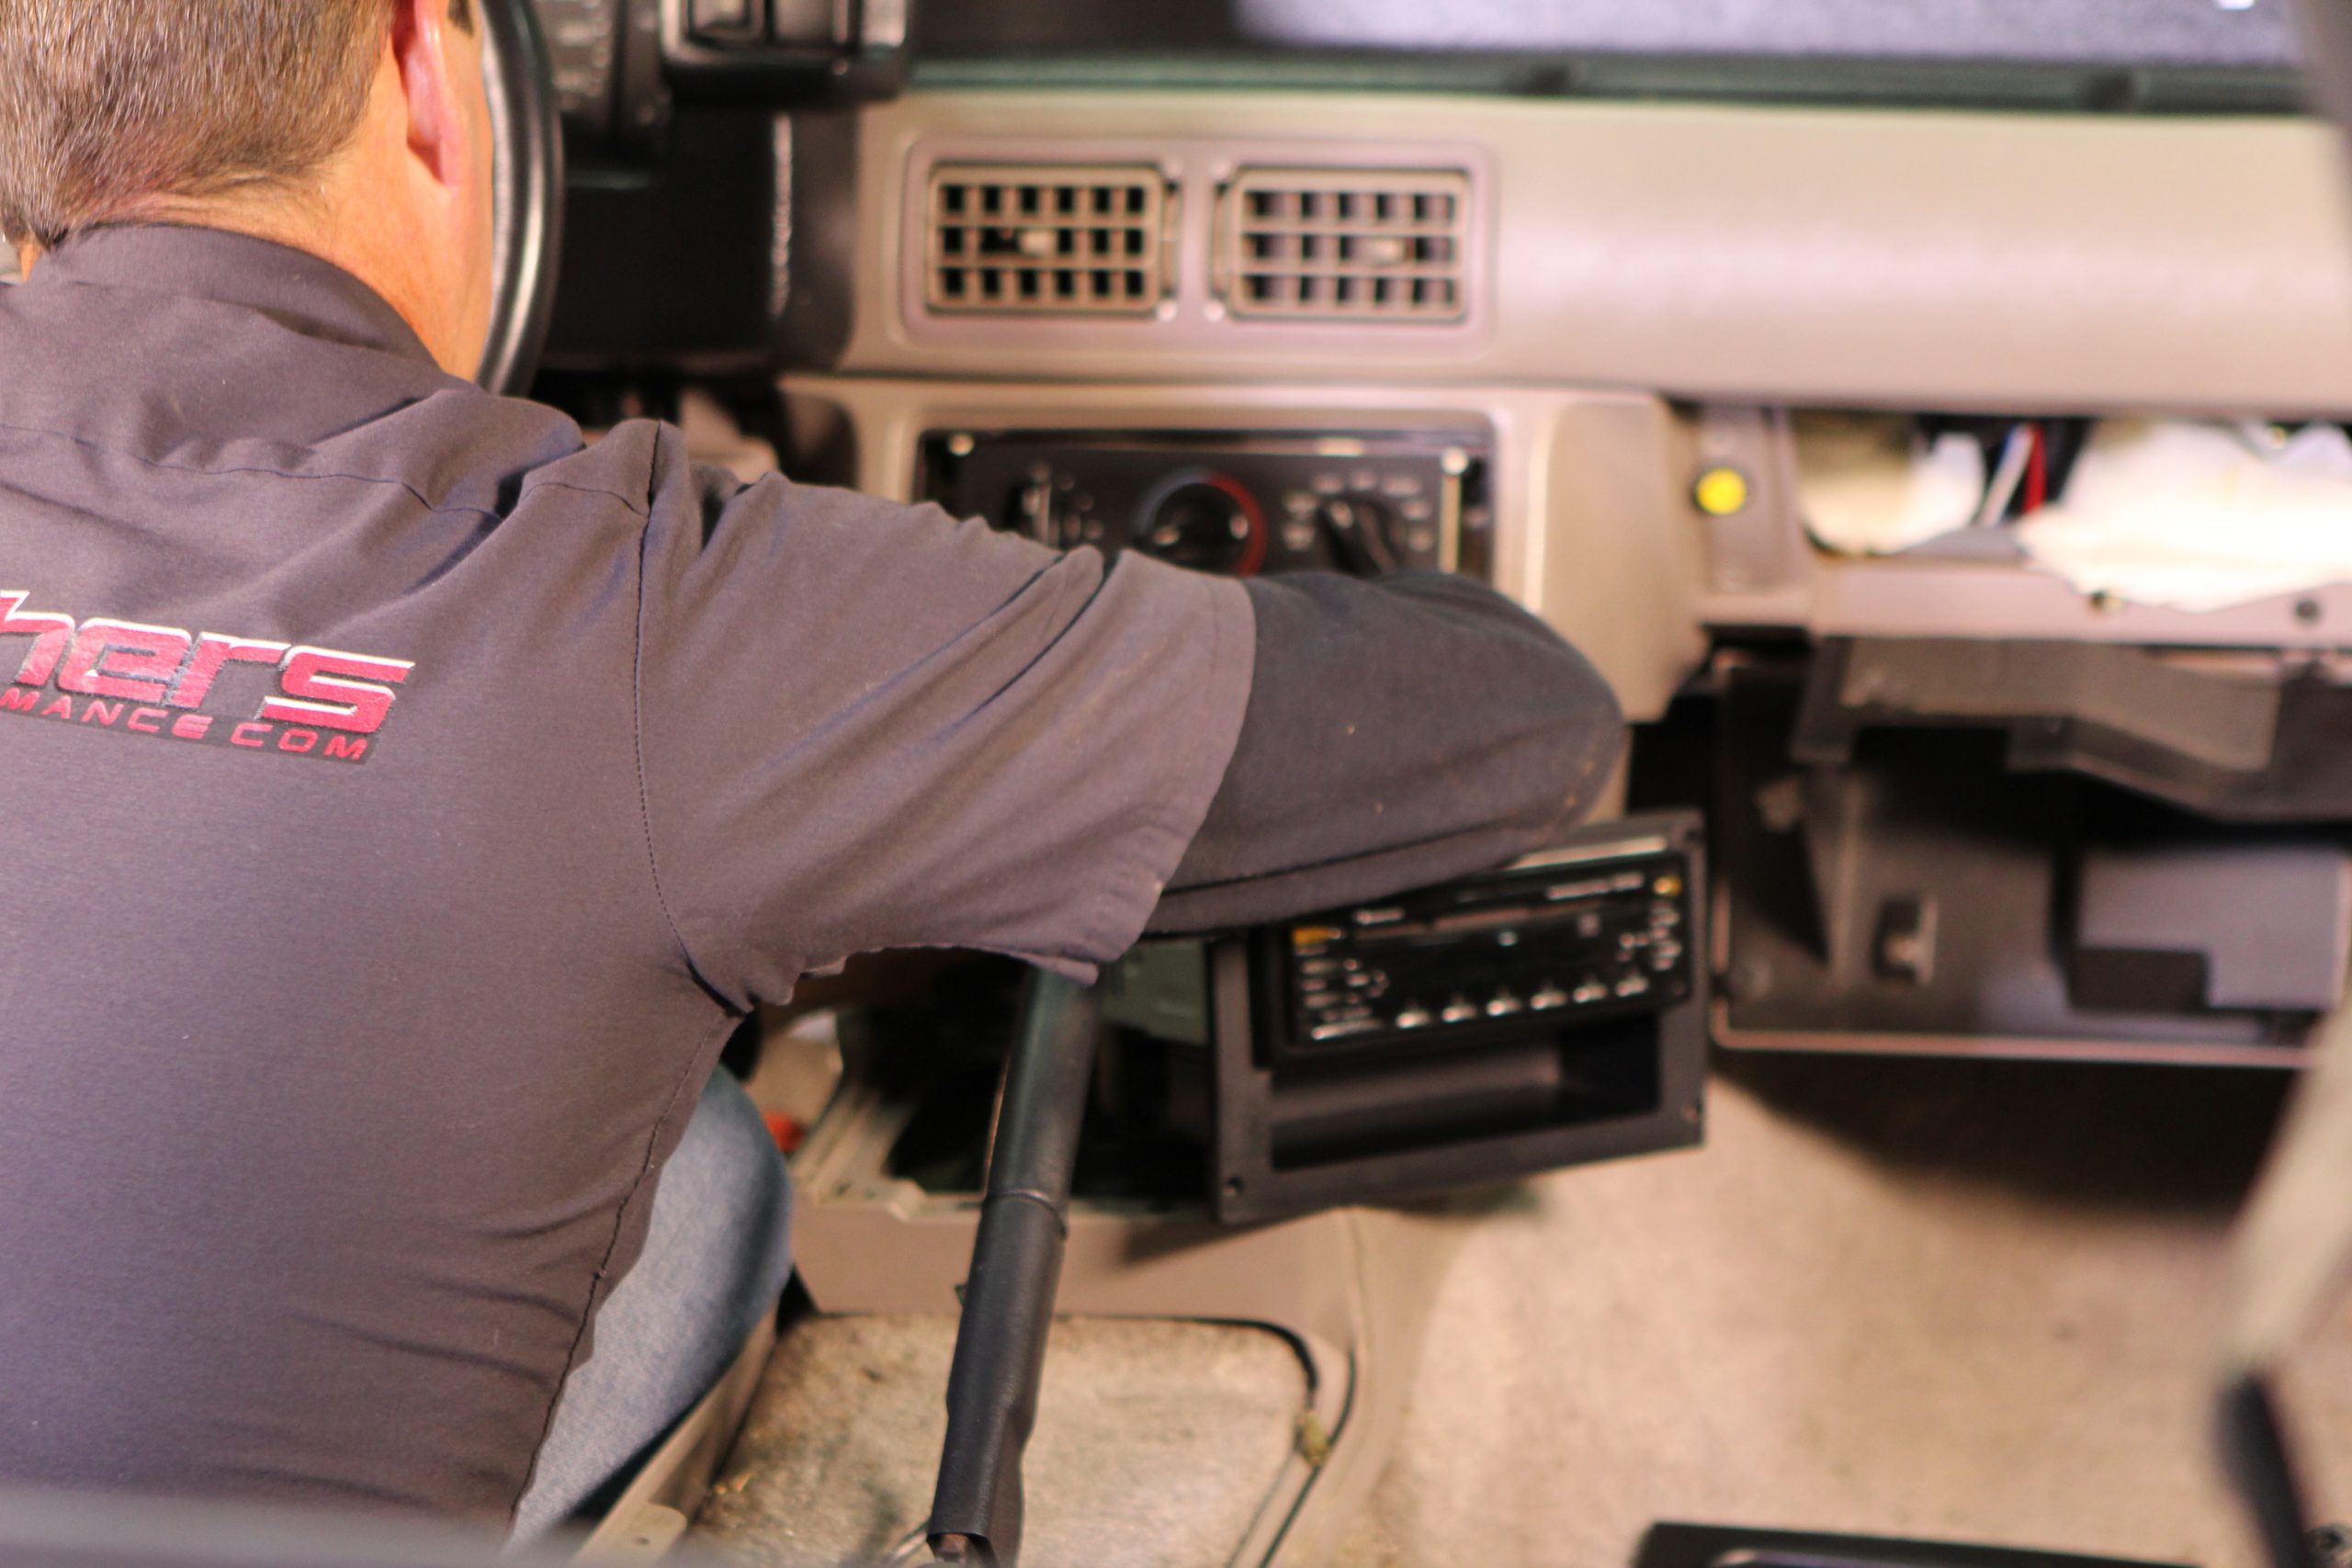
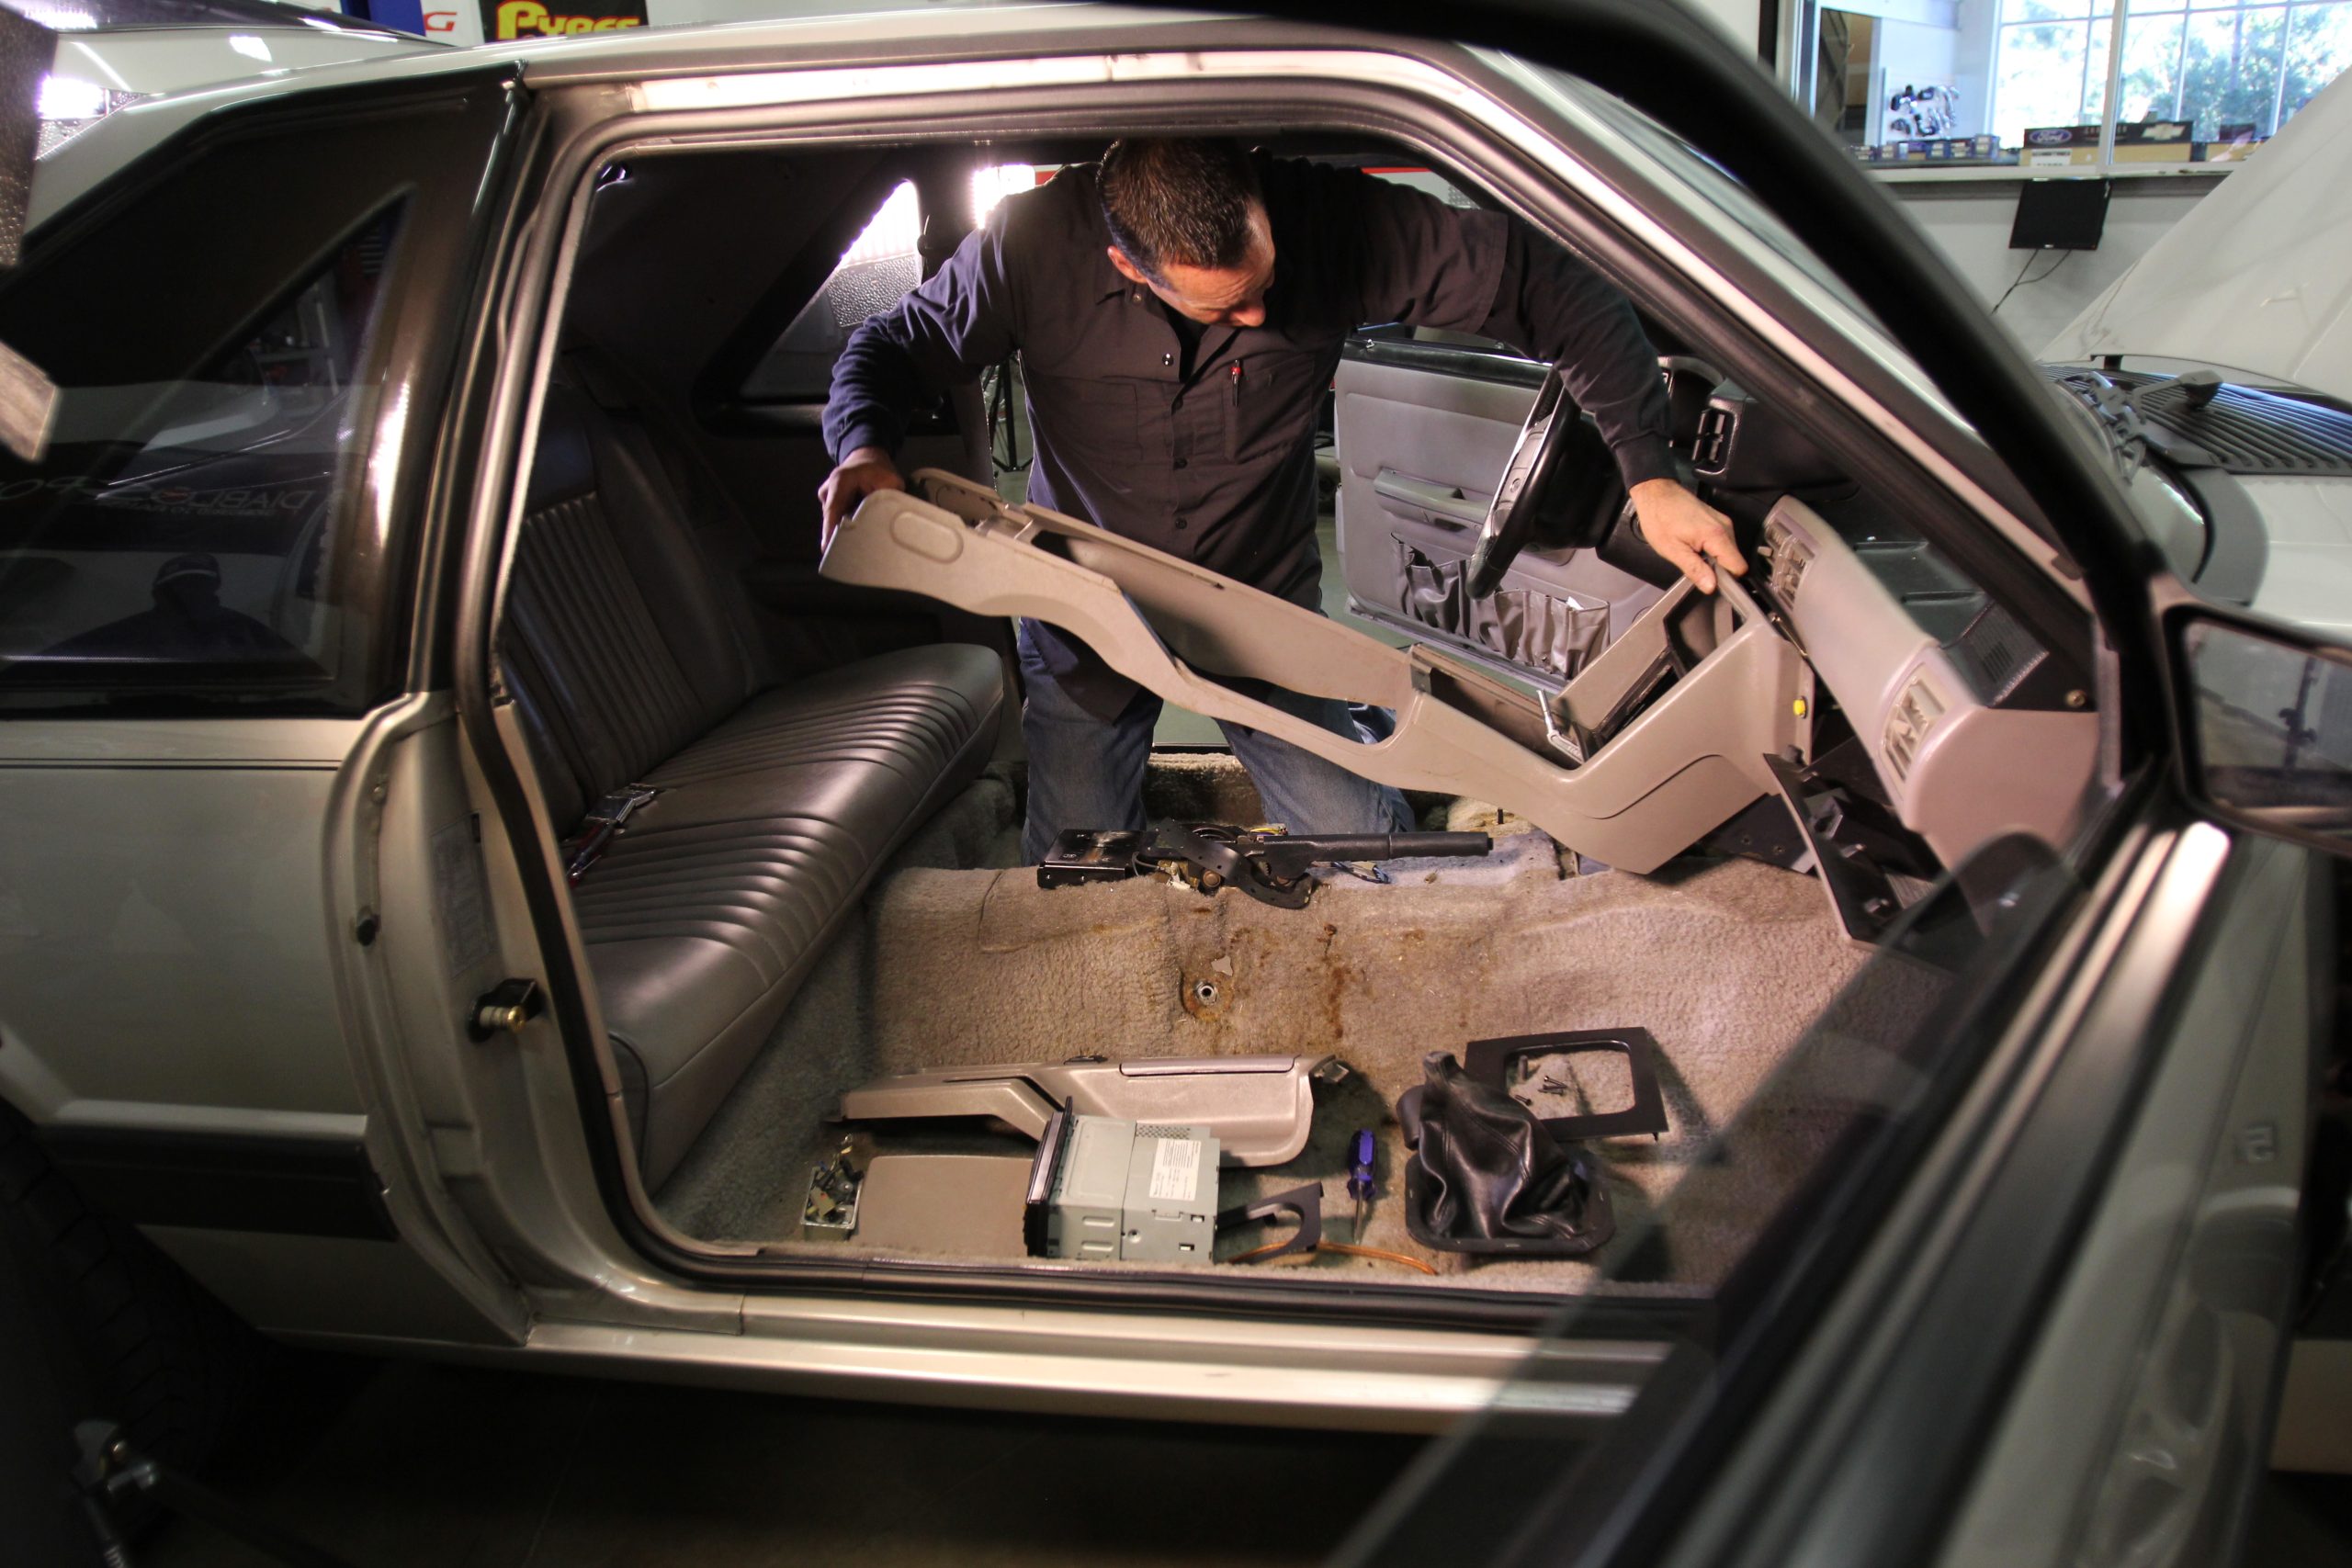
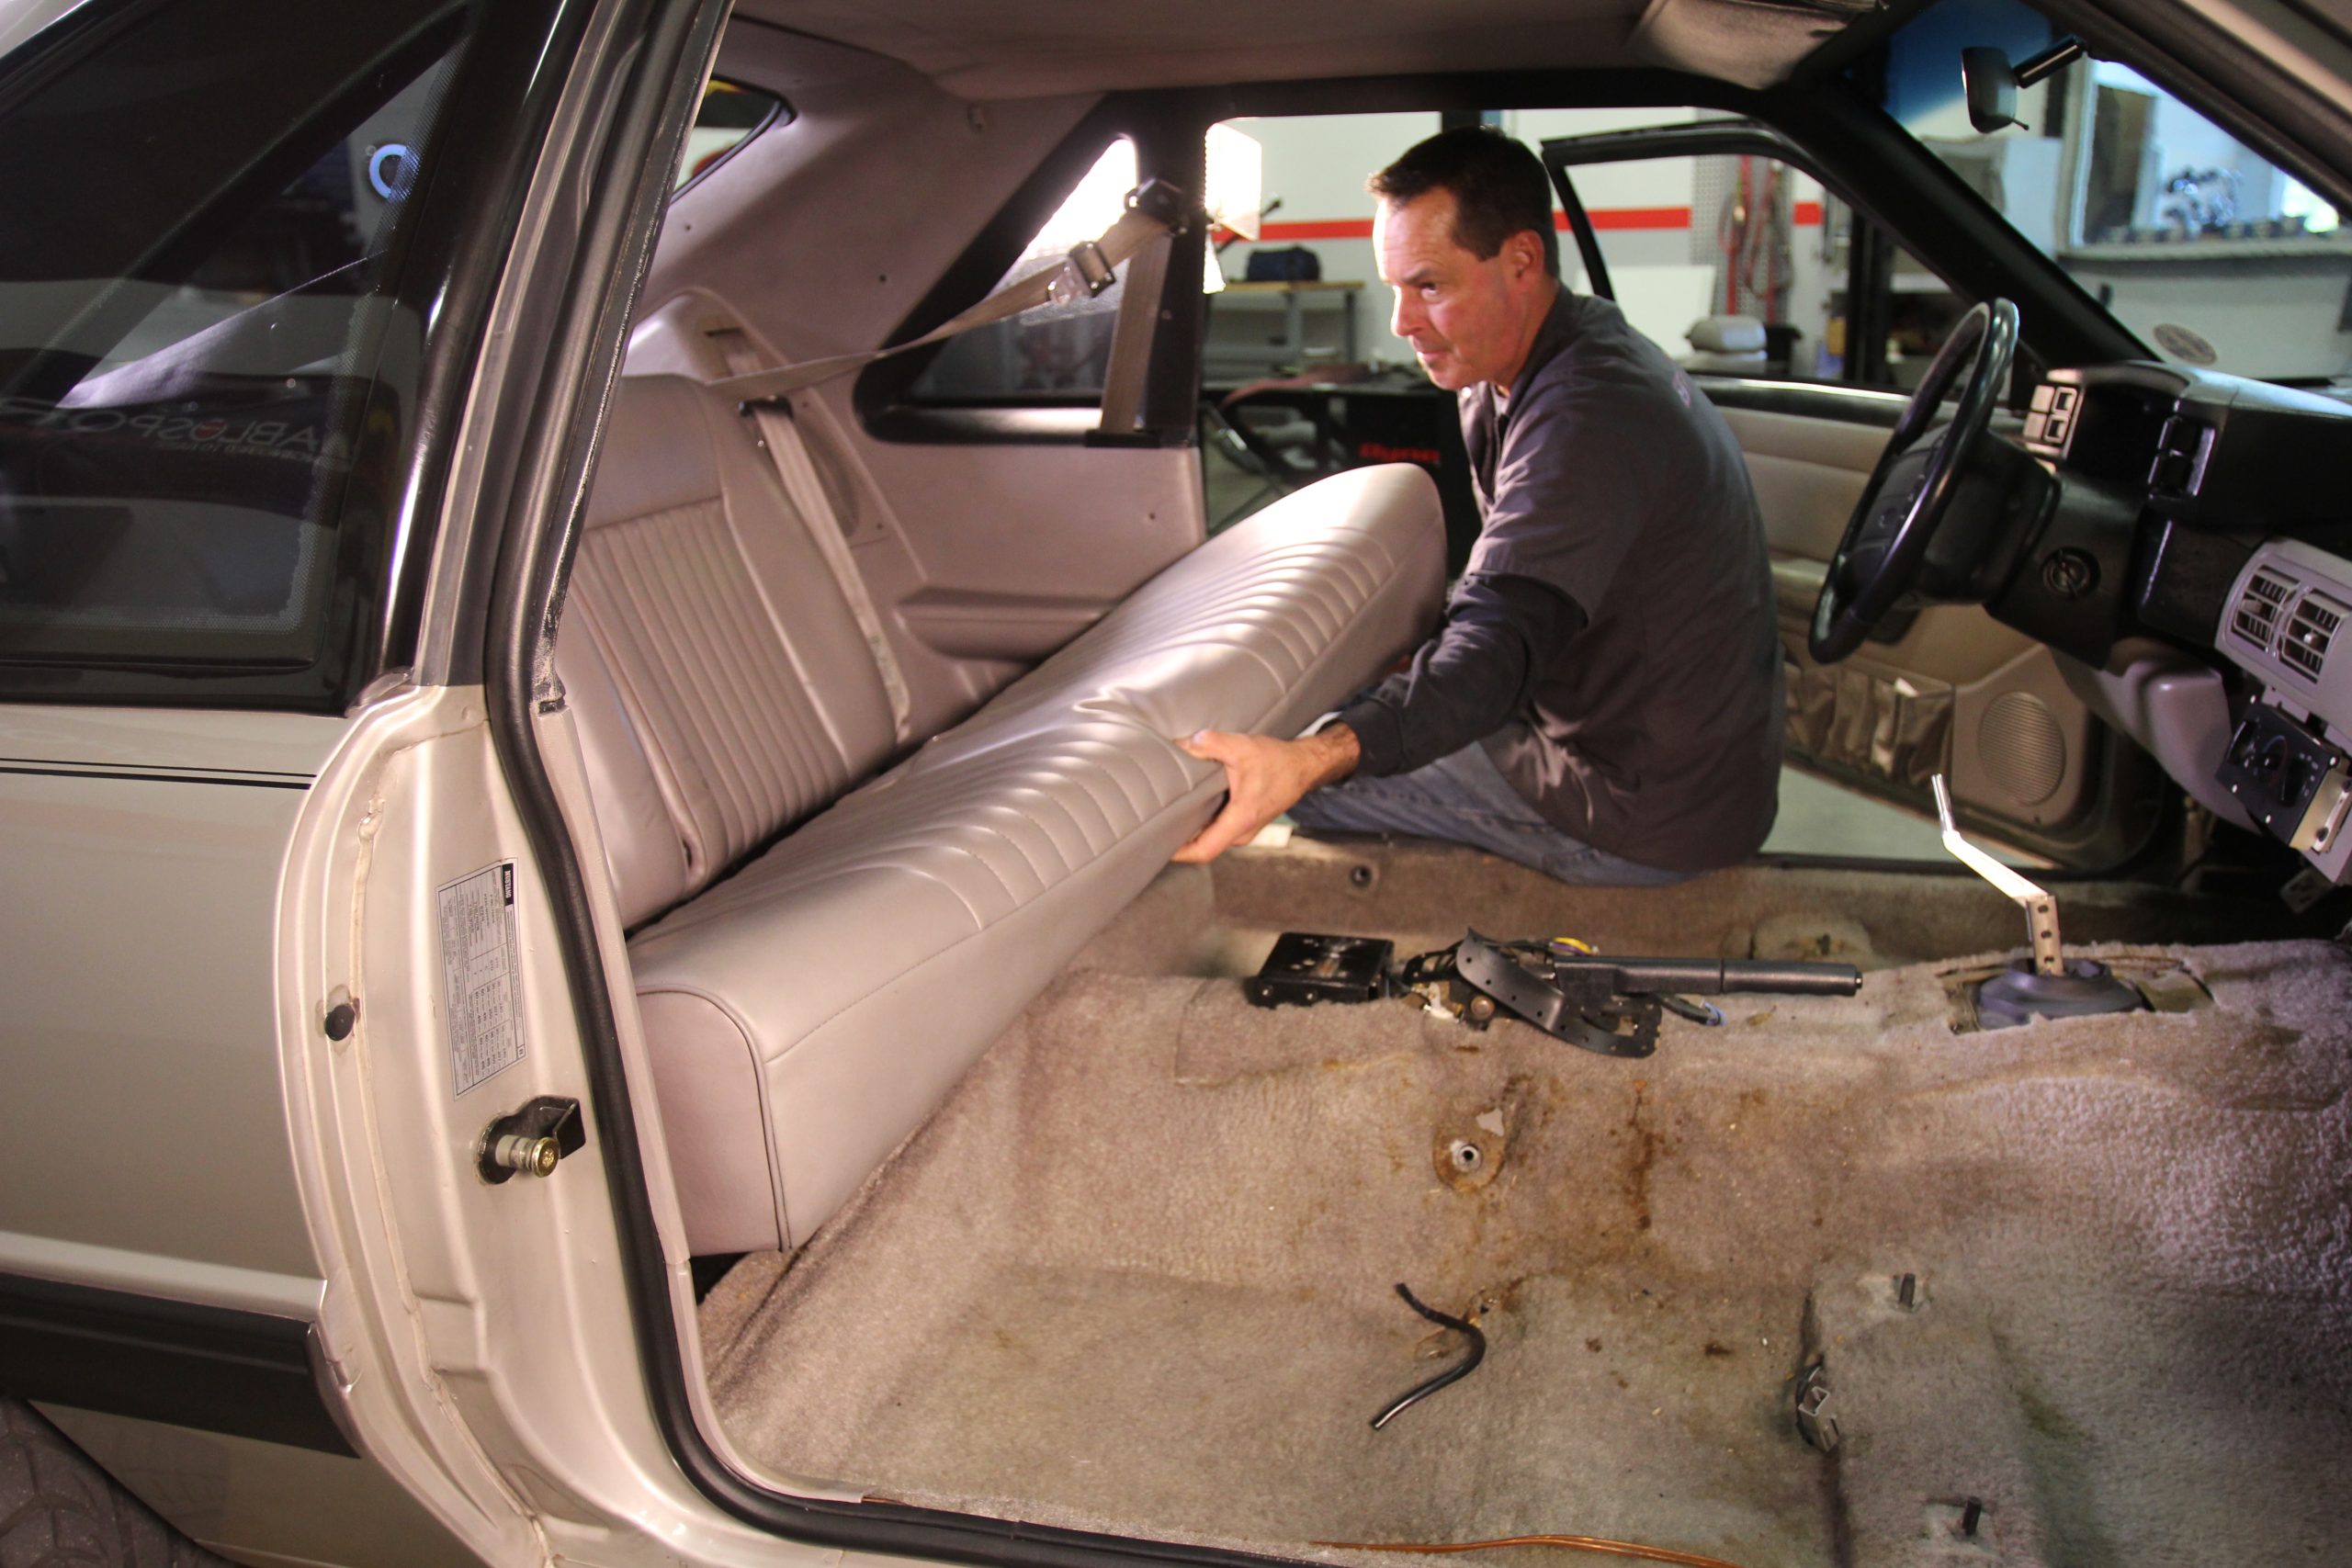
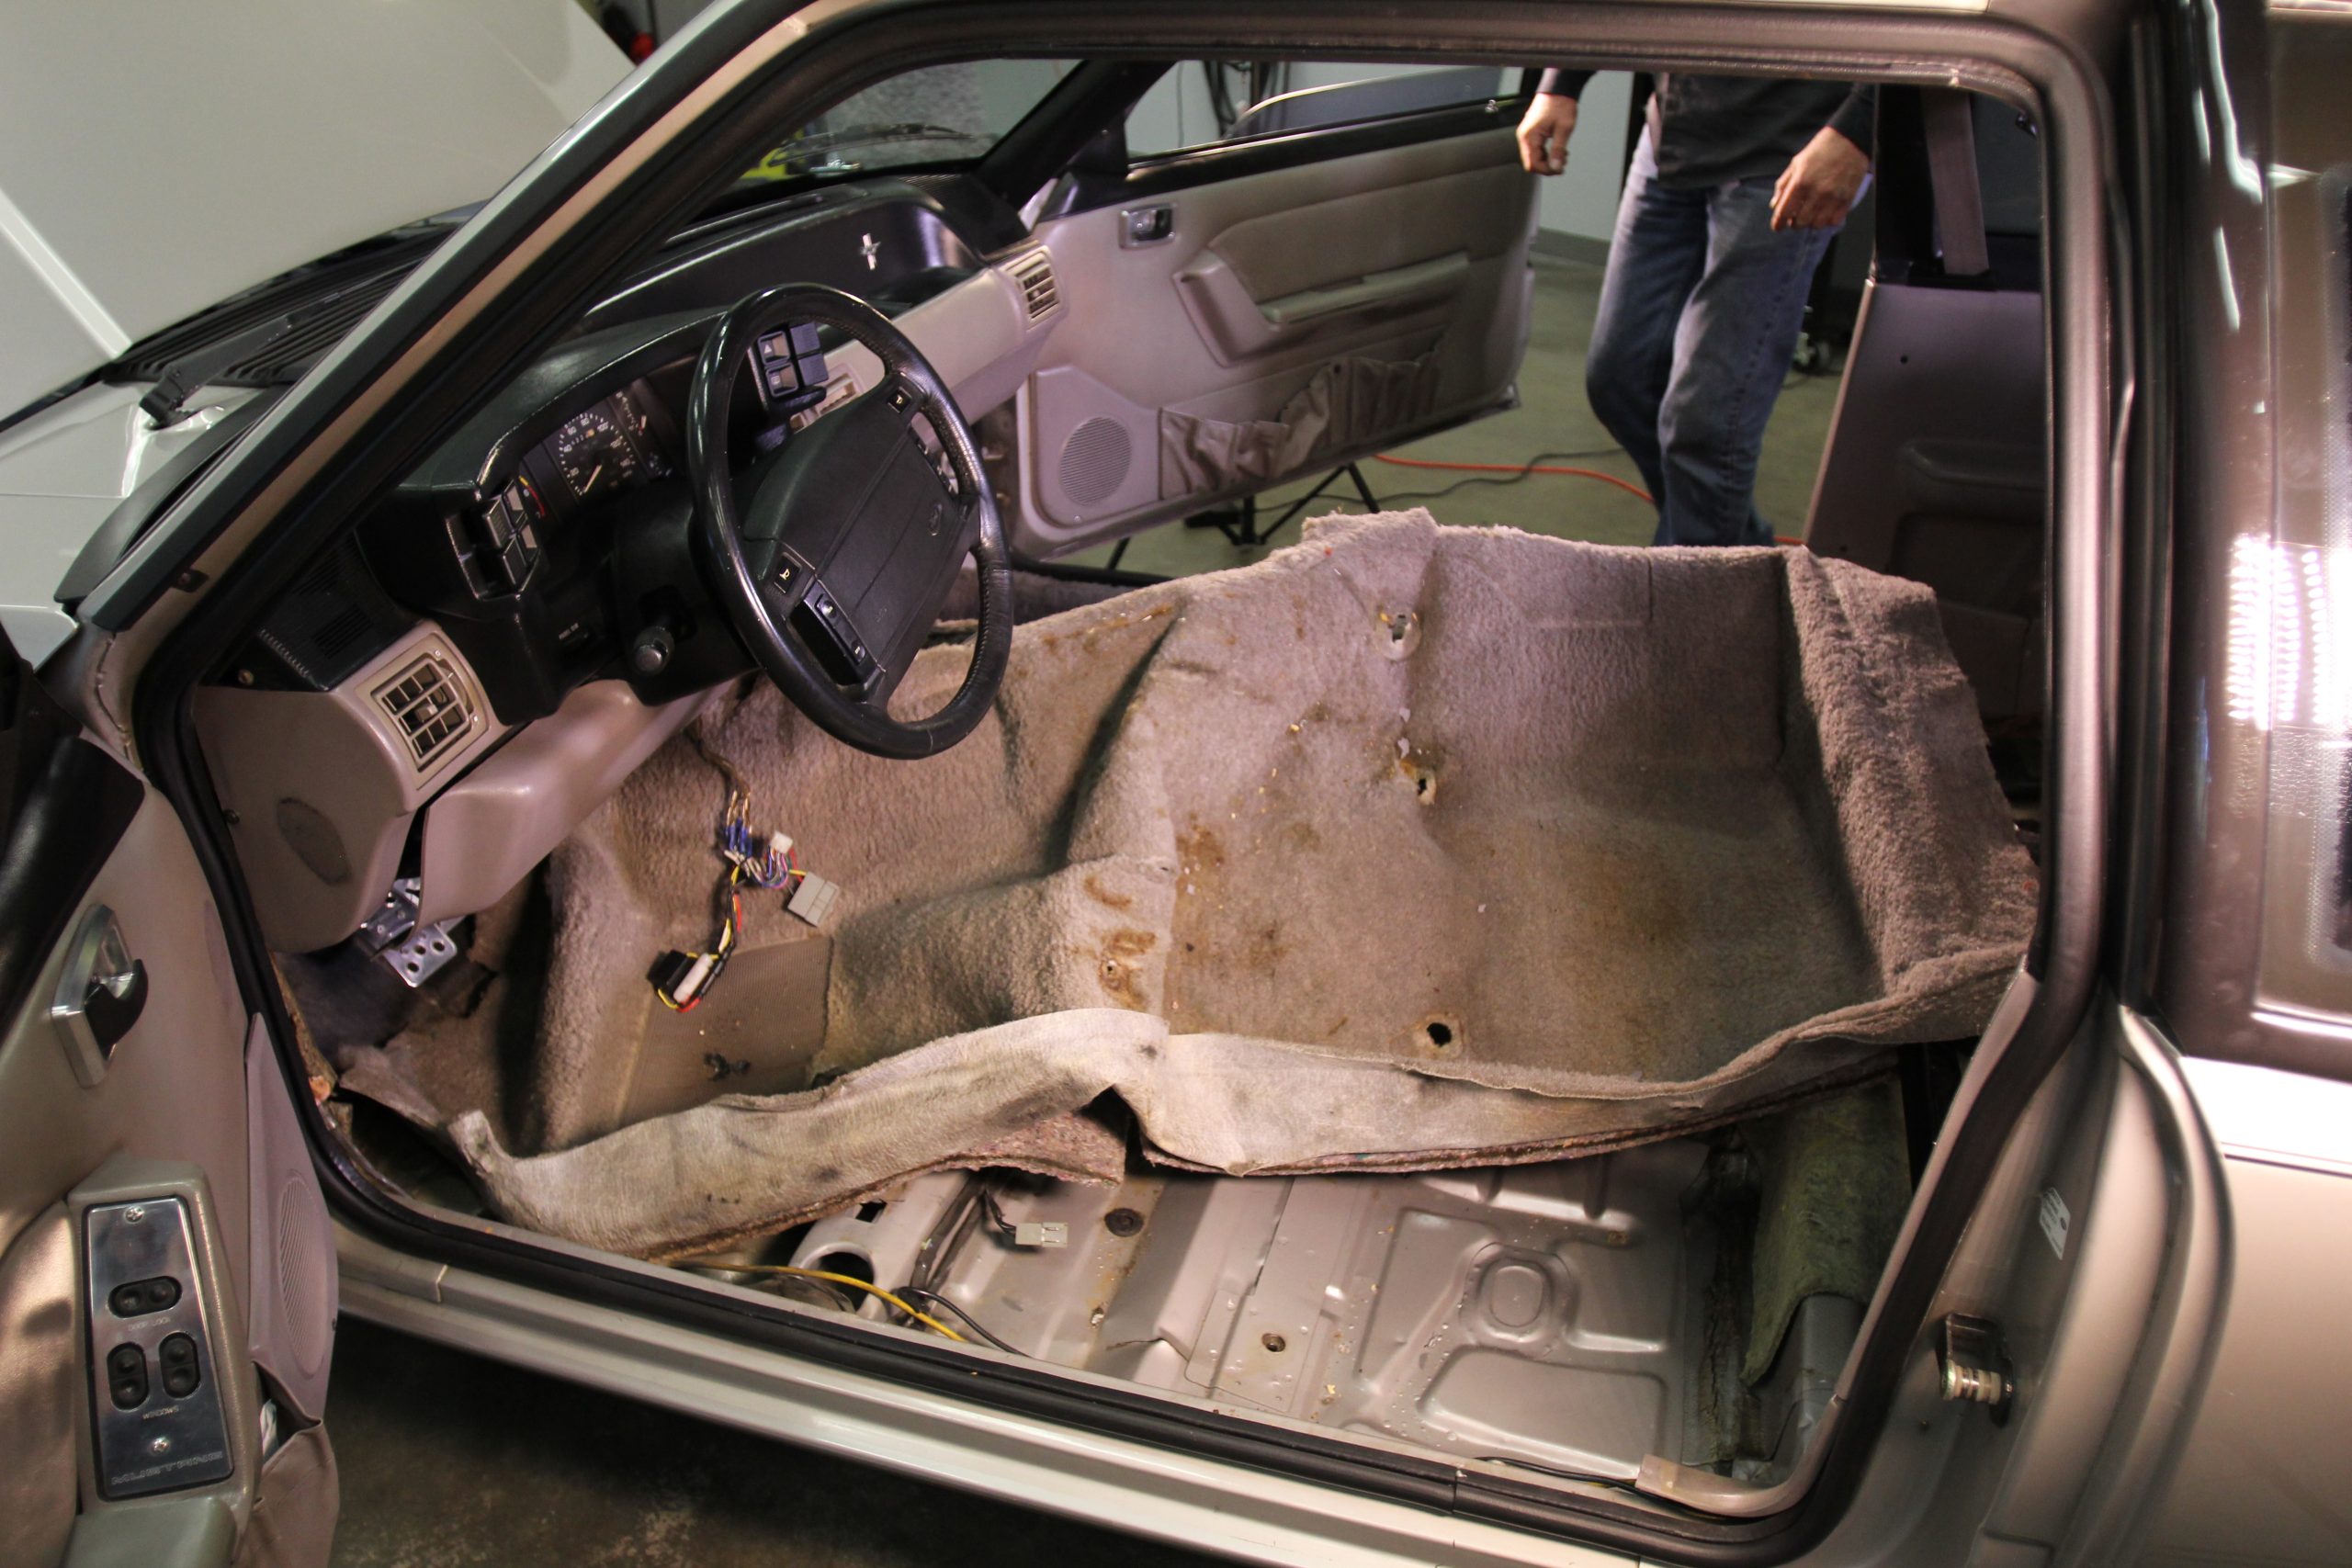
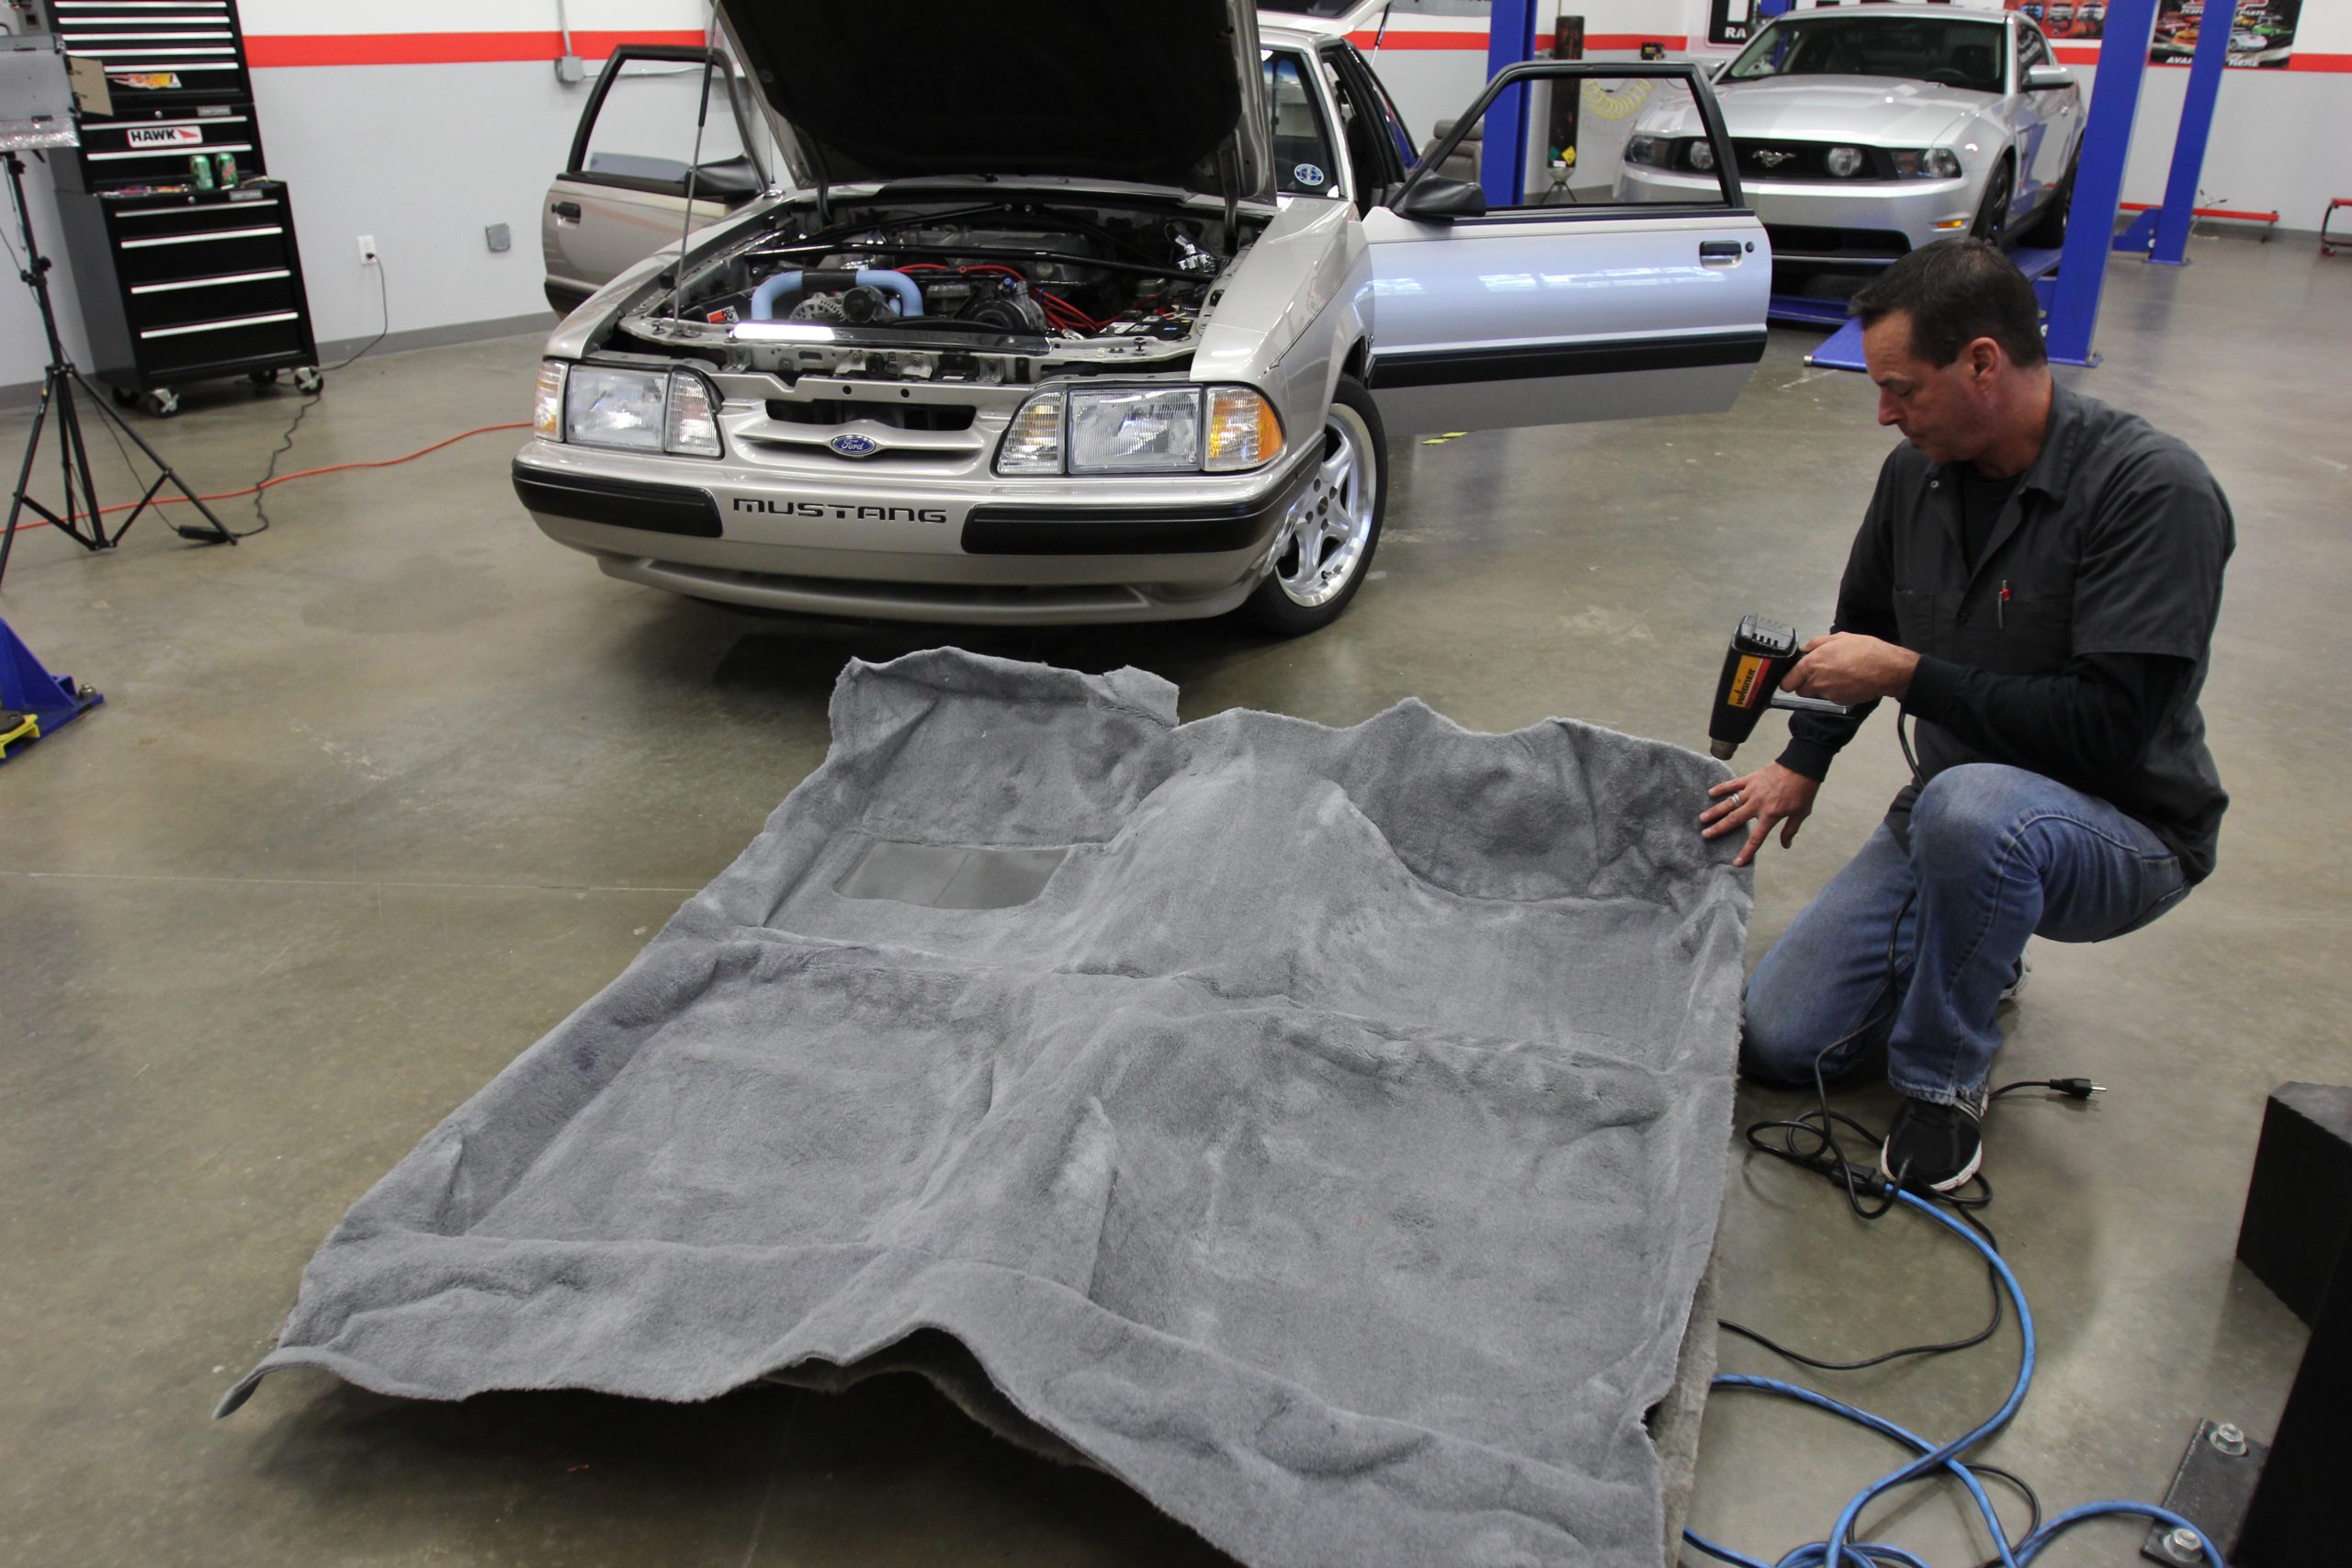
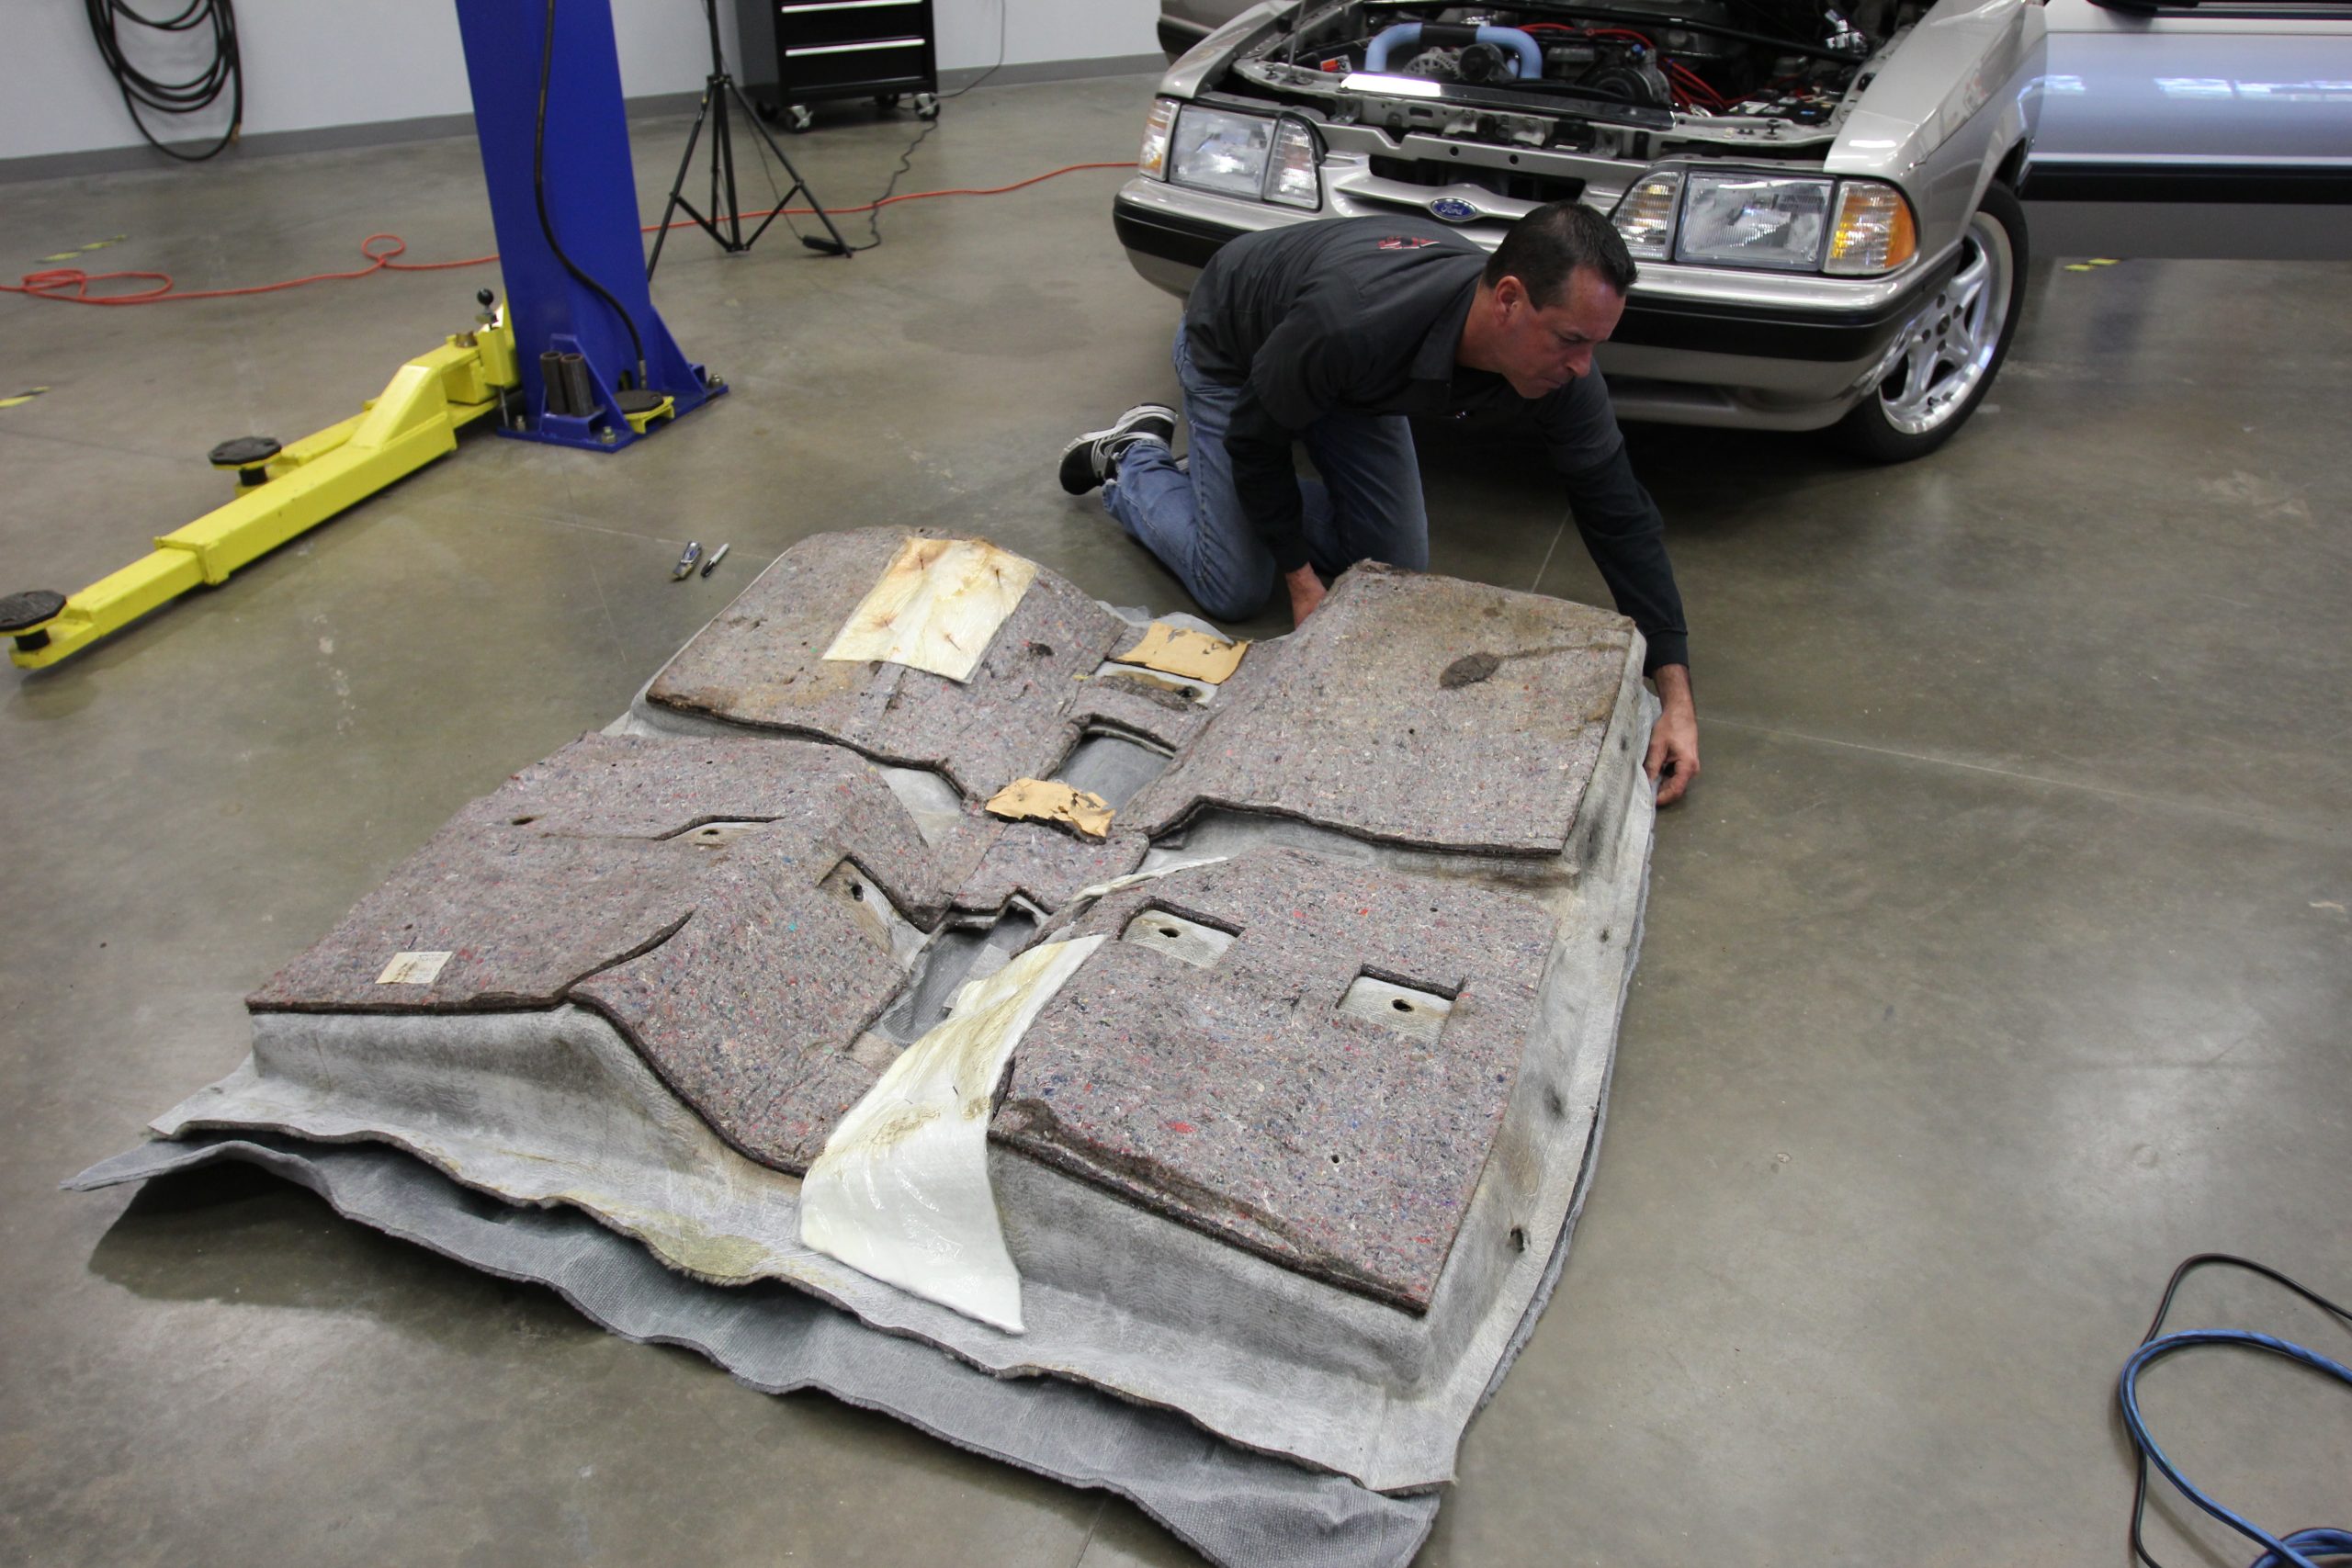
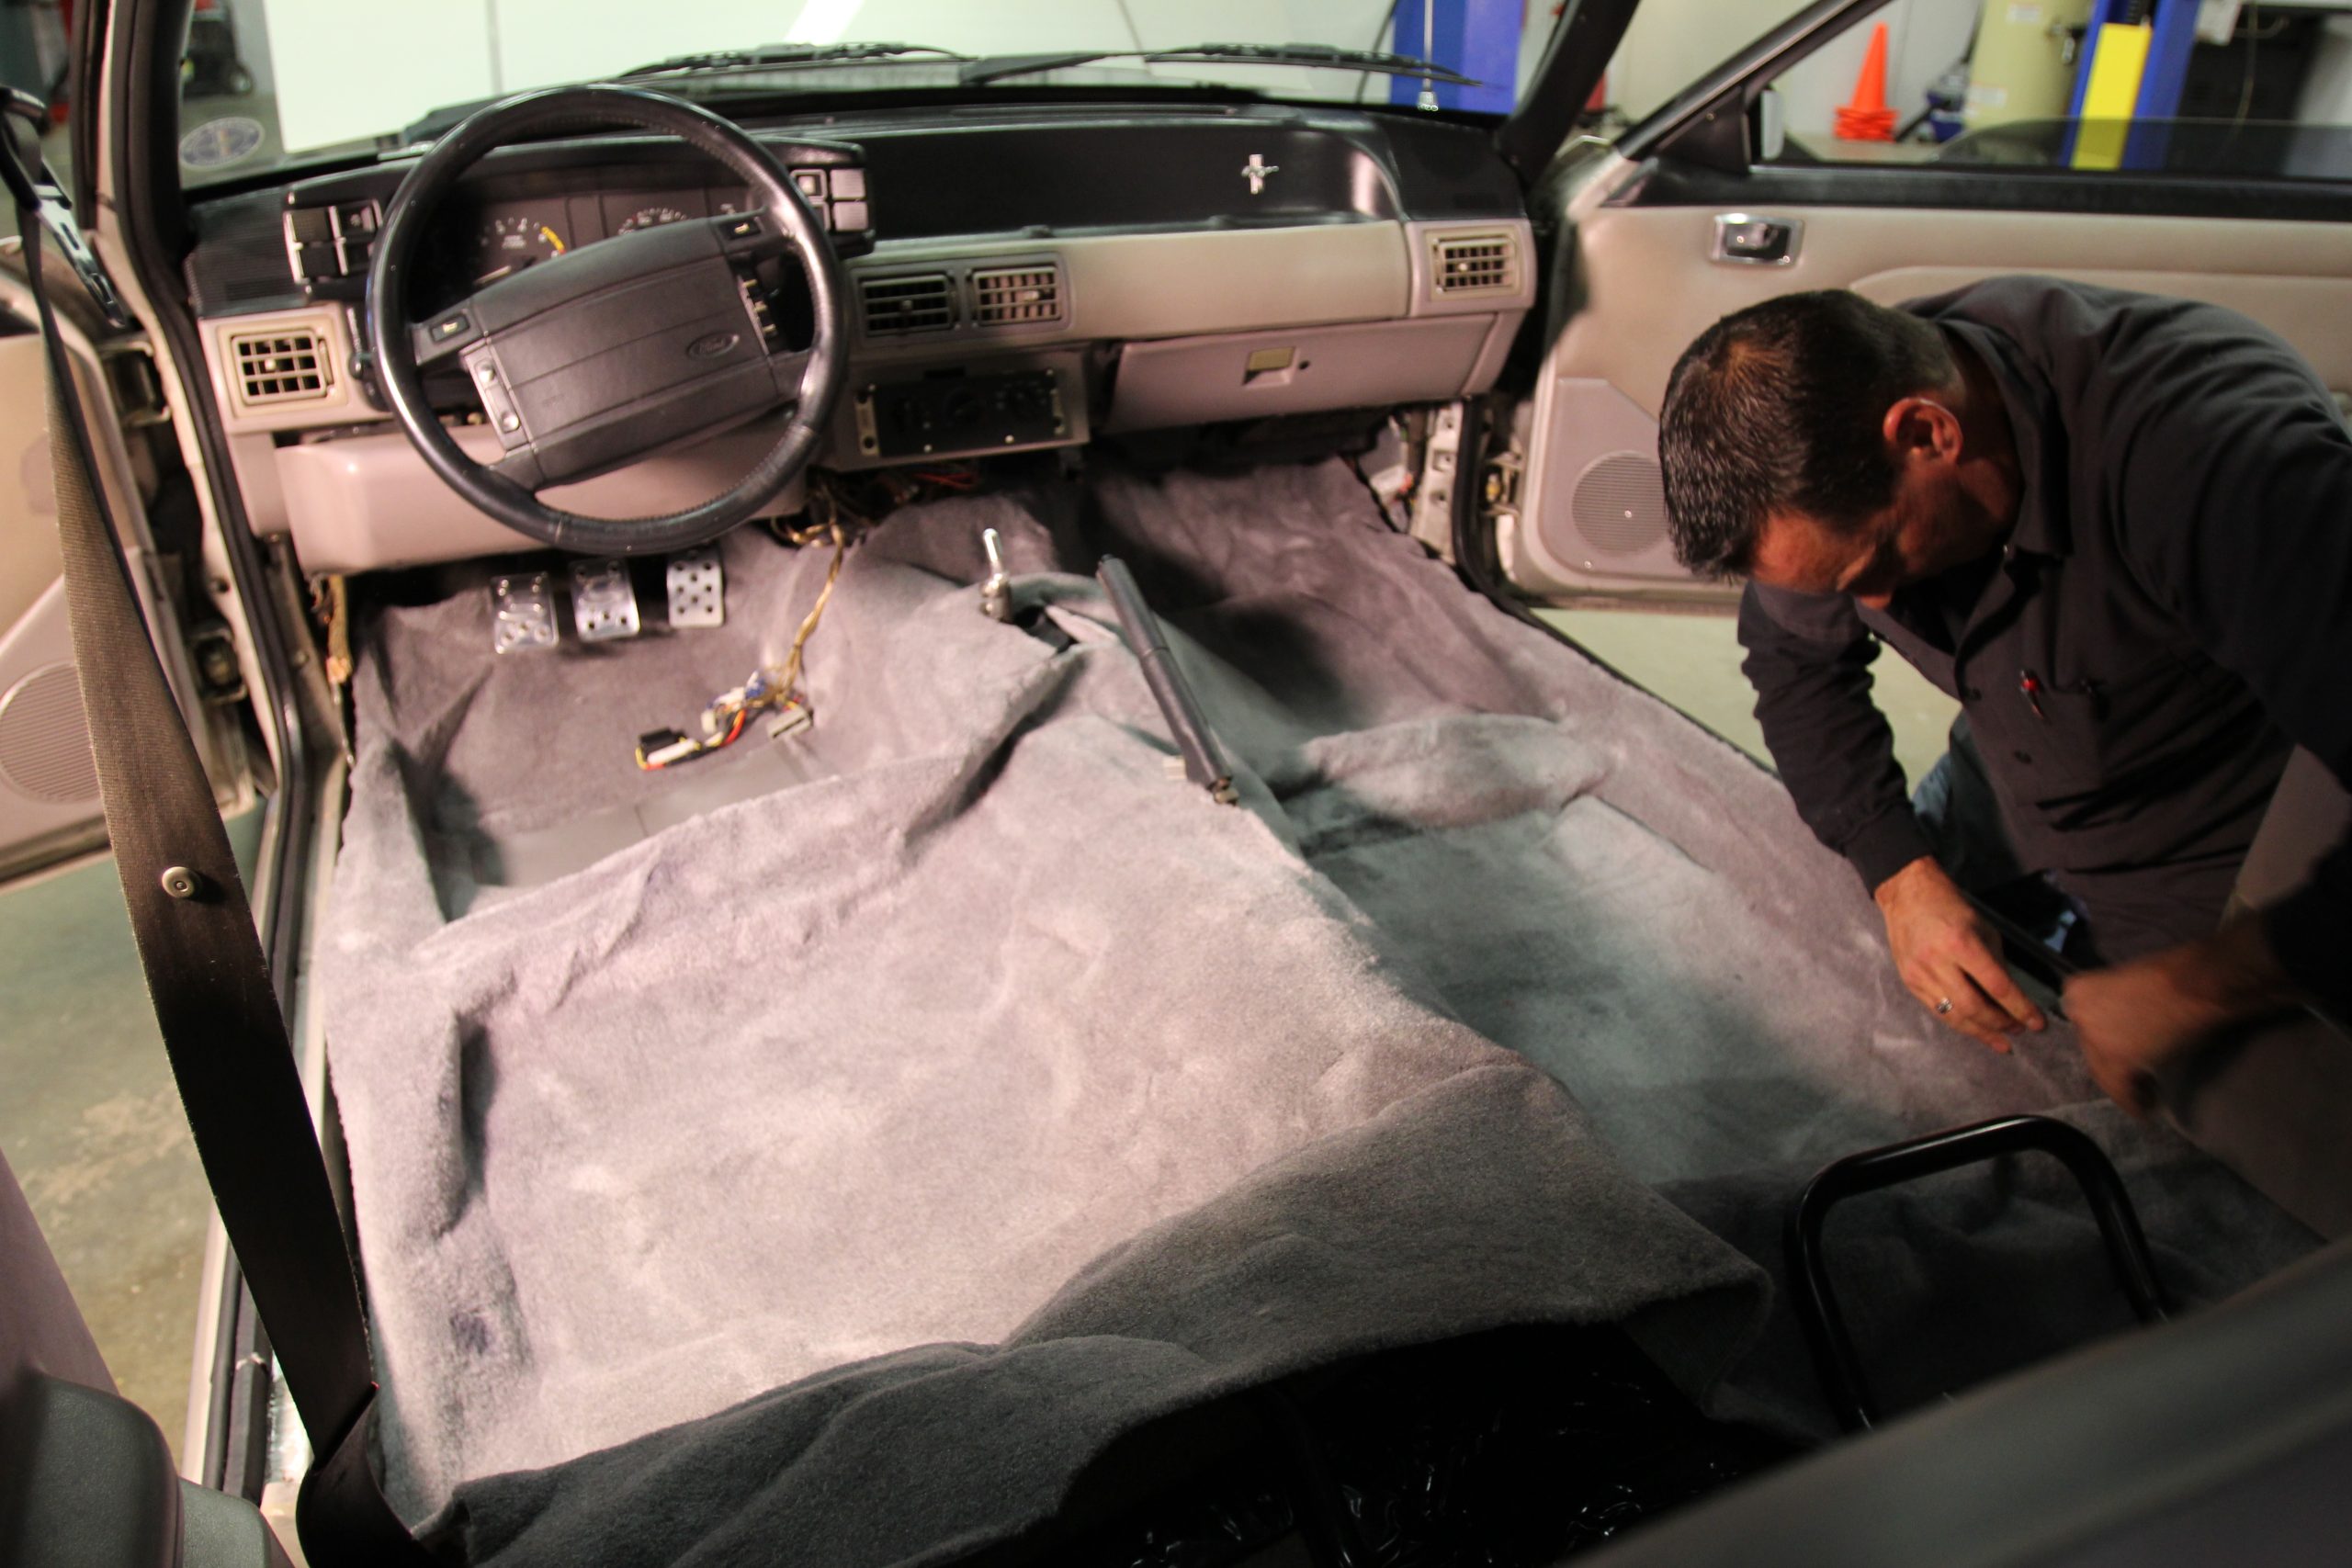
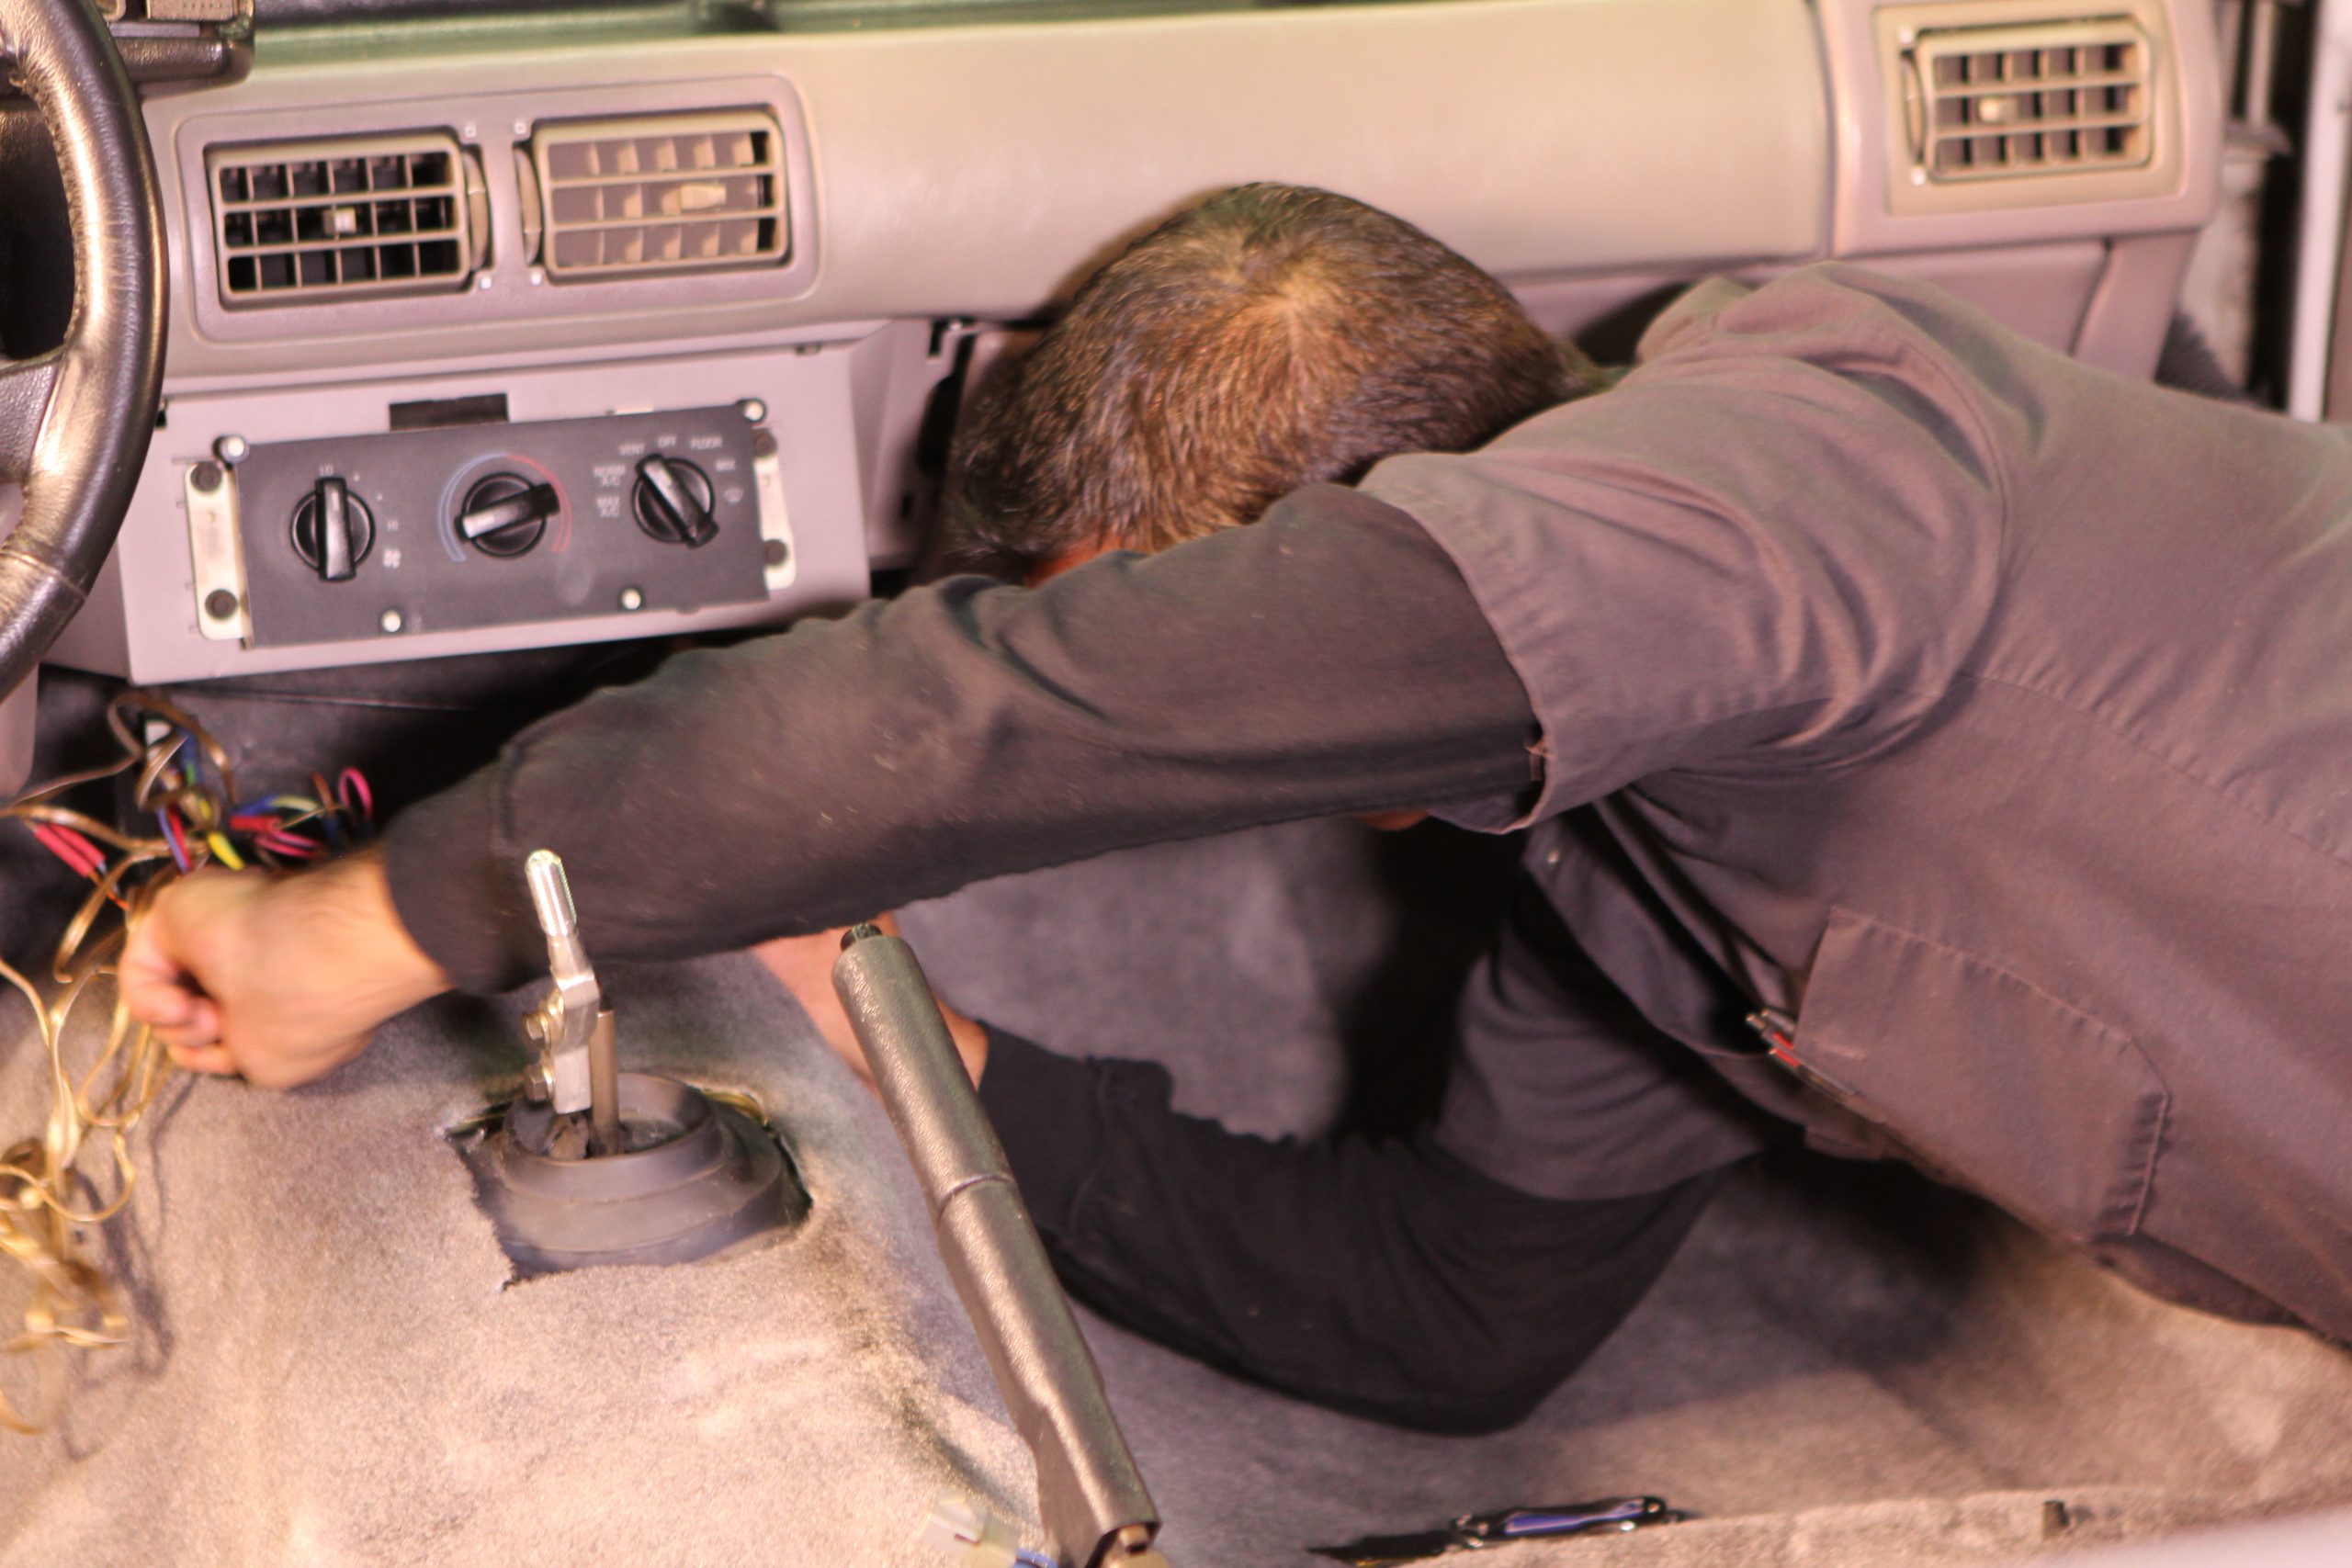
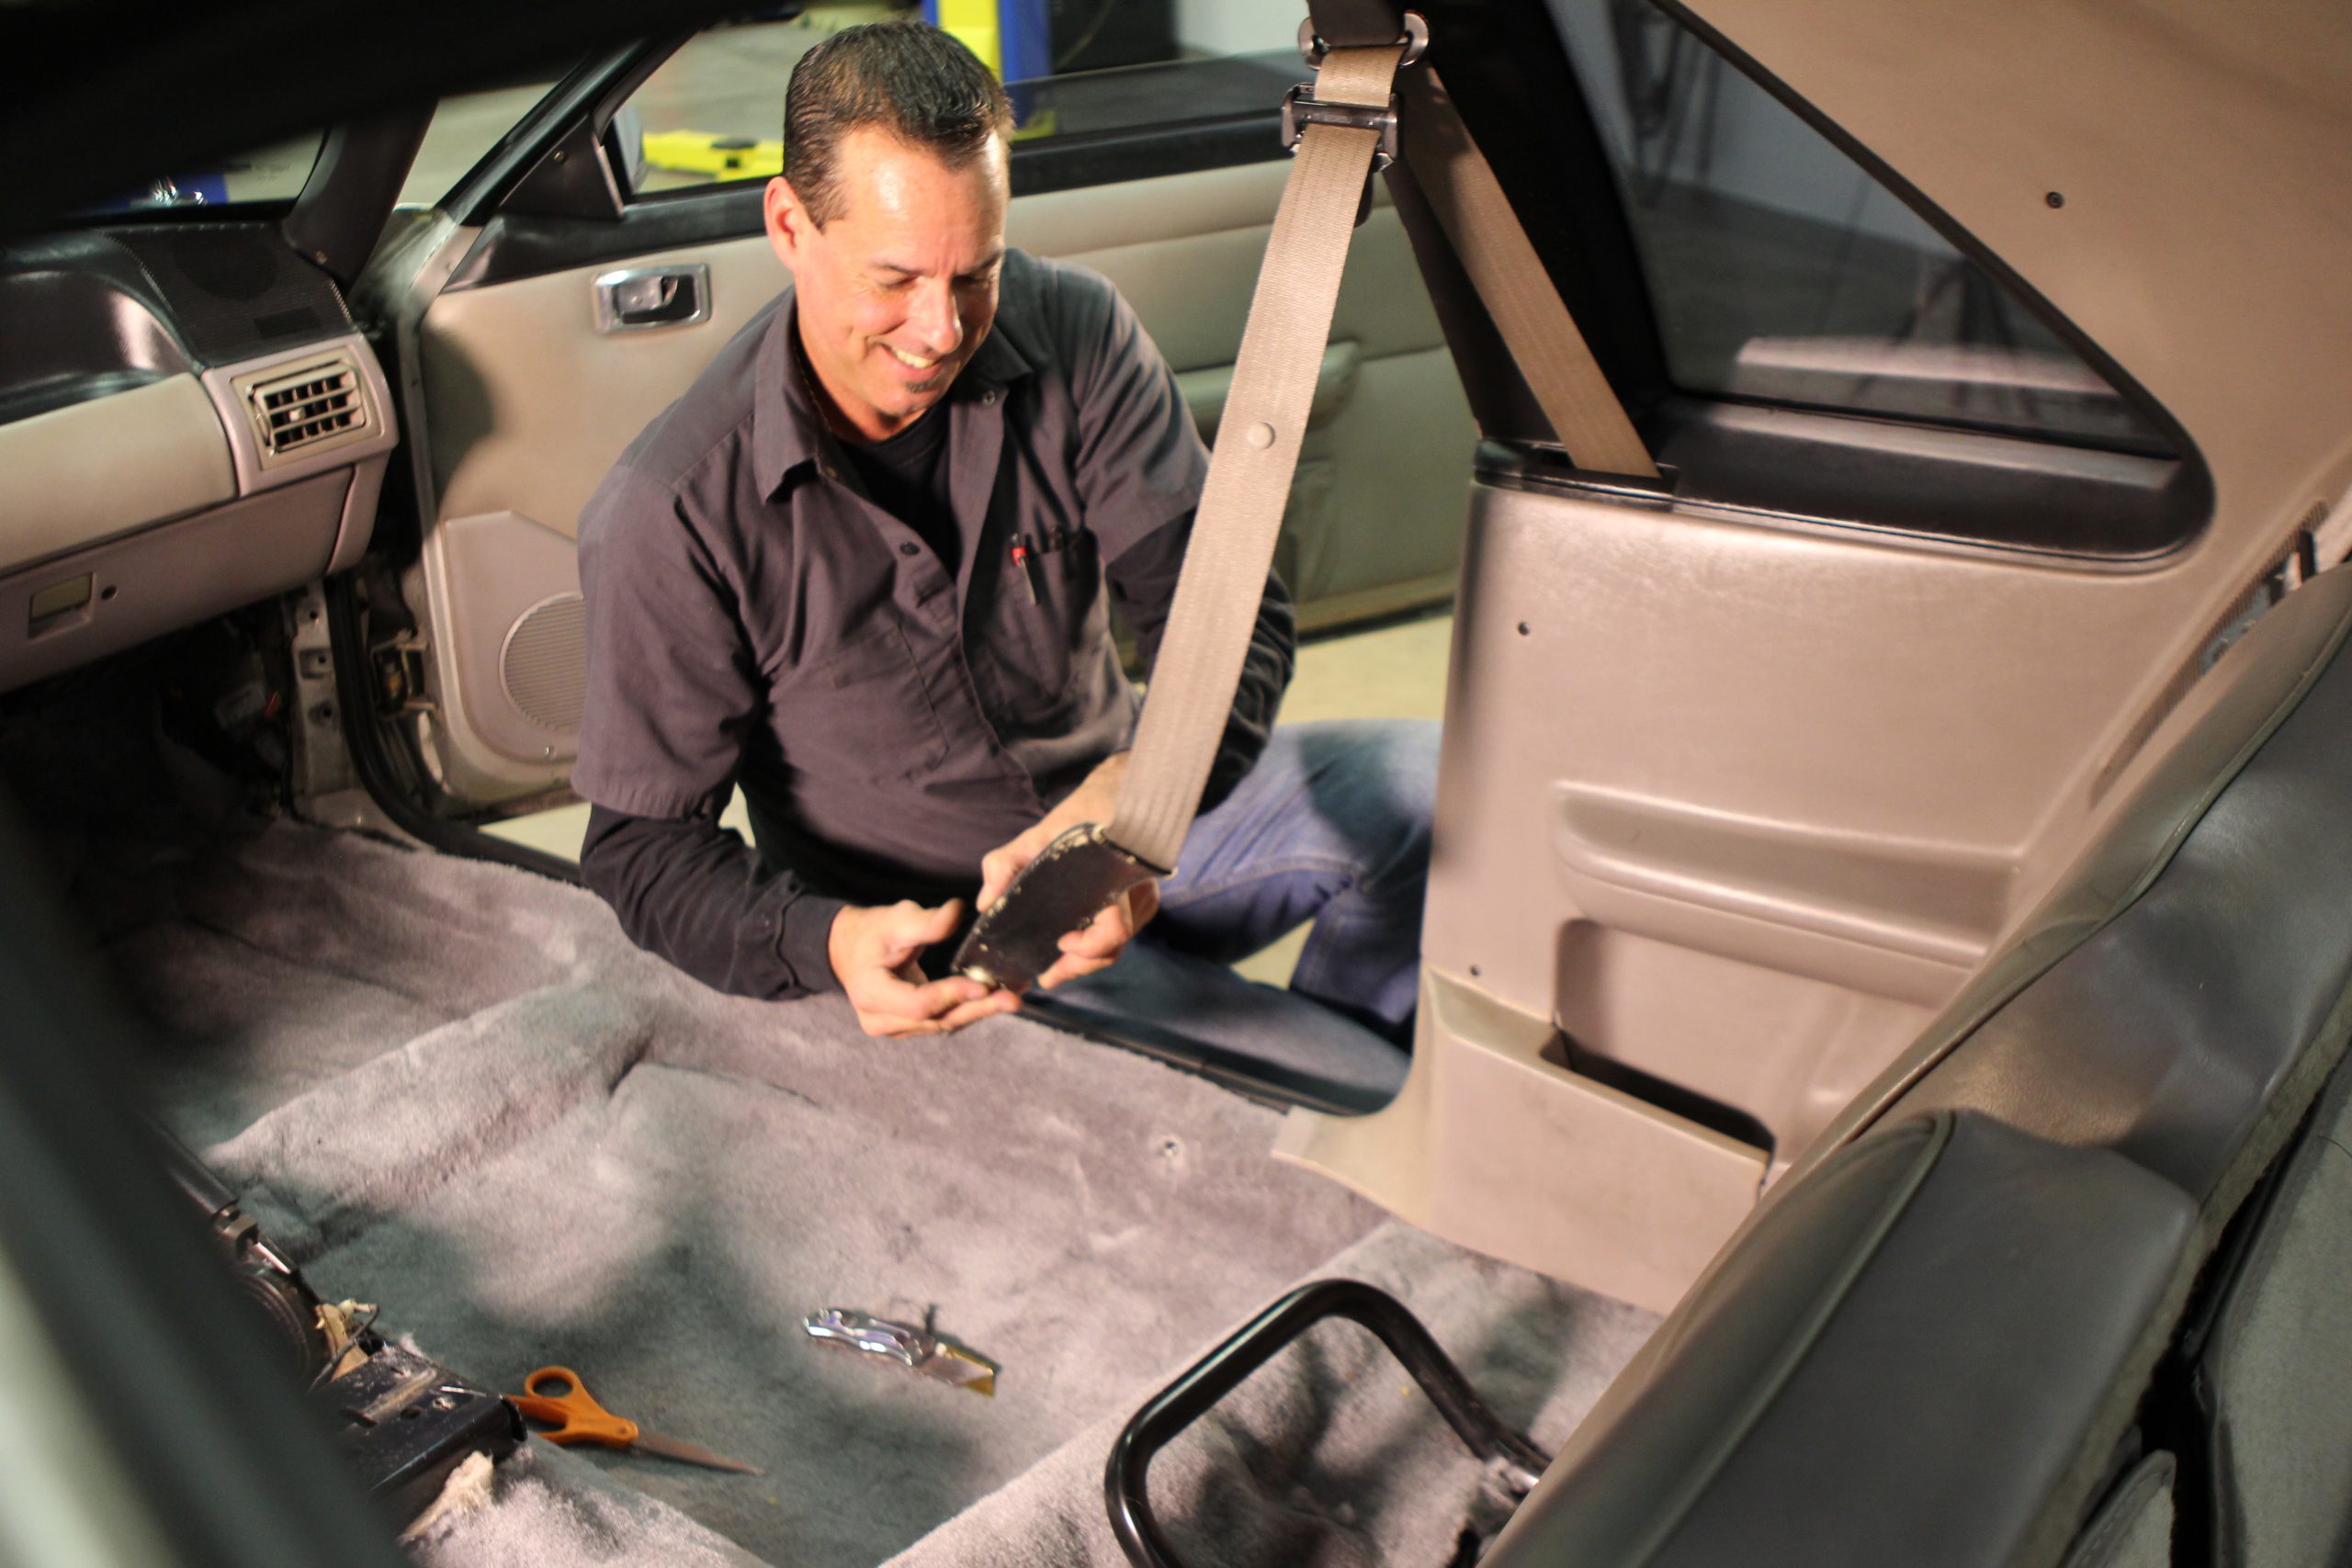
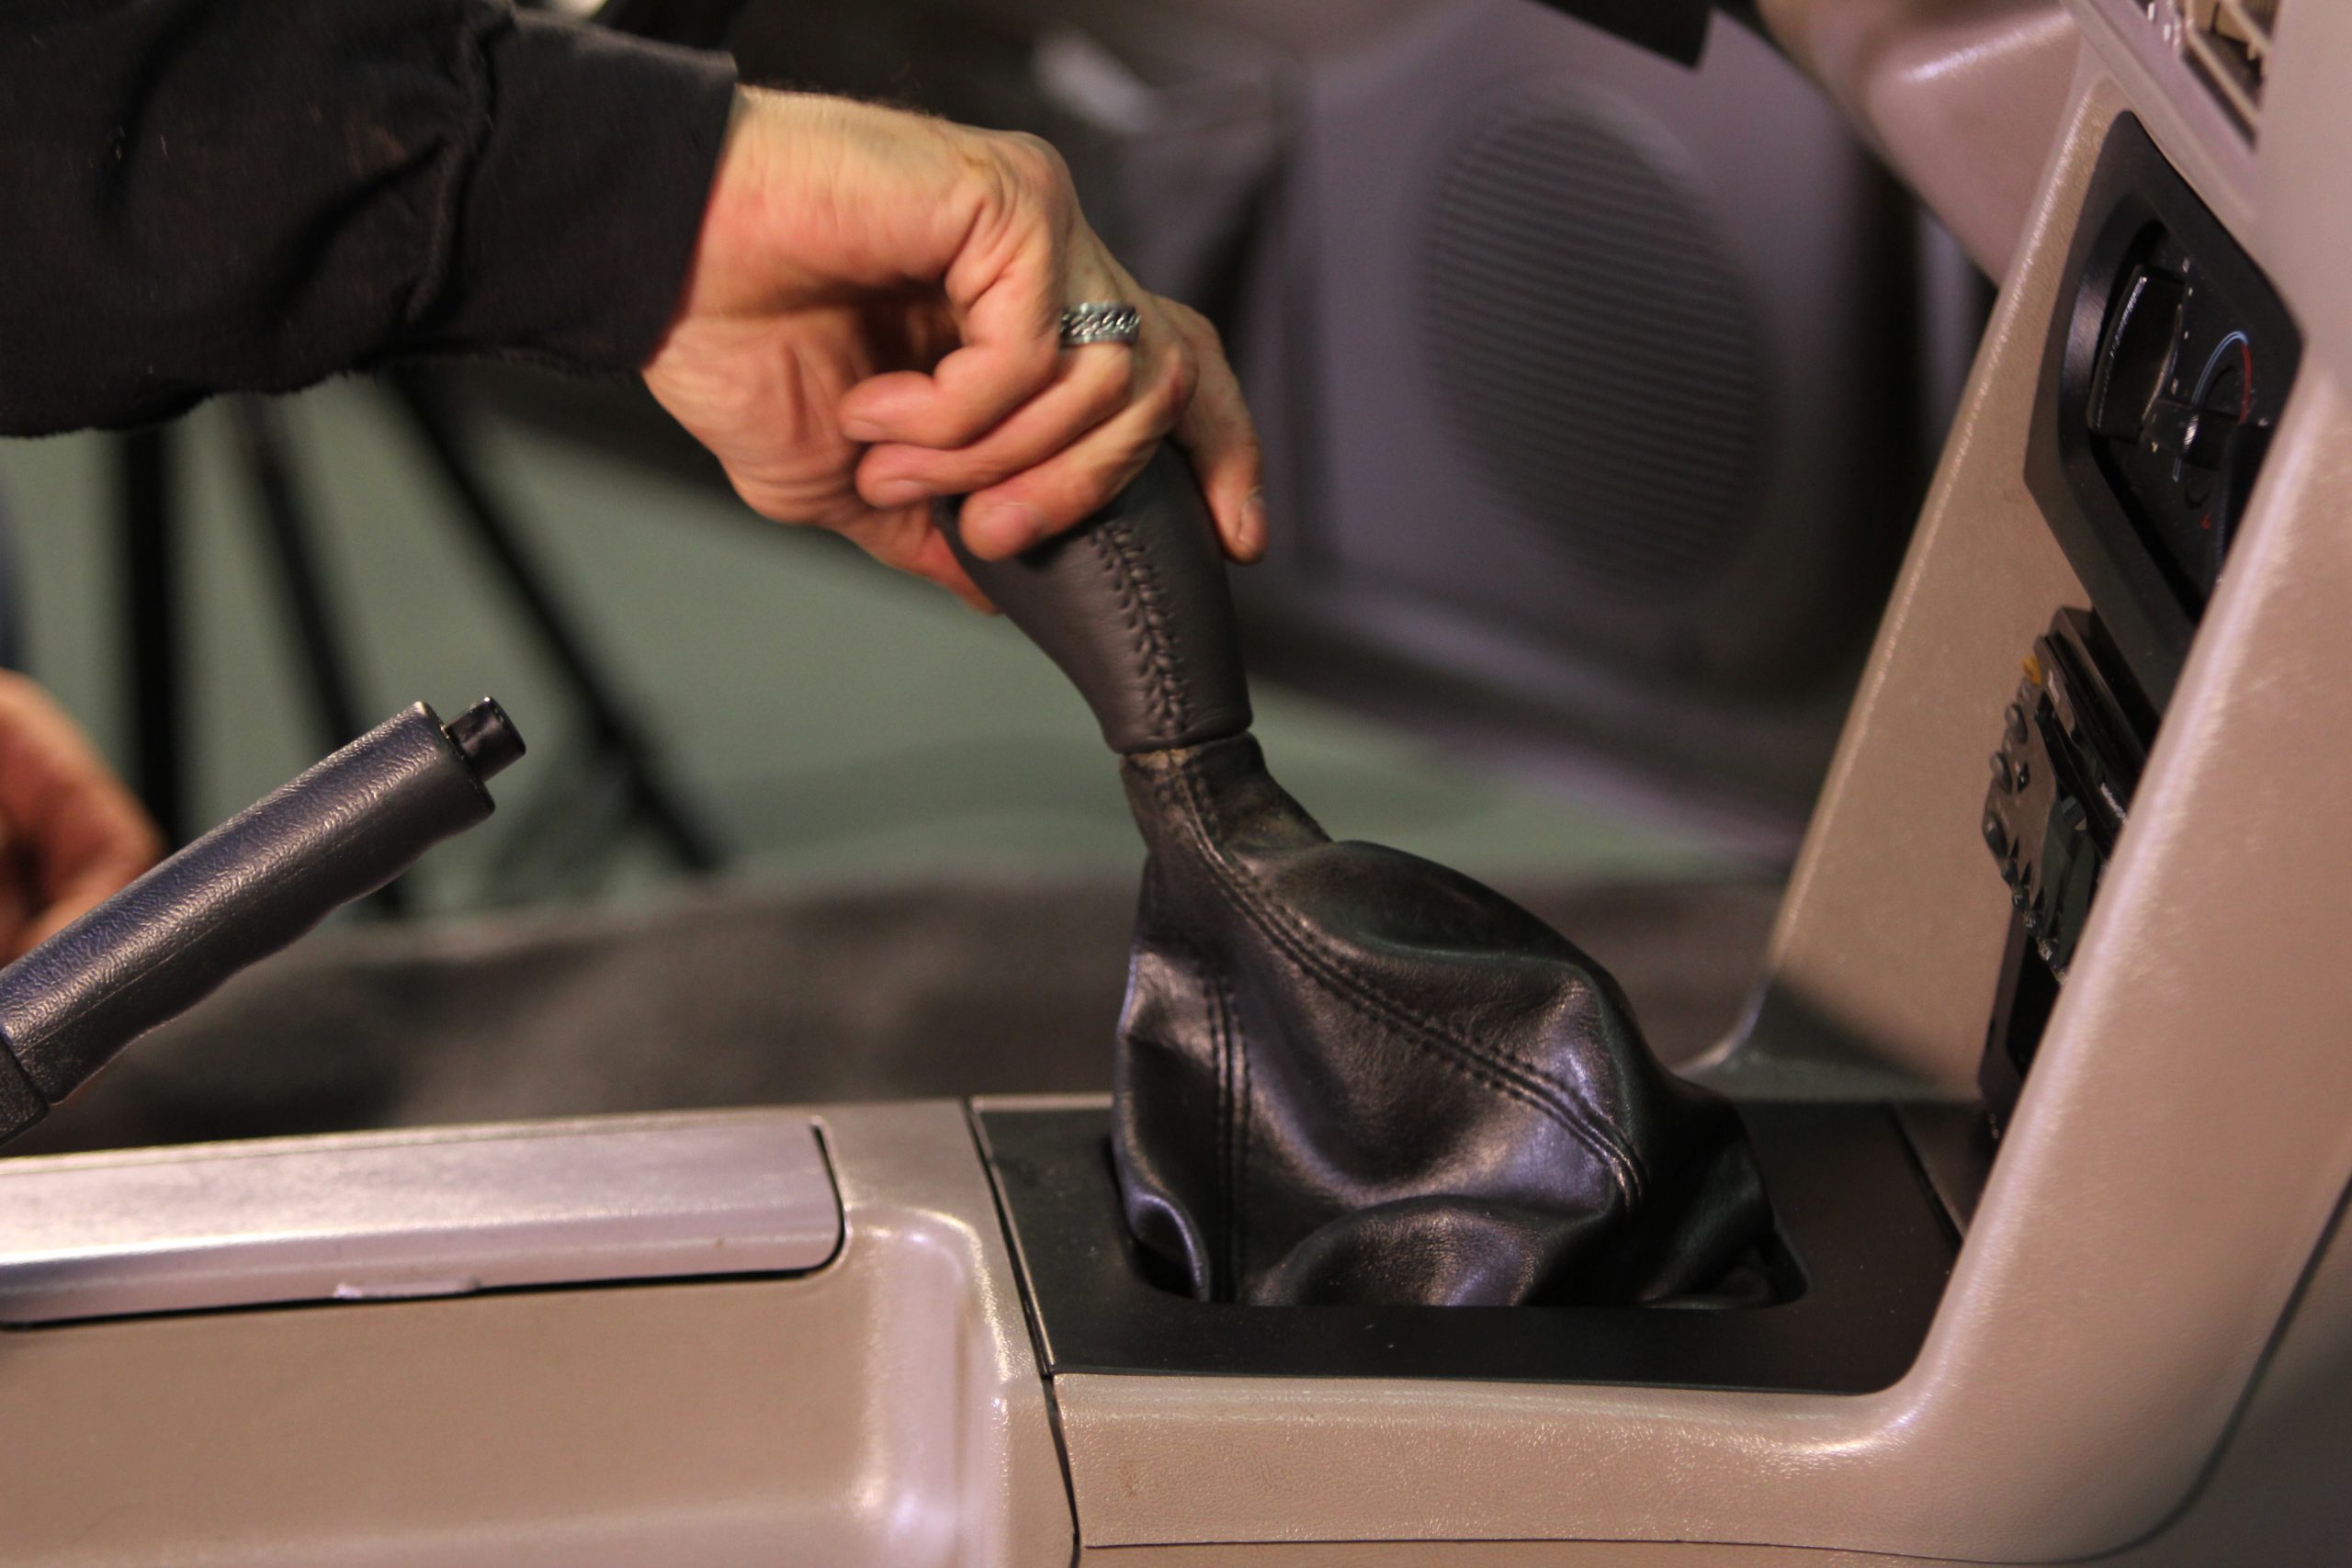
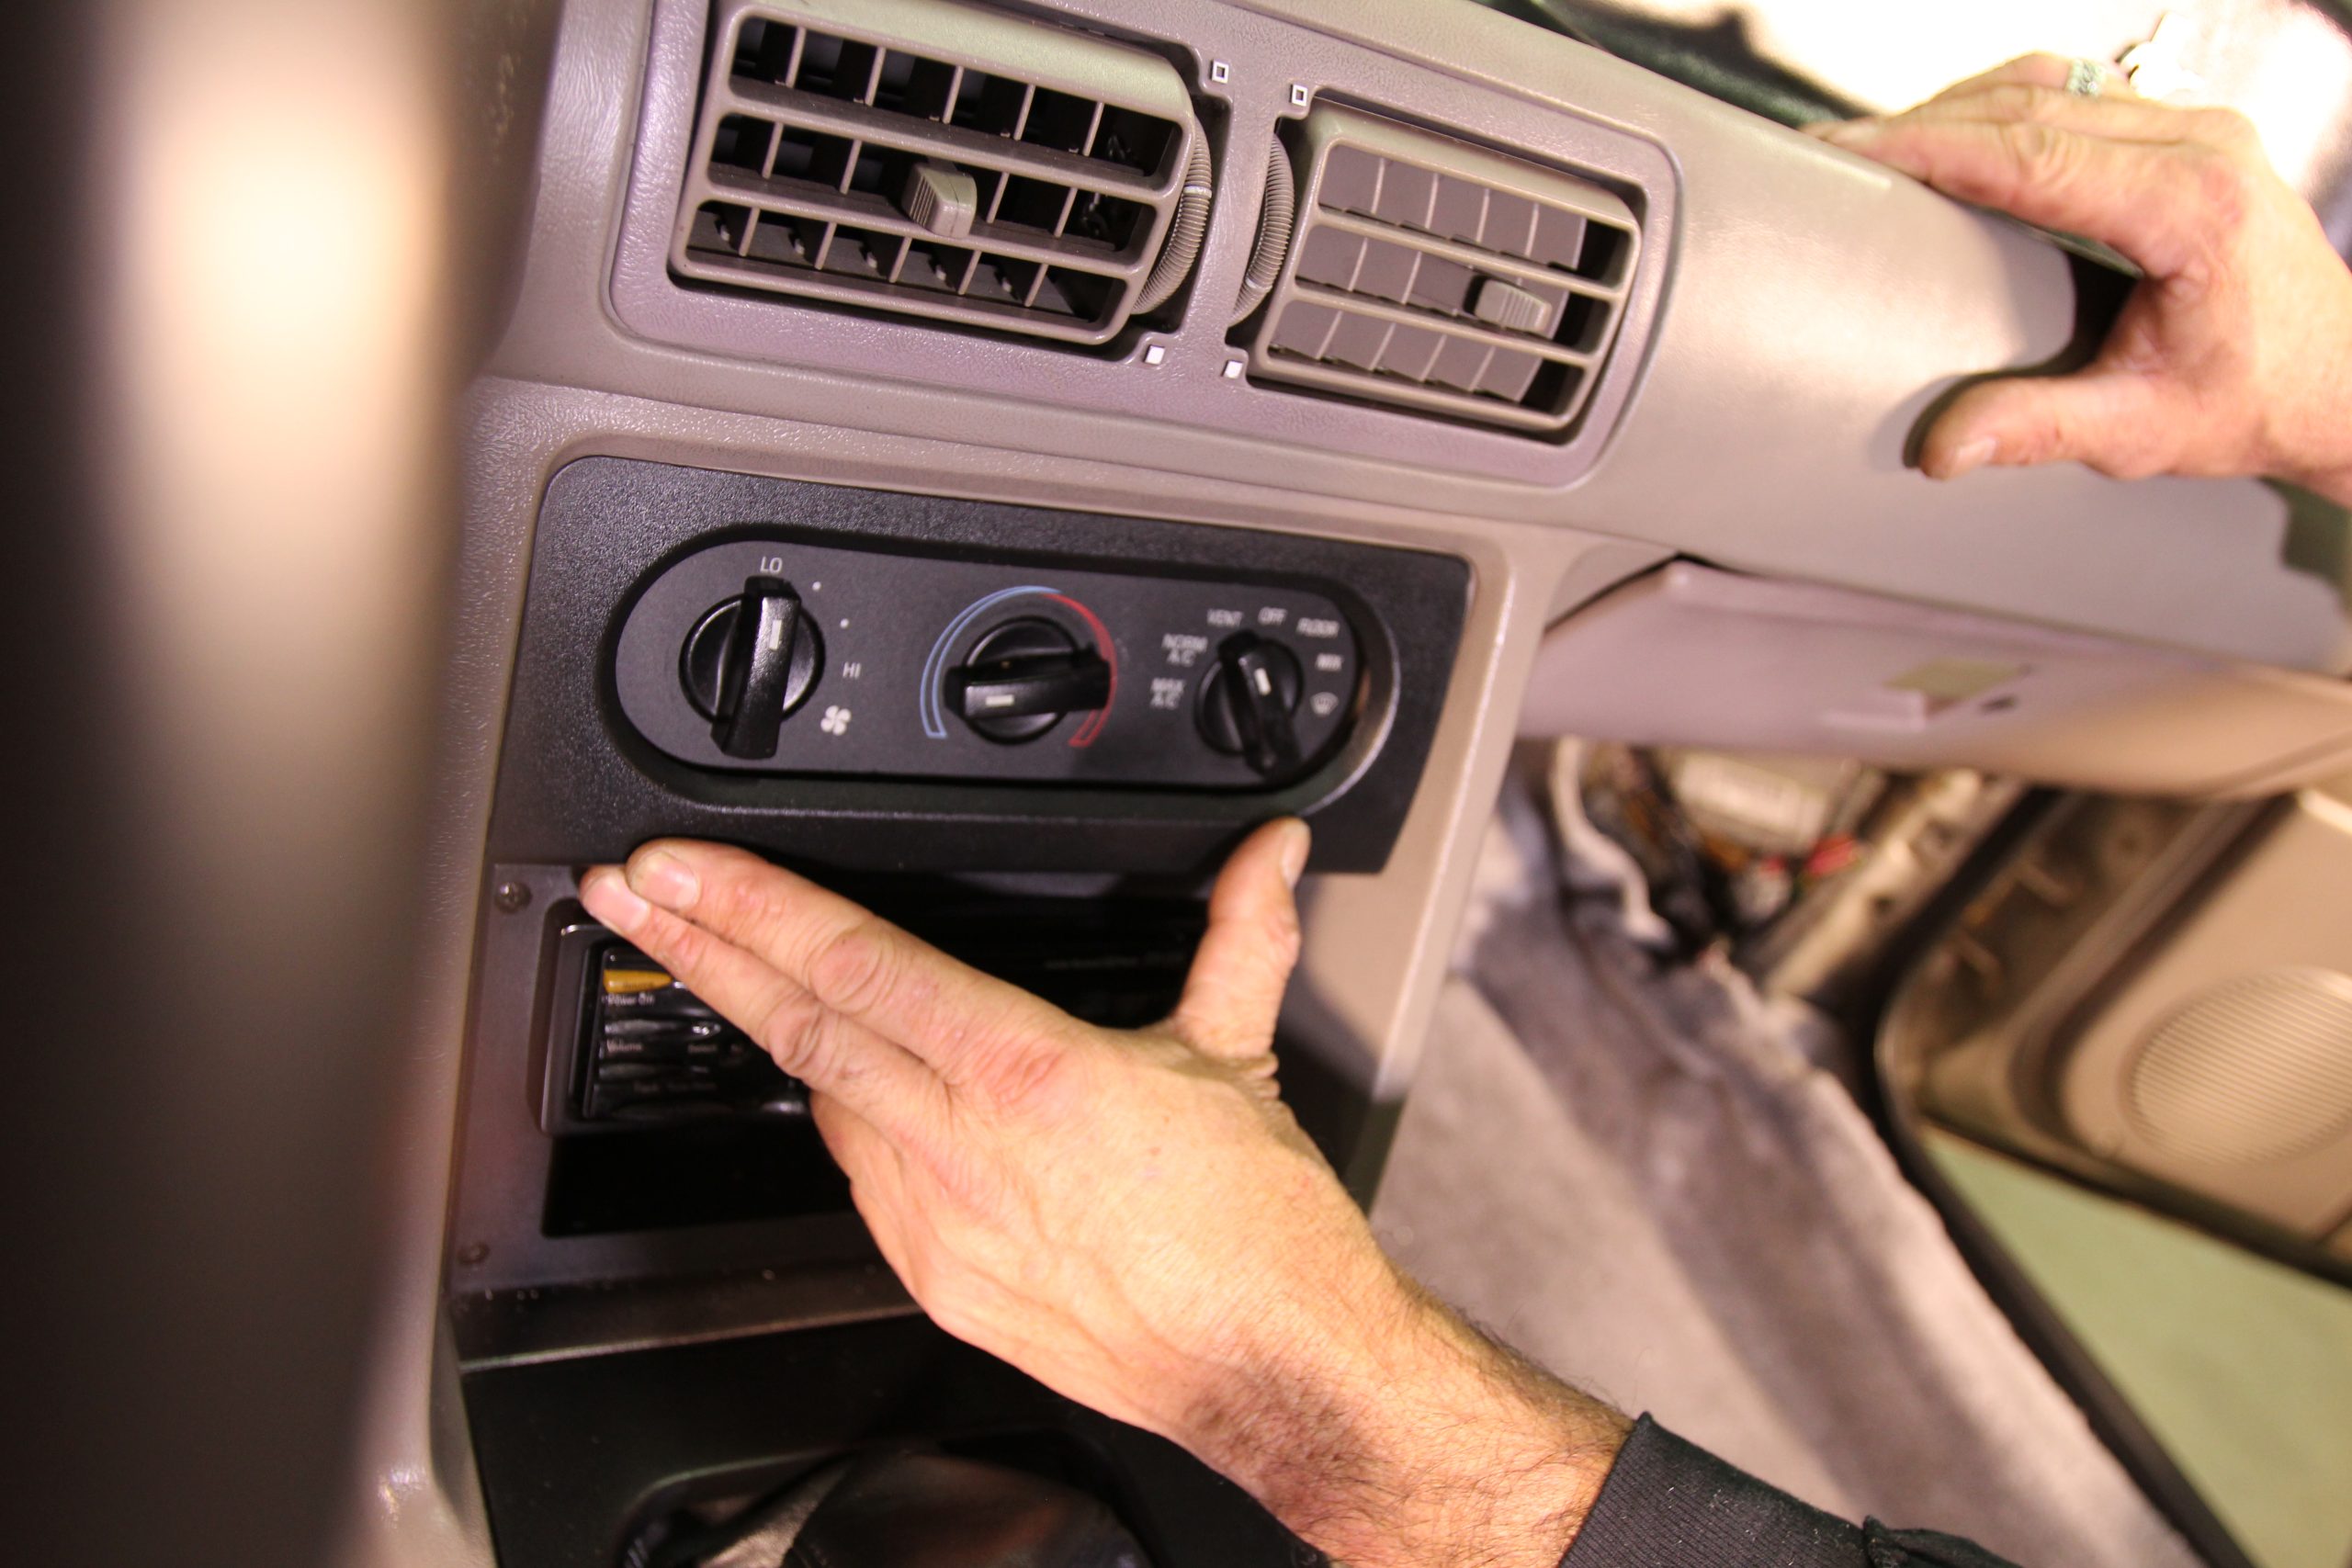
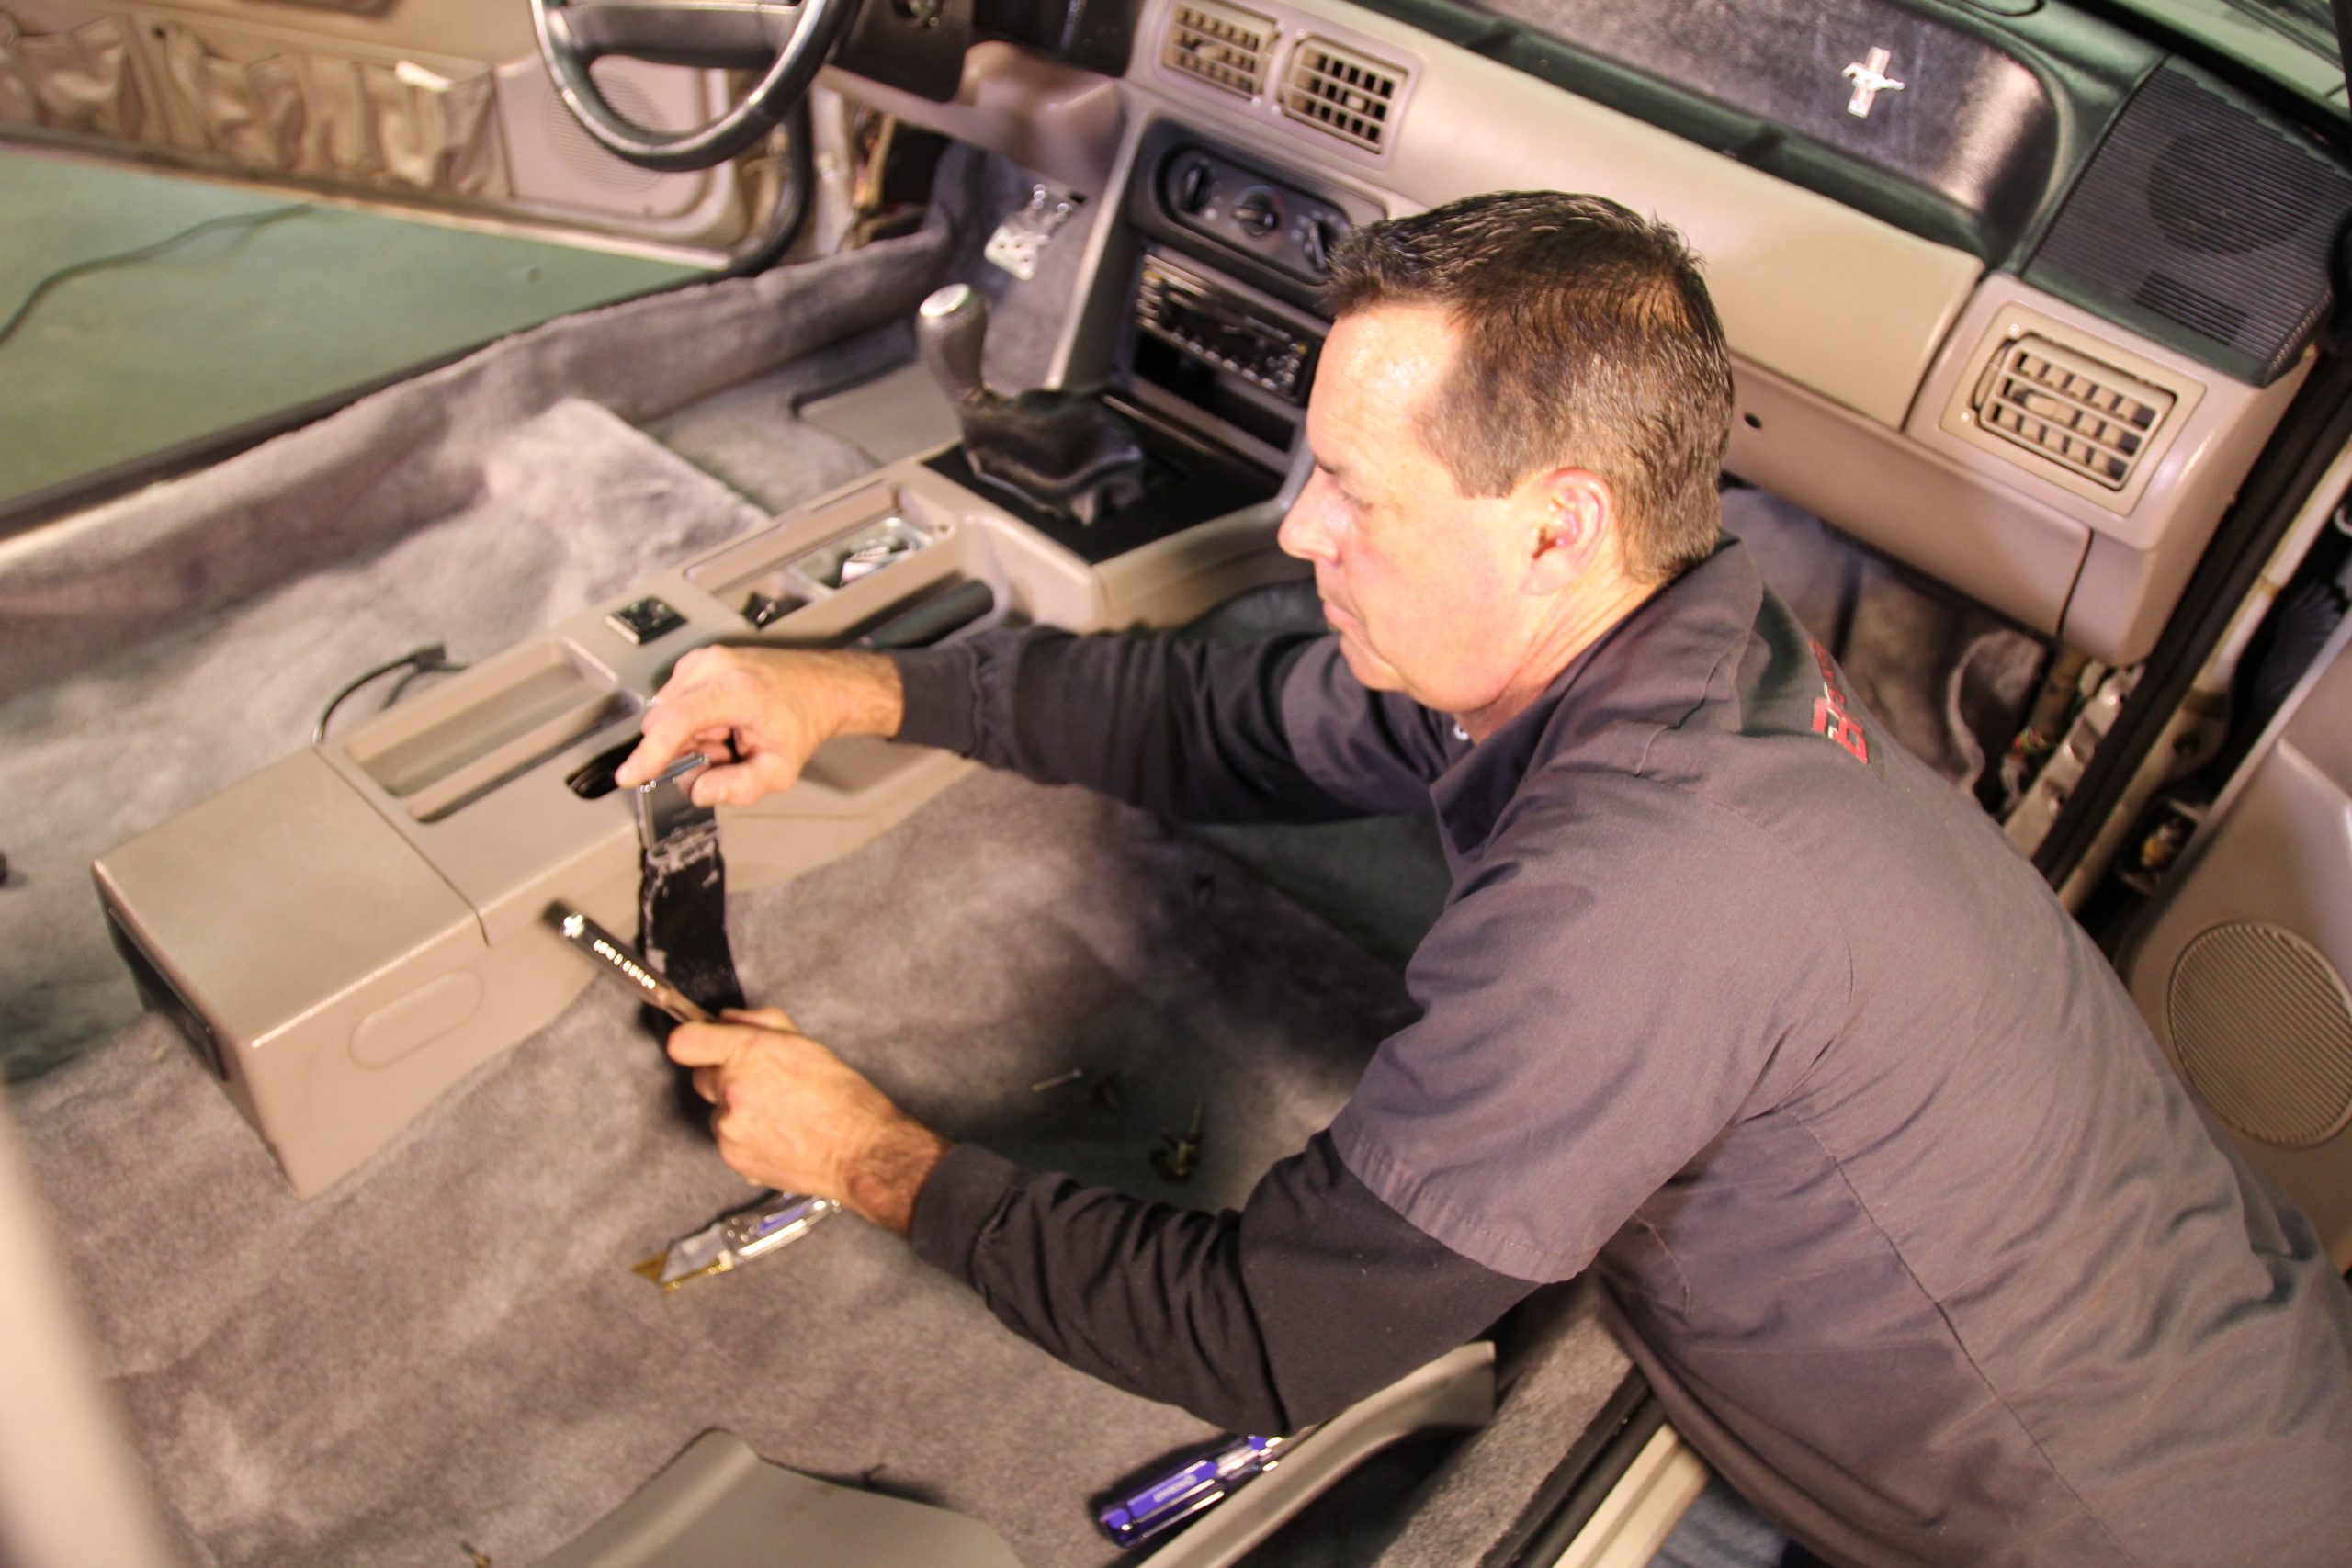
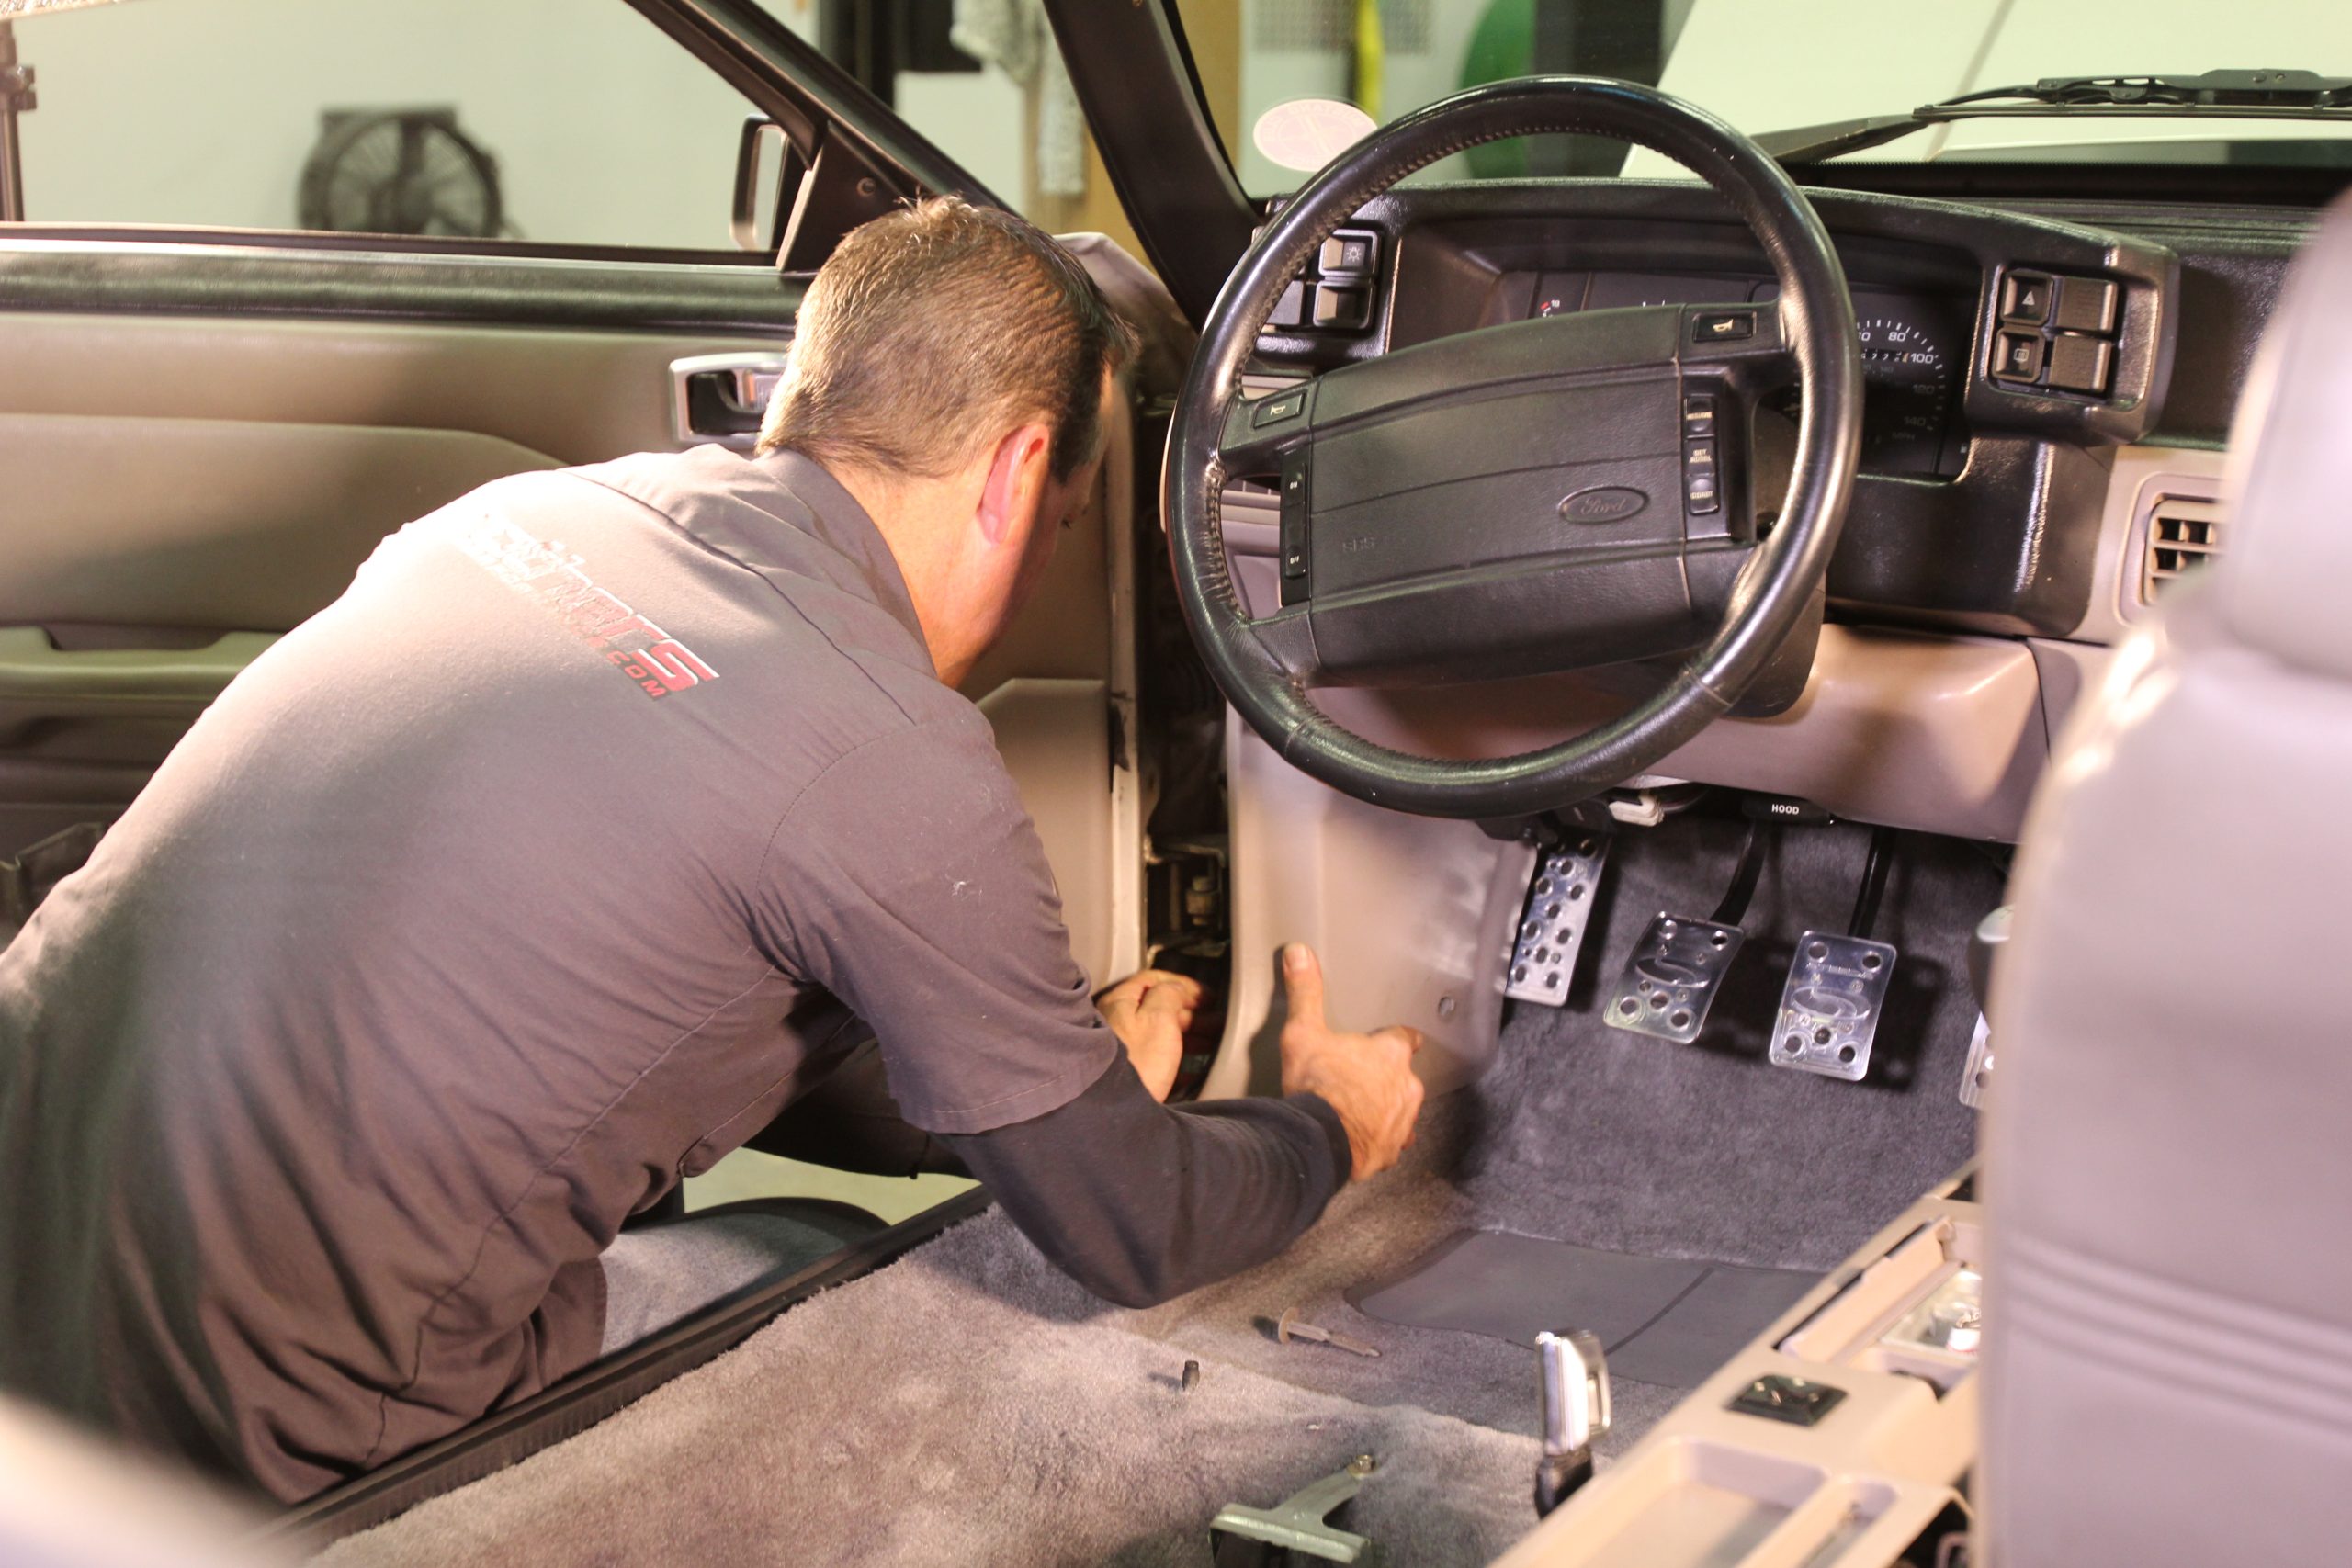
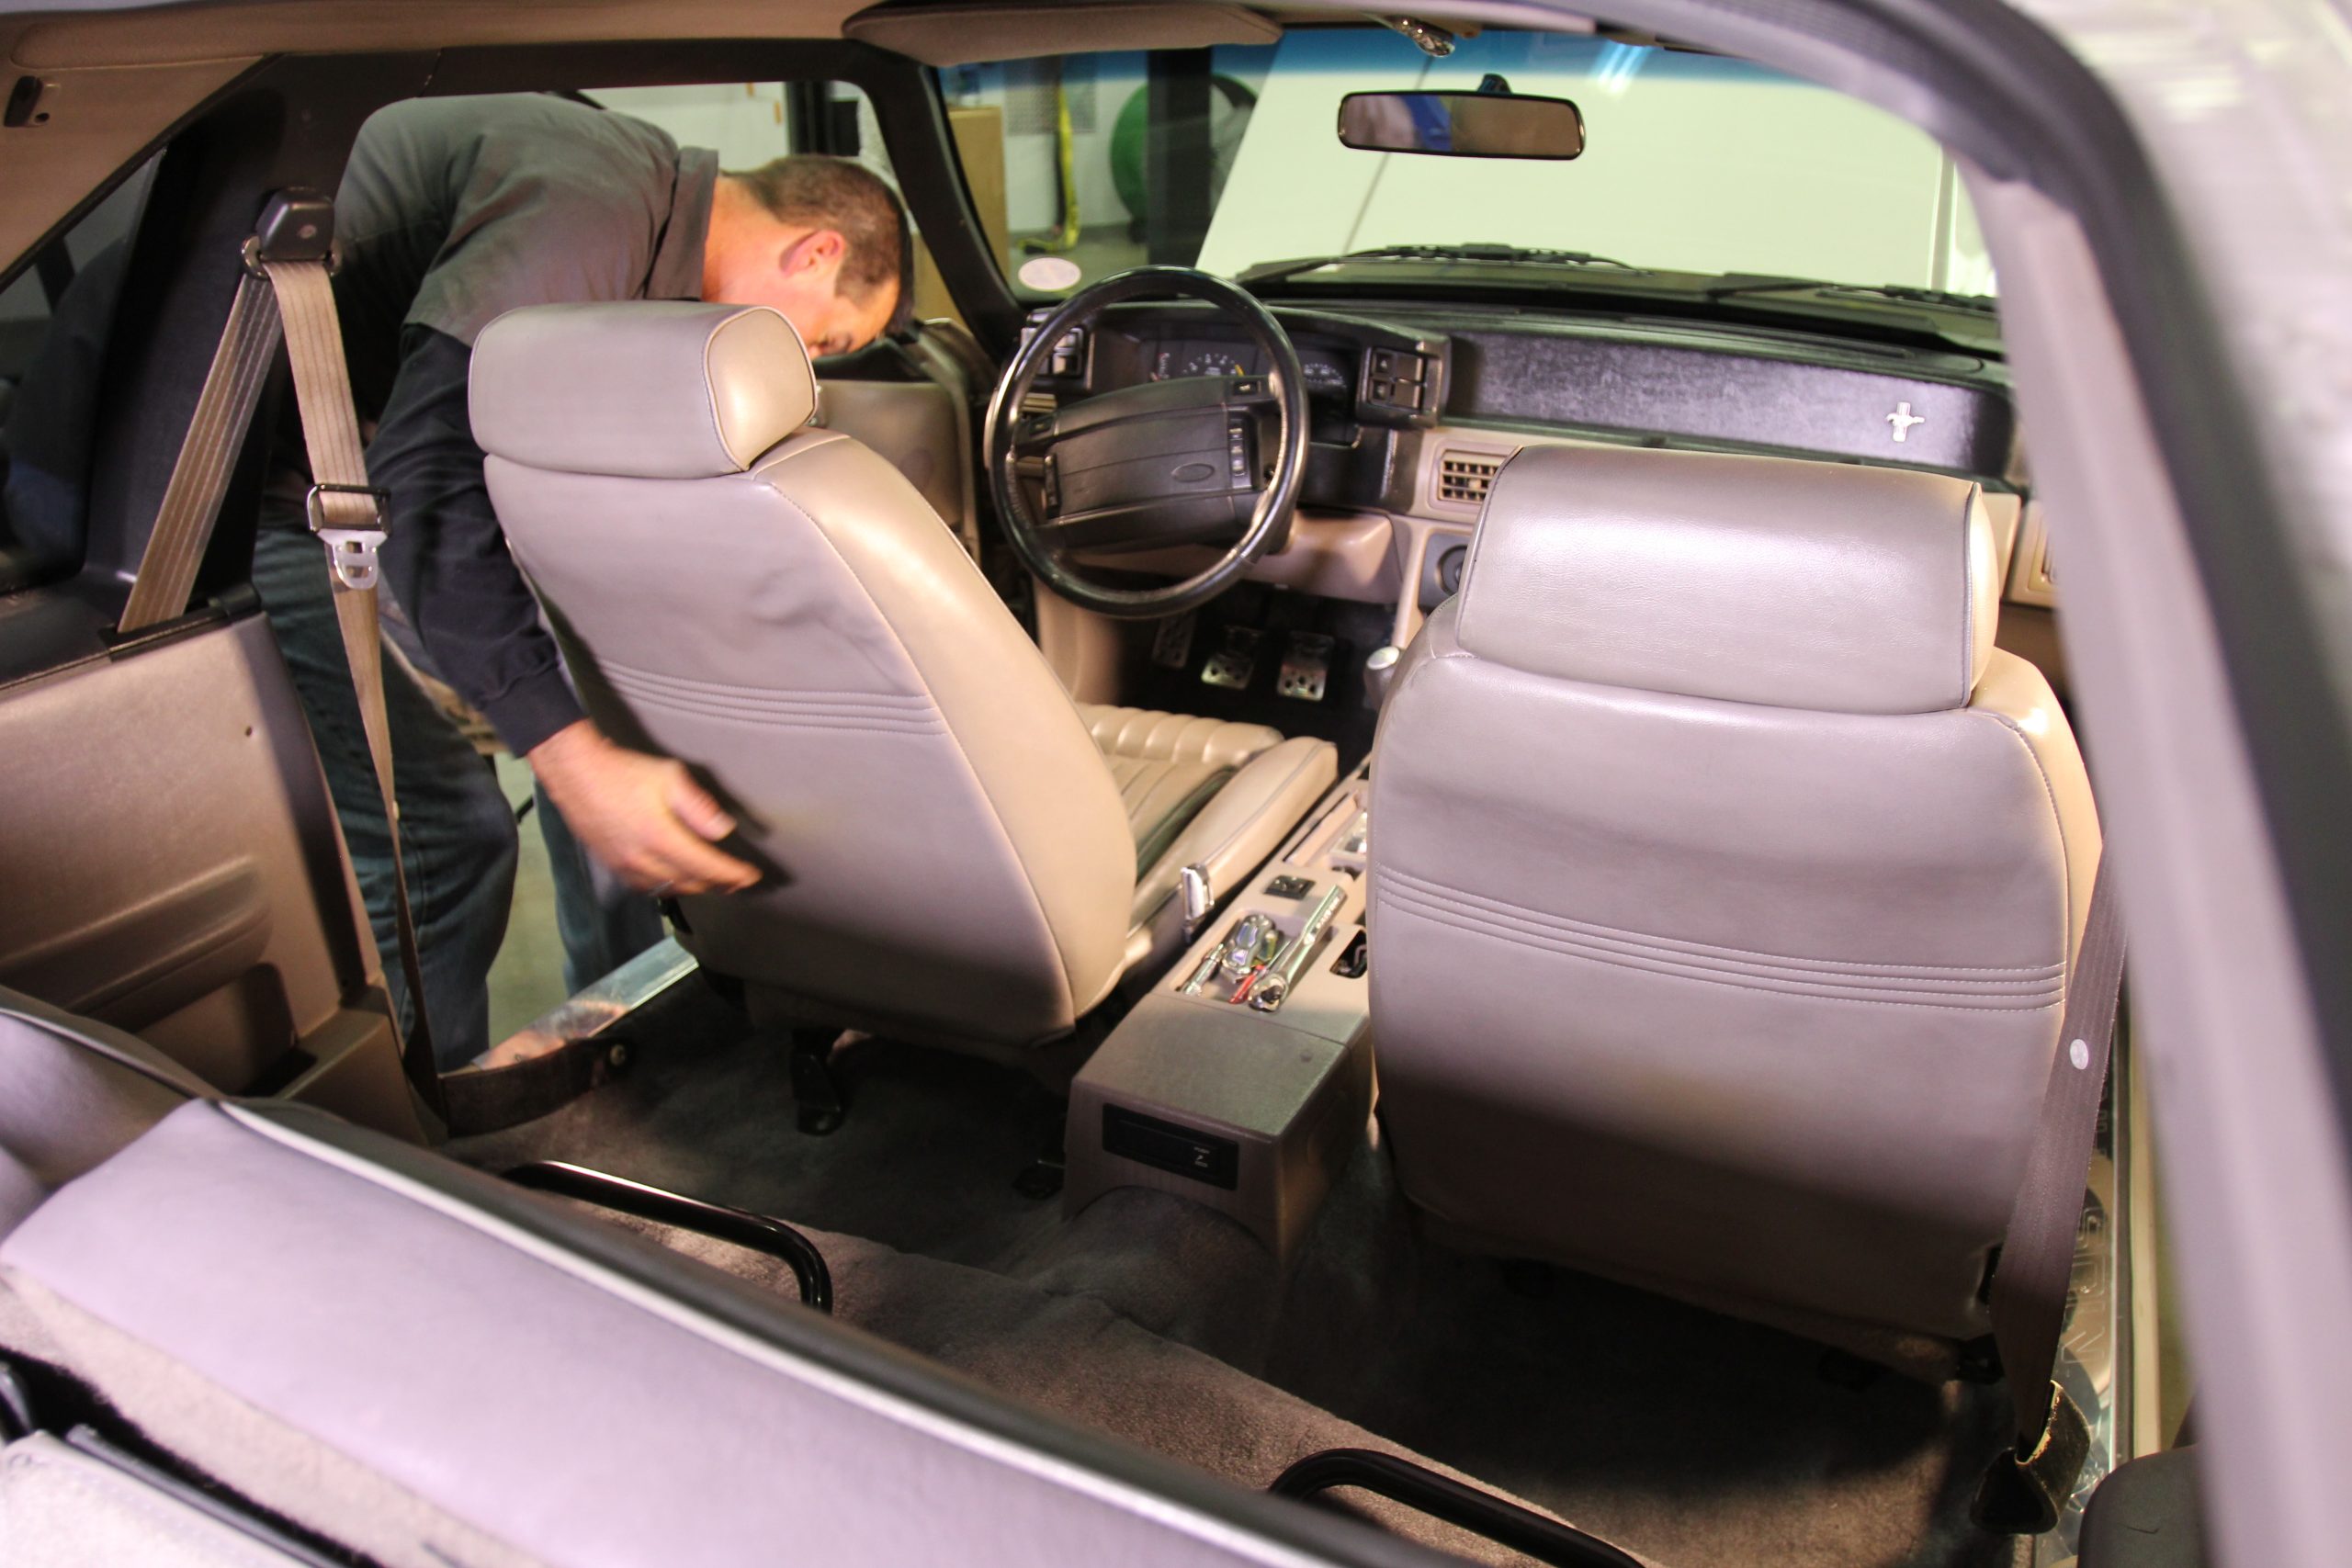
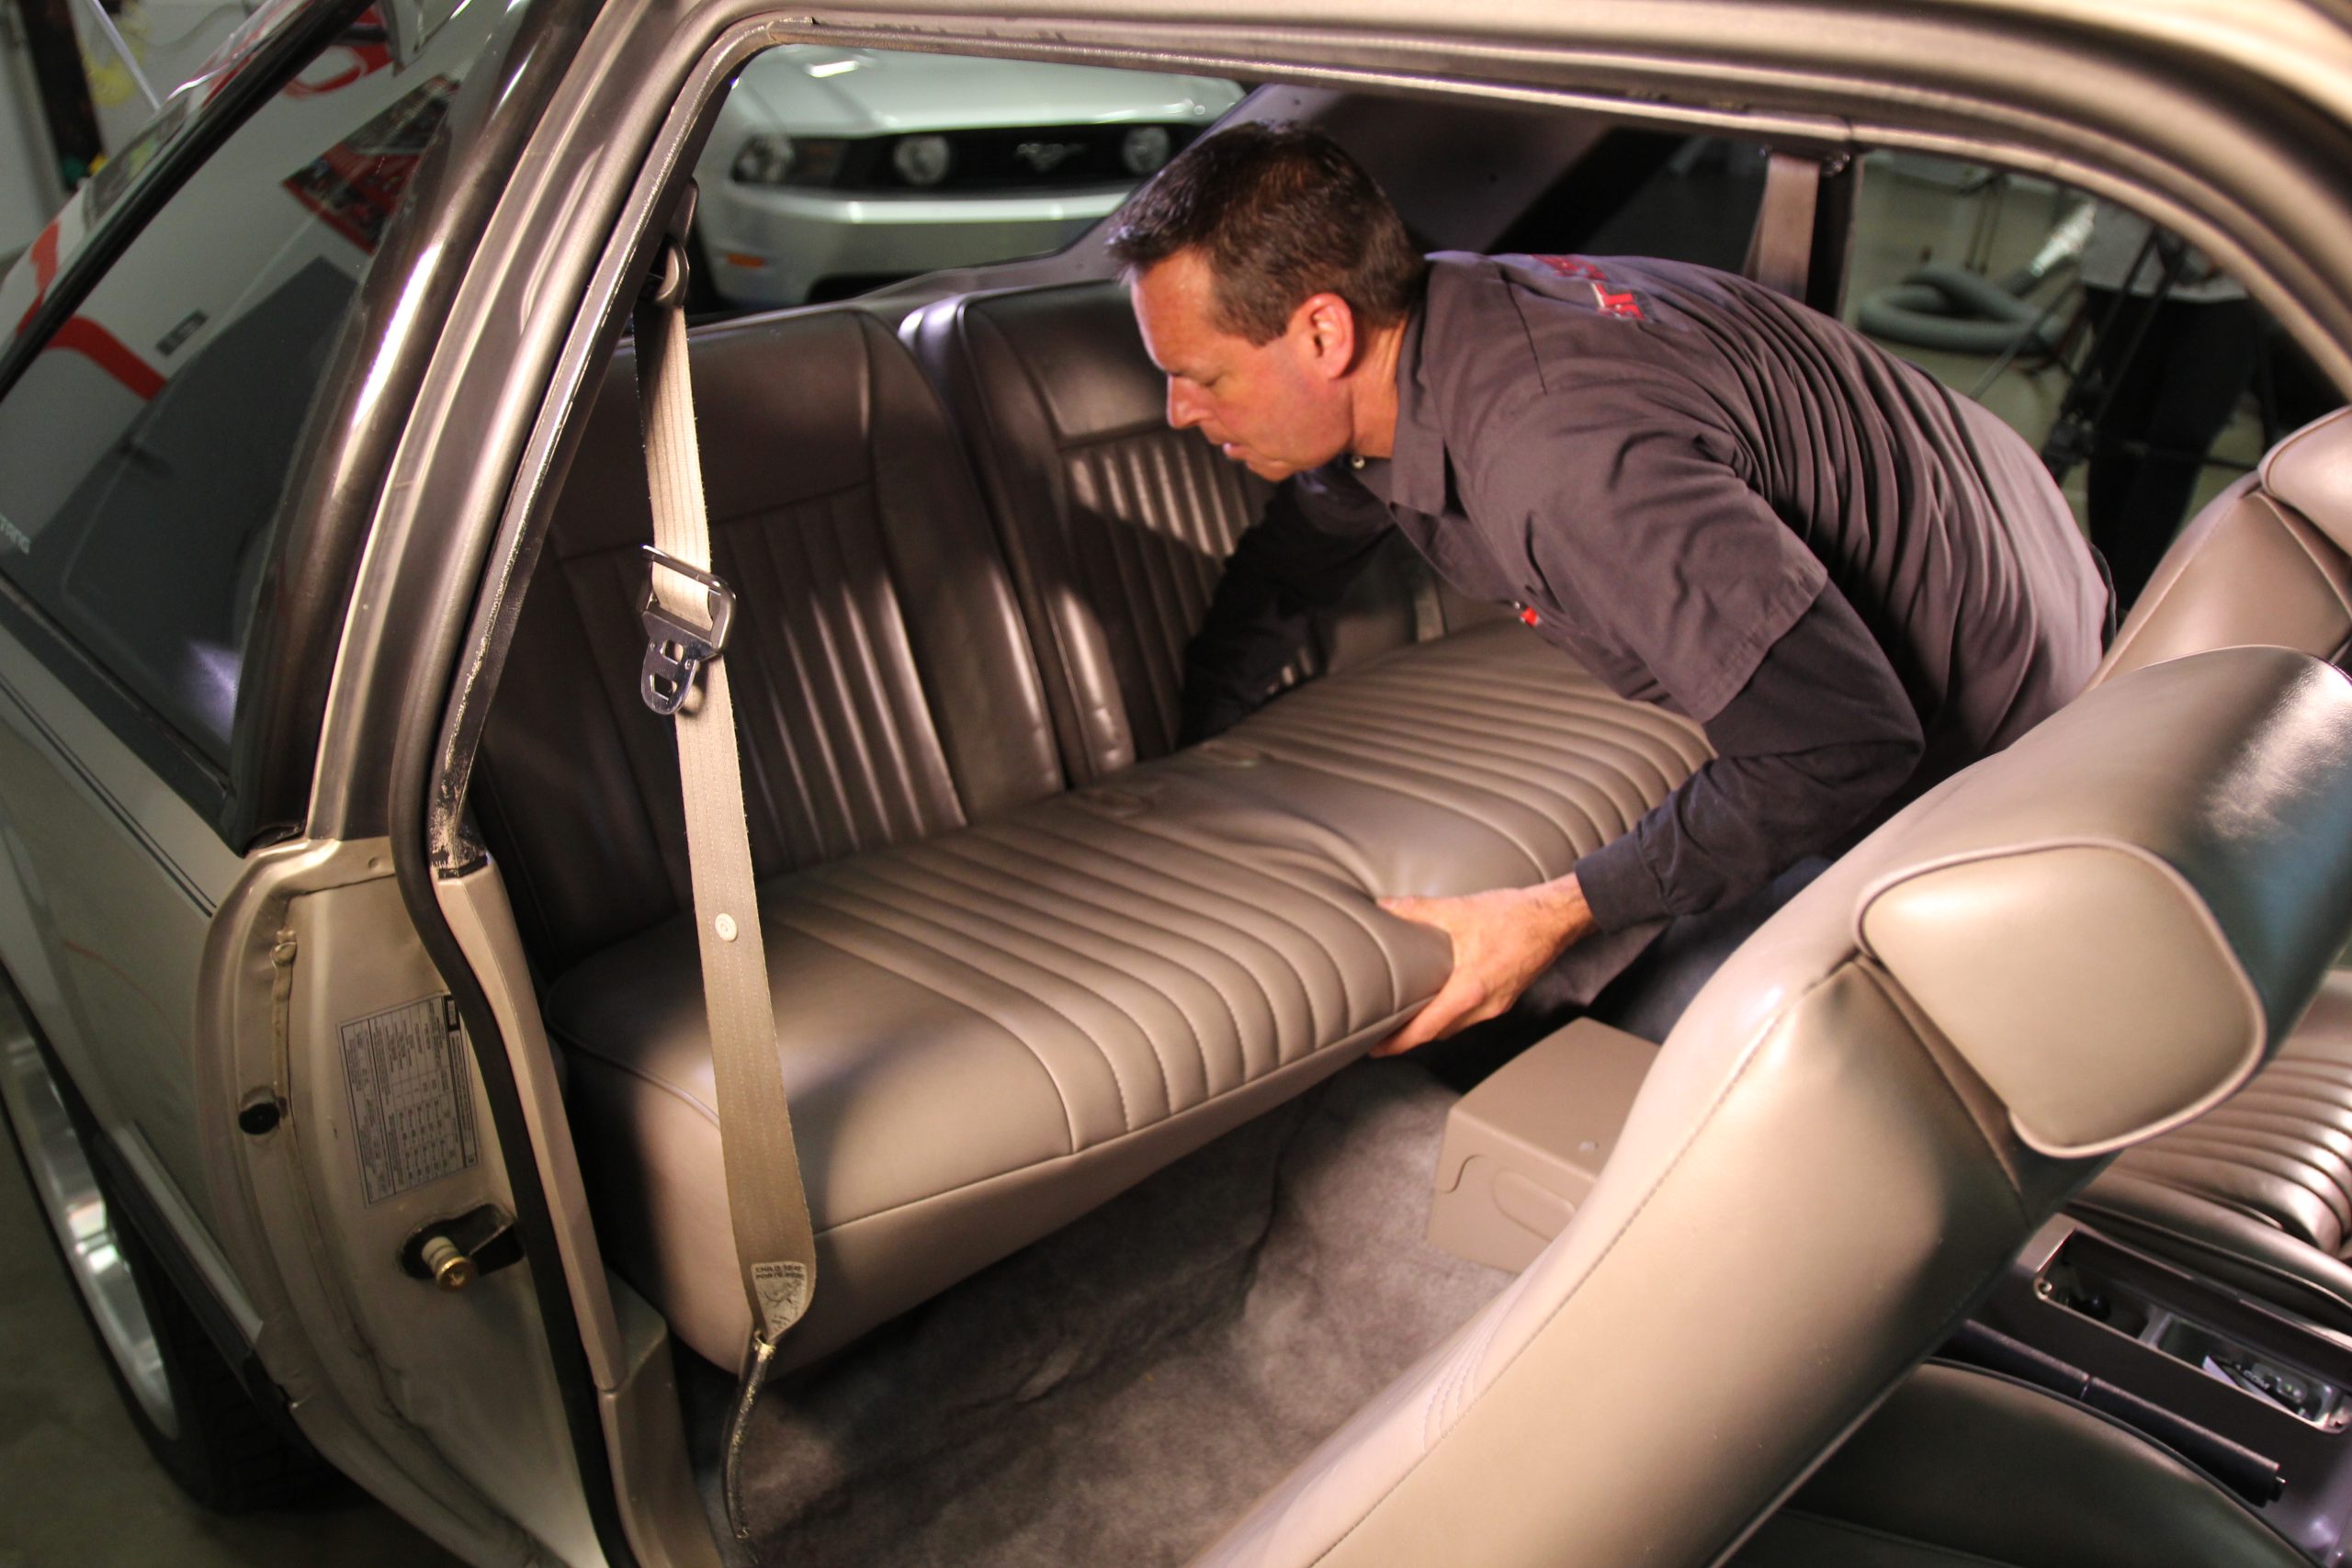
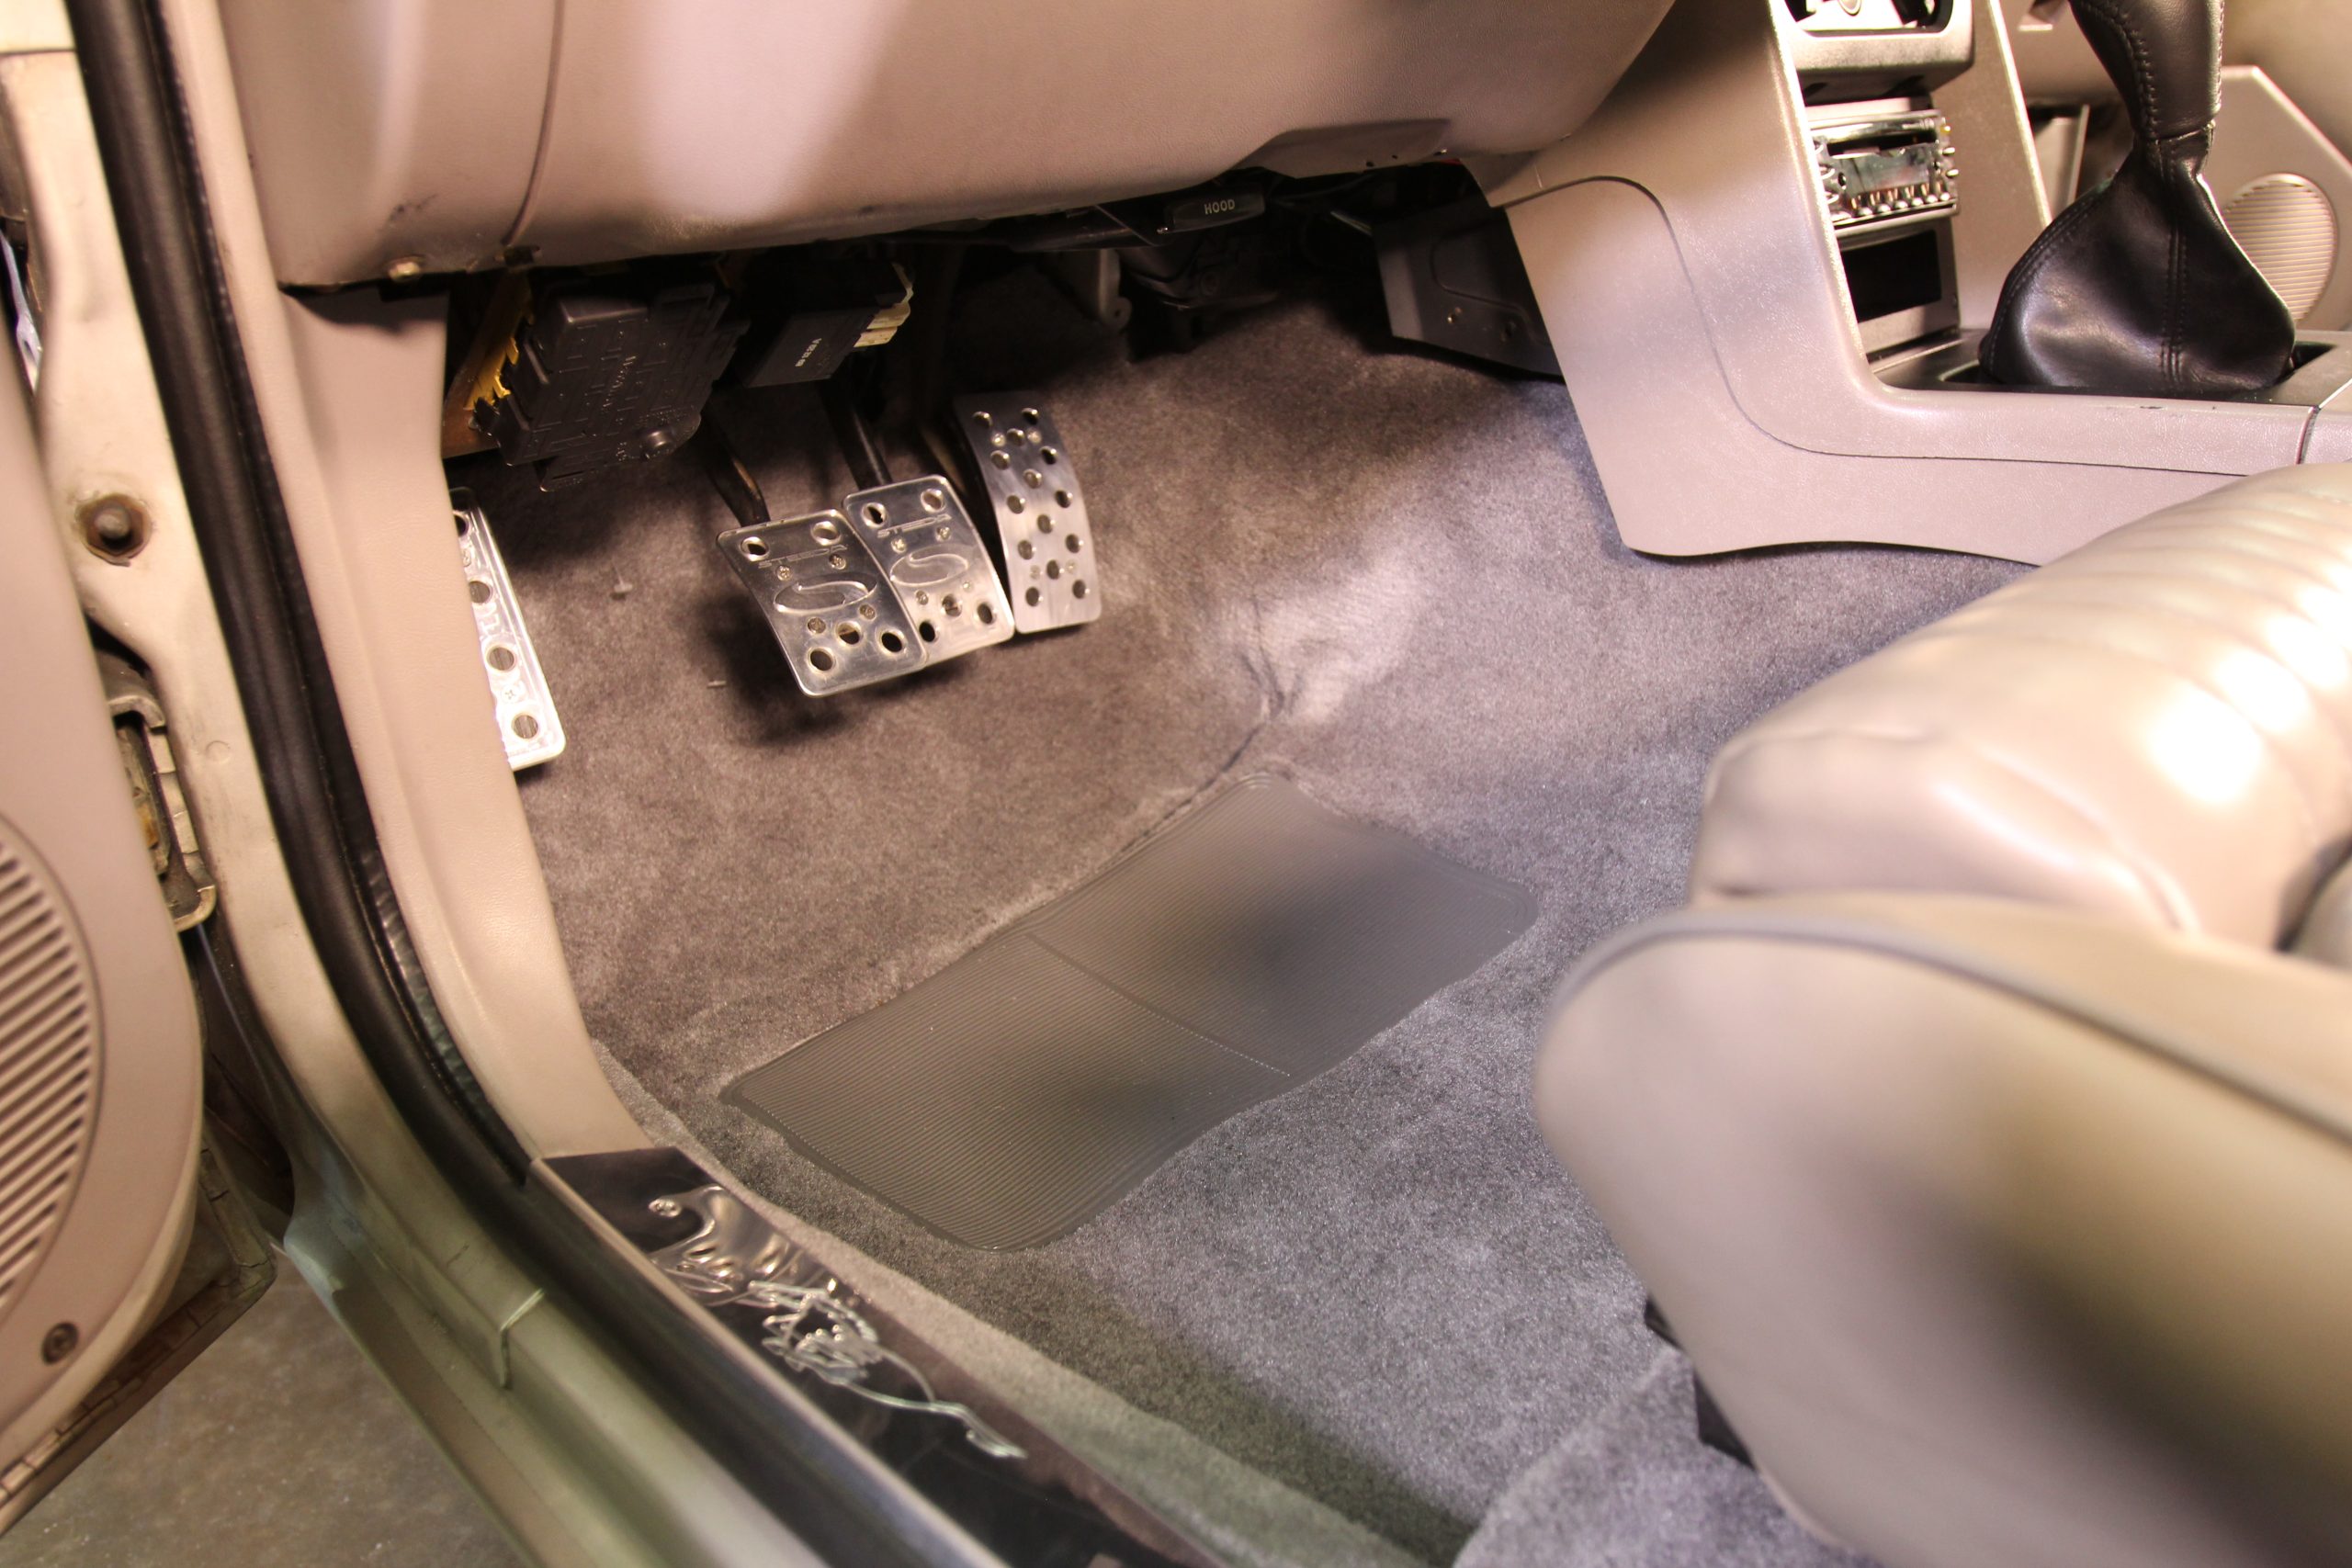
Installation of a new carpet is easier than you think. For not a whole lot of money, you can restore the appearance of your Ford Mustang’s interior in just a few hours. (Image/Evan Smith)This 5.0 LX suffered from a tear in the front and stains in the back. (Image/Evan Smith)(Image/Evan Smith)We disconnected the negative cable (so the dome light wouldn’t drain the battery), and we removed the new carpet from the packaging. (Image/Evan Smith)We then removed the rocker sill plates. (Image/Evan Smith)Followed by the kick panels. (Image/Evan Smith)Next, we removed the front seats. Note: If your car is equipped with power lumbar, undo the connector (located under the driver’s seat) and carefully remove the seats. (Image/Evan Smith)With the seats out of the way, we unbolted the seat belts where they attach to the floor. (Image/Evan Smith)Next, we unscrewed the shifter knob and popped off the shifter boot bezel and the boot itself. (Image/Evan Smith)With the top of the console free, we disconnected the electrical supply to the 12-volt power source, and to the power window switch. (Image/Evan Smith)Then we removed the heater control bezel, the radio, and the remaining screws that retain the console. (Image/Evan Smith)This allowed us to remove the console and mounting bracket. (Image/Evan Smith)We then pulled out the rear seat cushion, which pops out of the mounting clips. (Image/Evan Smith)Following this we removed the old, nasty rug. If you’re doing this at home, don’t chuck the rug in the garbage just yet—you’ll need to use it as a template for marking holes that you’ll cut in your new carpet. (Image/Evan Smith)Here’s the old factory rug with the new ACC carpet. (Image/Evan Smith)We recommend using a heat gun to help mold the carpet into shape. Remember, it was rolled up in a box, so it needs to relax and take shape to make installation easier. Leaving it in the sun to warm up is another trick. (Image/Evan Smith)Next, lay your old carpet over the new one, then mark and cut the holes for the shifter and emergency brake handle. We recommend cutting small holes first and then trim the carpet to fit once it’s in the car. (Image/Evan Smith)Now you’ll be ready to install your new carpet. We slid the ACC carpet into our LX and fed the shifter handle and parking brake through the holes we previously made. We then formed the carpet to the shape of the floor. It was slightly wrinkled at first, but it smoothed out as it settled into place. (Image/Evan Smith)Next we trimmed the carpet to fit tightly around the shifter and the console mounting bracket. (Image/Evan Smith)Then we installed the outer seat belts to keep the carpet in place. (Image/Evan Smith)Working from the center of the carpet on out, we reinstalled the console base and mounting hardware, along with the lower portion of the instrument panel. (Image/Evan Smith)Then we slid the shifter boot over the handle, along with the shifter bezel and the shifter knob. (Image/Evan Smith)We then popped the heater control bezel into place. (Image/Evan Smith)Here, we installed the seatbelts. (Image/Evan Smith)With the carpet nice and tight, we screwed in the passenger rocker sill plate and installed the passenger seat. Following this, we reconnected the fuel pump relay and bracket. Then came the kick panels along with the driver’s side sill plate. (Image/Evan Smith)Followed by the driver’s seat. (Image/Evan Smith)Lastly, we put the rear seat in the Mustang. (Image/Evan Smith)We hit it with a vacuum and began enjoying the stunning good looks of our new ACC carpet. (Image/Evan Smith)The completed project brought the interior alive! (Image/Evan Smith)(Image/Evan Smith)


Comments